 After making Marquee letters for an event last year, I sketched a plan for this Marquee style sign for Anna, my girlfriend Kathy’s daughter. Last year as Anna’s birthday was nearing, I had talked to her mom about the hard work she had been doing, tending to her chickens. I wanted to make something special, and I was tickled to see just how excited she was over this gift!
  Anna and her family live large on a small farm they like to call Heathland’s Funny Farm. On this little farm Anna has thirty hens, three ducks, one sheep, a bunny, and three Belgian horses. Anna collects the eggs from the chicken coop. Some days her dad, Jamie beats her to it on his way back from doing his early morning barn chores. The hens lay about fifteen to twenty eggs a day and two of the three ducks lay eggs as well. The eggs are washed, cleaned, and packaged for her customers. On average she makes $15 a week selling her eggs. Anna’s is gaining appreciation for quality food and where it comes from. Nothing is better than fresh free range eggs. By selling some of her eggs she is learning the value of money, and saving. More importantly, when children care for animals they develop and nurture meaningful relationships, and learn a deep sense of responsibility and protectiveness.
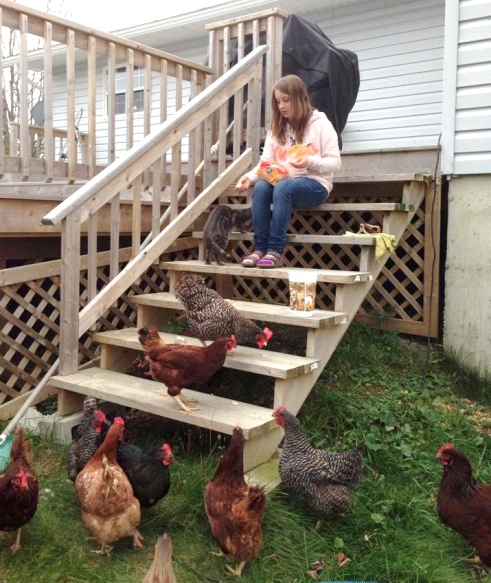 Anna has thirty hens that are fed top quality chicken feed and Anna treats them with bread and bird seed. She never complains when it’s time to clean the chicken coop which is an immense, and foul-smelling job during winter months. Cleaning is a little easier during the spring, summer and fall as they are let outside for the day and then are put away each night to roost.
 She has three Khaki Campbell ducks, named Archie, Betty and Veronica
  Here’s Anna with her very friendly pet Sheep, Sophia. She is very sweet, likes being with the horses, and loves her best friend, Anna. I hear her favourite treat is chocolate chip cookies.
 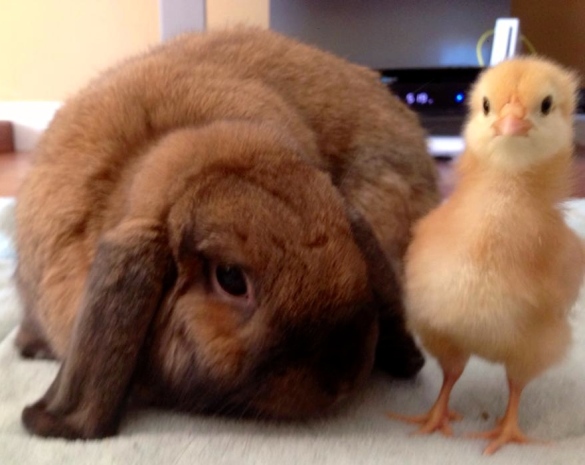 Her bunny Fudge seen here with a new baby chick… Seriously this is the cutest picture ever!
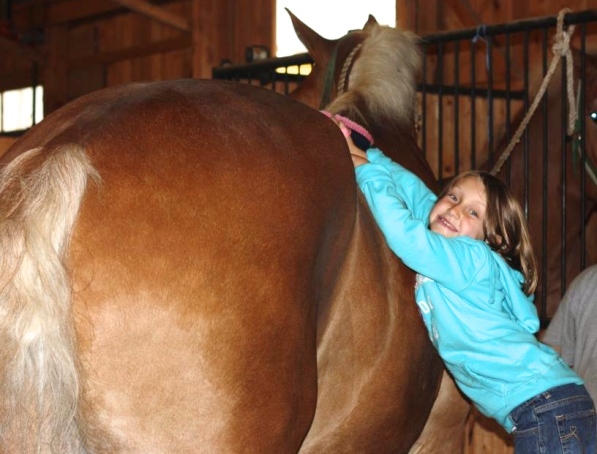 There are three Belgian horses on the farm. Here is Anna very happy to be grooming her horse, Fire
 Farm life can be hard work, and Anna is always up for the task
 On top of farm life, school, spending time with her family Anna takes lessons, and competes in western style horseback riding. As well, nothing puts a bigger smile on her face than training to drive horse and cart and competing in this sport with her dad, Jamie.
Happy Birthday Anna! We love you lots and are very proud of you. I can’t wait until this summer, when we cook our favourite egg recipe together 🙂 Love Auntie Mina

Materials Needed:
- 1/2″ plywood cut to the size of desired sign
- 4″ wide strips of metal sheeting * see note at bottom (1&2)
- Rubber mallet
- Metal shears
- Metal sandpaper
- 2″x2″x8′ strip of wood
- Wood glue
- 1″ wood drill bit and drill (or bit that matches the size of the bulb
- 1 globe light set (most come in 15-25 bulb count)
- Electrical tape and/or safety cap socket covers for string lights
- Pencil & black sharpie or marker for drawing
- Miss Mustard Seed Milk paint (Or acrylic paint in desired colors I used acrylic for the teal color)
-
- MMS Wax or hemp oil
- MMS bonder
- Paint brushes – Various sizes
- Sand paper
- Paint scraper
- Wood stain of choice and color
- Sponge brush
- Rag for wiping excess stain off
- 1-1/2″ 16 gauge finish nails & nail gun
- Protective eyewear
- Spray or brush on sealer – satin
 Once you decide on the size of the sign. Cut out or have cut from 1/2″ plywood. I sketched a pattern a piece of paper before drawing with pencil on the wood. If you are worried about sketching large patterns on the plywood free hand, scale, and print out the desired pattern. Then cut the pattern out and set in place and trace. Do this for each element of your desired design.
 Once the pattern is drawn I like to trace it with a black marker or sharpie. This prevents the loss of the pattern once stained.
 Stain the entire piece of plywood with stain. I am staining the wood because I want to be able to see the stain under the paint that I chip or sand off in the final project. If you don’t want to age this piece by sanding or chipping off some of the paint you can skip staining the sign.
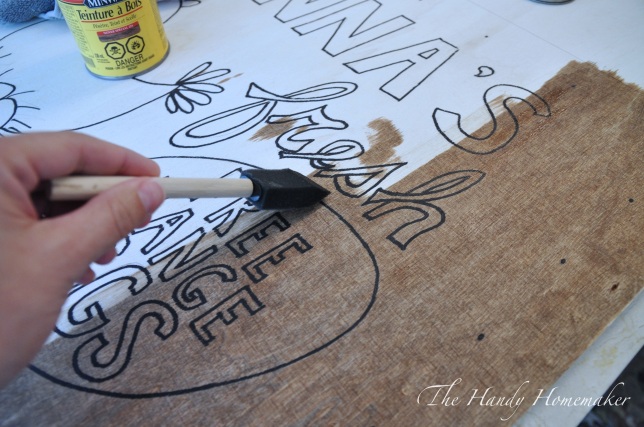 I added the stain in light brush strokes then gently wiped any excess off every three or four rows of stain.
 Let the stain dry completely
 If you are using MMS Milk paint prepare the paint as per the package directions I used a bonder in the MMSMP. You can use acrylic paint if you choose. I liked Milk Paint for this project as I wanted to age the finished project and this paint is perfect medium as it is so versatile.
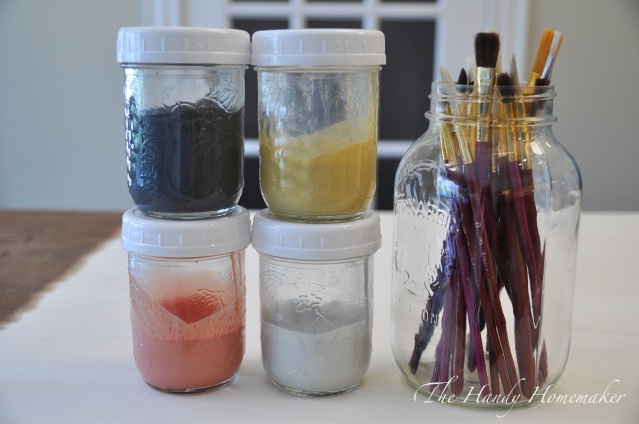 Did you know that you can use milk paint to paint images or designs on your furniture or crafts. I placed my mixed paint in mason jars with lids to prevent drying out before and while using. I didn’t have a green on hand so I just used an acrylic teal paint that I had as I going to be sealing it after drying.
 After the stain is dry drill the holes for the lights. I measured for the light holes two inches from the edge of the sign and then decided on how many bulbs I wanted and then measured to make sure they were evenly spaced.
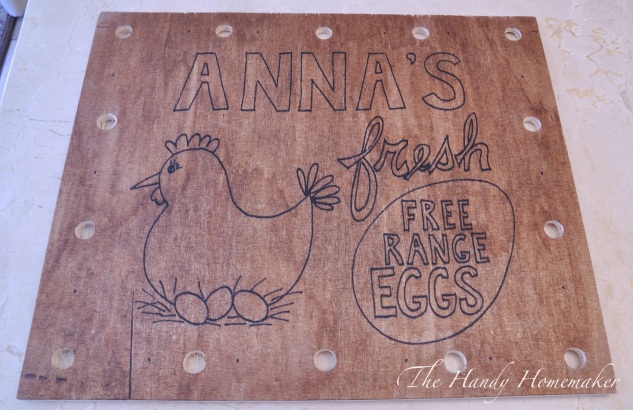 My string of globe light had 15 lights but I only wanted 14 bulb holes. You can purchase safety caps for unused bulb sockets C7 or C9 sized lights or wrap tightly and completely seal with electrical tape (bulb removed)
 Cut three inch pieces of the 2×2 with a chop saw or have your local hardware store do it. These pieces need to fit between the pre-drilled light holes
 These are to help add strength and stability to the metal sheeting once added and they hold the sign the perfect height when adding the tin to the sides of the sign.
 Add lots of wood glue to each block and set in place
 I let the wood blocks set for 20-30 minutes before flipping over and tacking in place with the nail gun through the front of the sign.
 If you want an antique look and want some of the paint to chip or flake off, add small brush strokes of oil, or wax in various places on the sign. If you don’t want the paint to chip skip this step.
 Start adding the base colors of Milk paint to the design in thin coats of paint
 Milk paint dries quickly and it will look a little thin, brush marks, and maybe what you think of as messy. That’s okay, keep going.
 First coat finished. Let dry
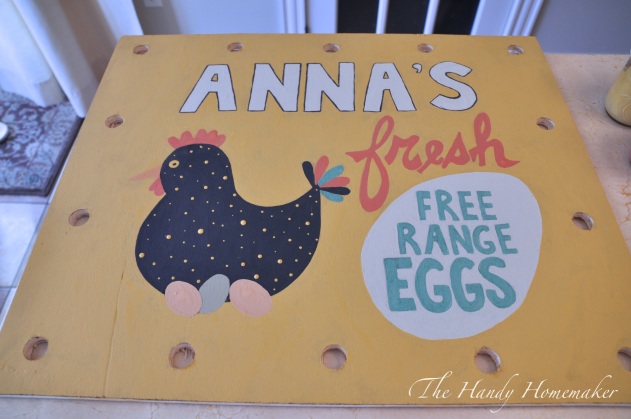 Add a second coat of paint and any touch up to the design. Let dry completely. Remember, this sign is supposed to look old but if you prefer not to age your sign, skip the next few steps and move to placing the metal edge on.
 Using various grit sand paper, and a paint scraper, scrape and sand off any lifting and flaking paint. Sand for extra distressing through to the stained wood in spots that would show wear. I did a light sand with a 220 grit sandpaper once I finished distressing
 Wipe away excess dust with a damp cloth
 Ready for the metal sides
 These are the finish nails I used. Before starting the next step place on your PROTECTIVE EYEWEAR. I had one or two nails fly off to the side when they didn’t go through the metal.
 Place the end of the metal sheeting about 3-4 inches from an edge of the sign. Make sure that spot is where one of the wooden blocks was glued and nailed in place. Nail through the metal and into the plywood every 1.5″ and also two nails through the metal and into the wooden blocks as you come to them. When you get to the corner use a rubber mallet to gently hammer the corner around the edge.
  Continue to nail in place the entire way around all 3 edges of the sign. When you get to the last side you may need to cut the metal to length.
 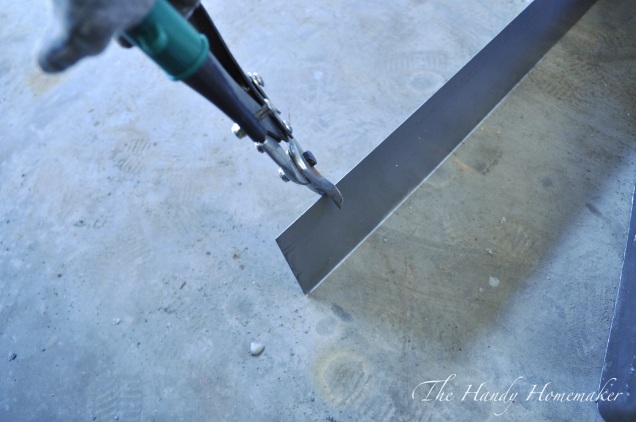 Once you cut the piece of metal to length (I like to overlap the metal slightly) continue to nail in place.
 Finished nailing
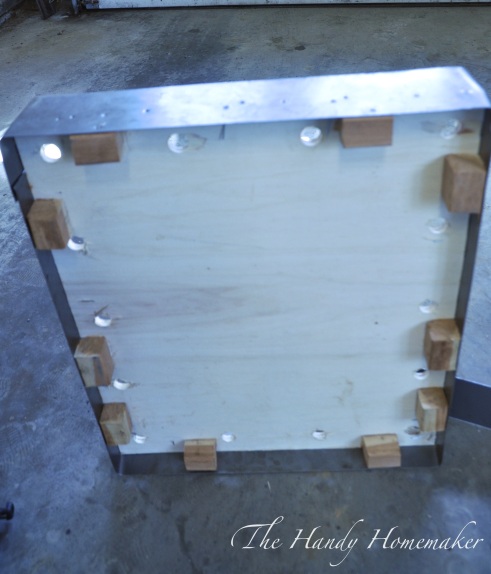 The back of the sign
 Using metal sandpaper and gloves sand off any sharp edges of the metal edging
  Spray the entire sign with a clear protective varathane spray. I used two coats of satin spray varathanePush the socket of the string light through the back of the sign and screw the bulb in place firmly.
TIPS:
- I went to Metals ‘R’ Us in Dartmouth, NS and had them cut the 4×8 sheet metal. You may be able to buy the metal in strips at your local metal working shop. I needed more than a couple of strips for my projects which is why I bought it in sheets and had it cut to the desired width.
- The sheet metal can be purchased in different gauges and in different grades. For example I wanted a metal that would rust over time, but you can buy it rust proof at most metal works companies.
 Anna and one of her chickens 🙂


9 responses to “Why did the chicken cross the street – Because it followed the “Fresh Egg Sign””
Best blog post yet!! Harper and I enjoyed reading it together. Another talented/fabulous project! Thanks for sharing Mina.
LikeLiked by 1 person
You are too sweet!! Thank you xo
LikeLike
You are talented beyond belief! I LOVE this sign!
LikeLiked by 1 person
Thank you Marlowe.. I loved how it turned out too 😉
LikeLike
Made with love……
Beautiful job!! XO
LikeLiked by 1 person
Thanks Deb.. I enjoyed making it for her.. Made with love is right.. xoxo
LikeLike
You are so talented! This is beautiful!
LikeLiked by 1 person
Thank you Shannon! xo
LikeLike
VERRY NICE! WELL DONE! A VERY NICE STORY….. COMING FROM THE NEXT DOOR NEIGHBOR!!
LikeLiked by 1 person