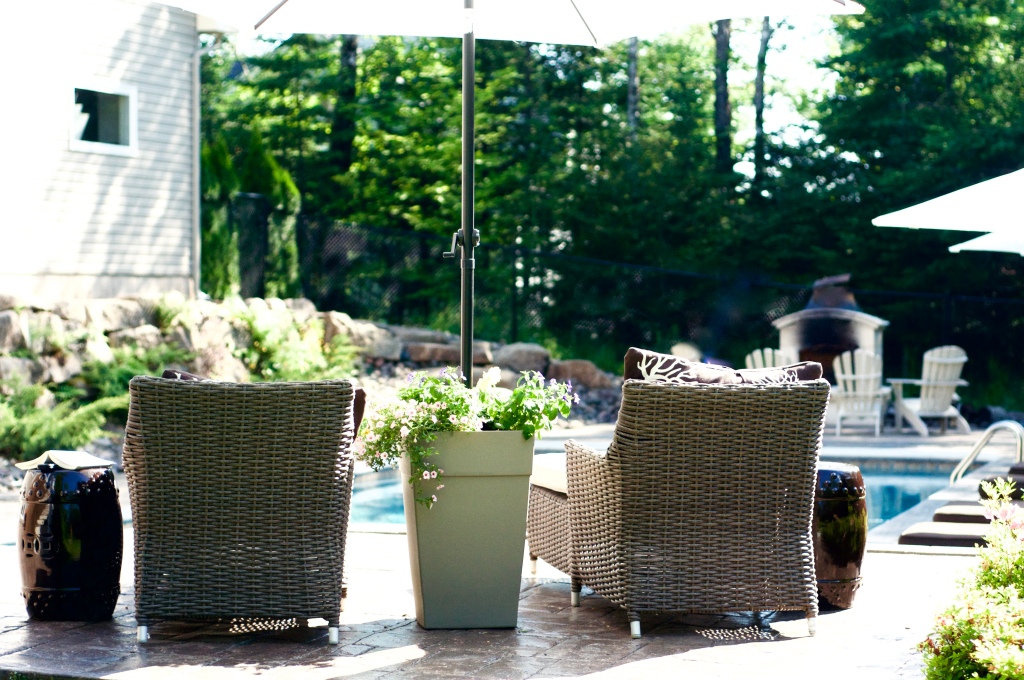
 I have planned on these umbrella stands for a couple of years. I had made two of these when we lived in Rothesay NB ten plus years ago. At that time, I used ceramic pots. After a couple of years the ceramic pots started to crack because of the cold during winter (I probably left the wet soil in them 😉
This time my plan was to make umbrella stand tables and I bought exterior grade plywood to cover with mosaic tile I had leftover from a earlier project. Time got in my way, more important projects to be completed, and I just wanted to have the stands finished. I went back to my handy-dandy planters. I hope you enjoy them. Maybe next year I’ll add a picture or two to this post showing how to add a table top.  These photo’s were taken three weeks ago the day I finished the planters. The flowers look beautiful and full, in just that short time!
This project is simple but the bags of concrete are heavy.. 25 kg (55.12lbs) HEAVY. If you can’t safely lift these bags on your own, ask a friend for their help.
In total I made four planters. It took me one hour the first day to cut the pipe, mix the concrete and place it in the container. And I took pictures at every-step. After drying overnight, it took another hour to fill the planters with soil and plants. It may take a little longer to mix concrete with a shovel.
Materials Needed:
- Planter Container large enough to hold all 25 kgs worth of concrete, tall enough for the plastic pipe to be submerged, and to allow room for stone, soil and plants.
- 2″ plastic PVC pipe or 1.5″ (Somewhere between 18-24″ in length depending on your planter size) I recommend using 2″ poles as I measured the diameter of my umbrella poles before going to the hardware store. One was larger than the other so I decided in order to make these stands work with most umbrella poles a larger pipe with a reducer would prevent future problems in the case I need to change umbrellas,(they never seem to last that long before something breaks) I can just remove the reducer. The screws can still be used without it.
- Optional but recommended -(If you choose the 2″ pipe) Plastic PVC reducer(2″ to 1.5″) (to help reduce water build up in the pipe or as discussed above
- 1 bag of ready mix concrete per container.
- A large bucket, or wheelbarrow to mix the concrete in
- Optional* mixing attachment that attaches to your drill (Don’t worry if you don’t have this you can just mix it using a shovel
- Water as per directions on the concrete mix
- 3- 1″ screws per planter (exterior grade like stainless so they won’t rust)
- Small drill bit to pre-drill the holes (smaller than the screws)
- Small scoop to get the concrete from the mixing bucket to the planter or you can use the shovel, it make get messy though.
- Duct tape to tape the bottom of the pipe
- Gloves to protect your hands
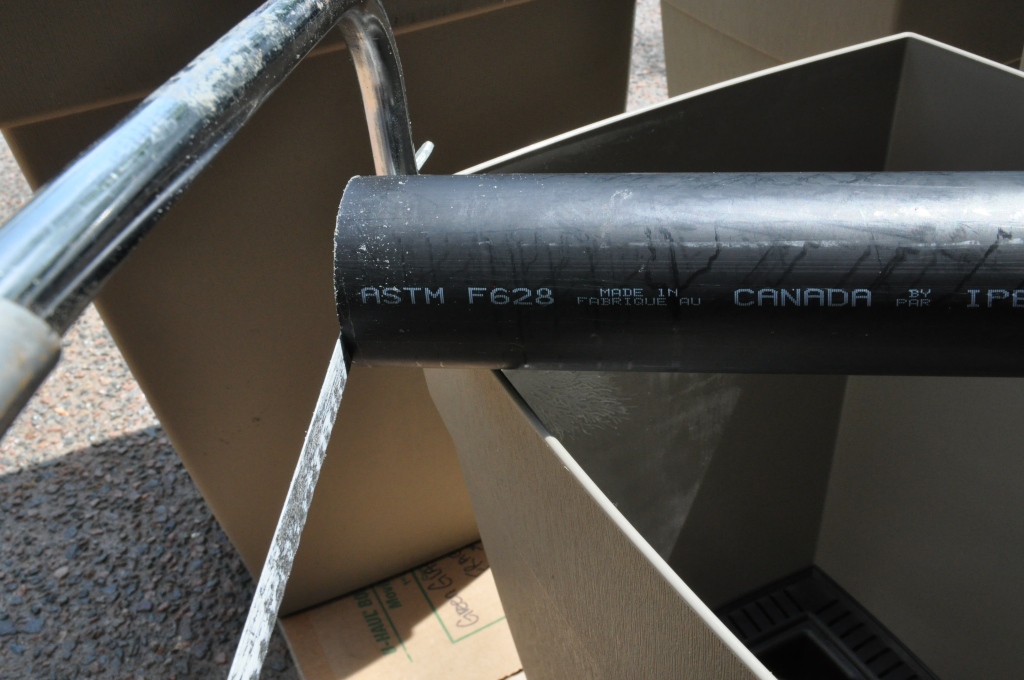 Cut the pipe to the proper length with a hacksaw. I wanted my pipes to be a few inches above the top. The small planters were cut at 17″ and the large was cut at 22″.
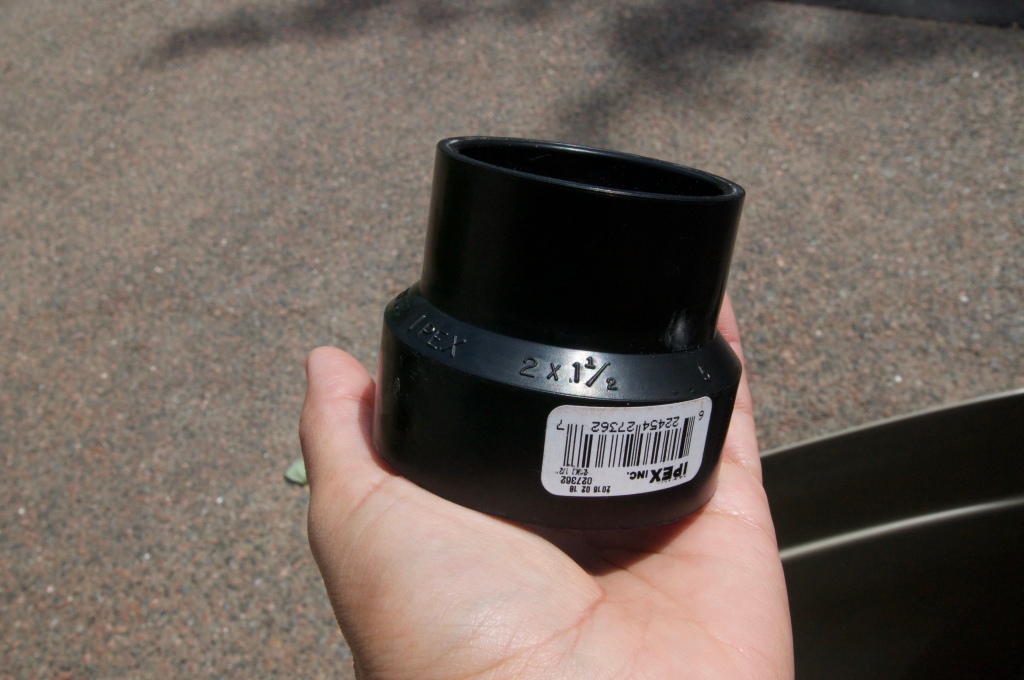 To make sure you have the correct height you want, add the reducer to one end before making your cut mark. You may need to gently tap on with a hammer.
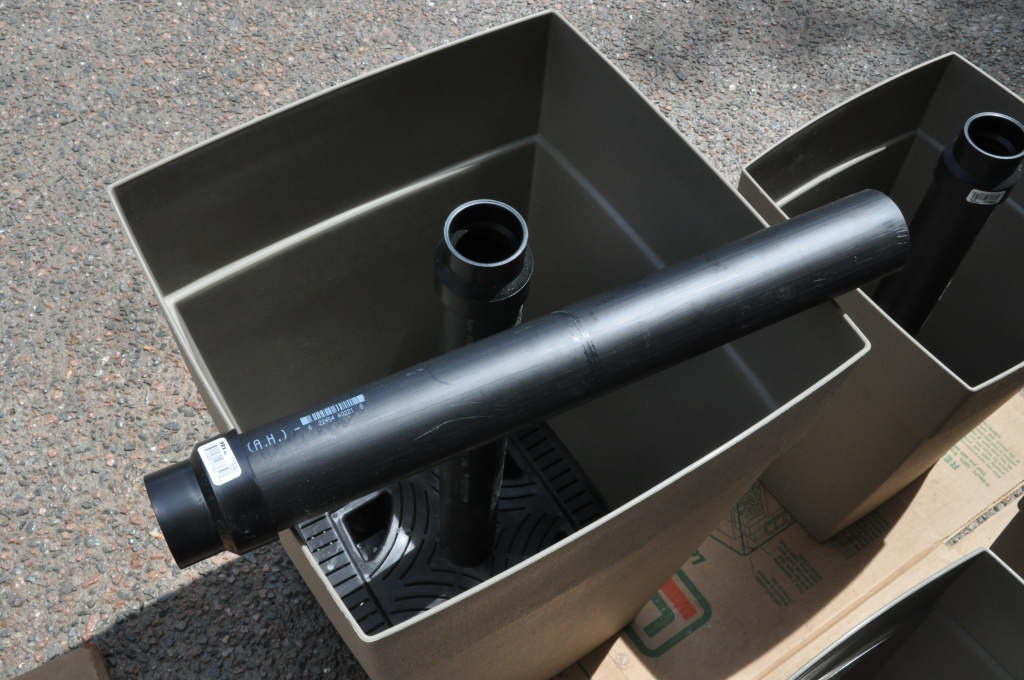 Now is the point also to tape the bottom up so concrete does not get inside the pipe. If this happens your umbrella may not fit properly or sit right in the pipe. Thankfully, I remembered doing this in the middle of making these and not the next day when I couldn’t fit my umbrella in. YIKES! I had to pull two pipes out of the concrete and clean off the concrete, tape with duct tape and then push back in the concrete. Much easier to do this from the beginning.
 Dry fit where the pipe is going to be placed and that your cut was straight. It’s ok if it isn’t but you will need a friend to hold it in place while you are filling the container with concrete.
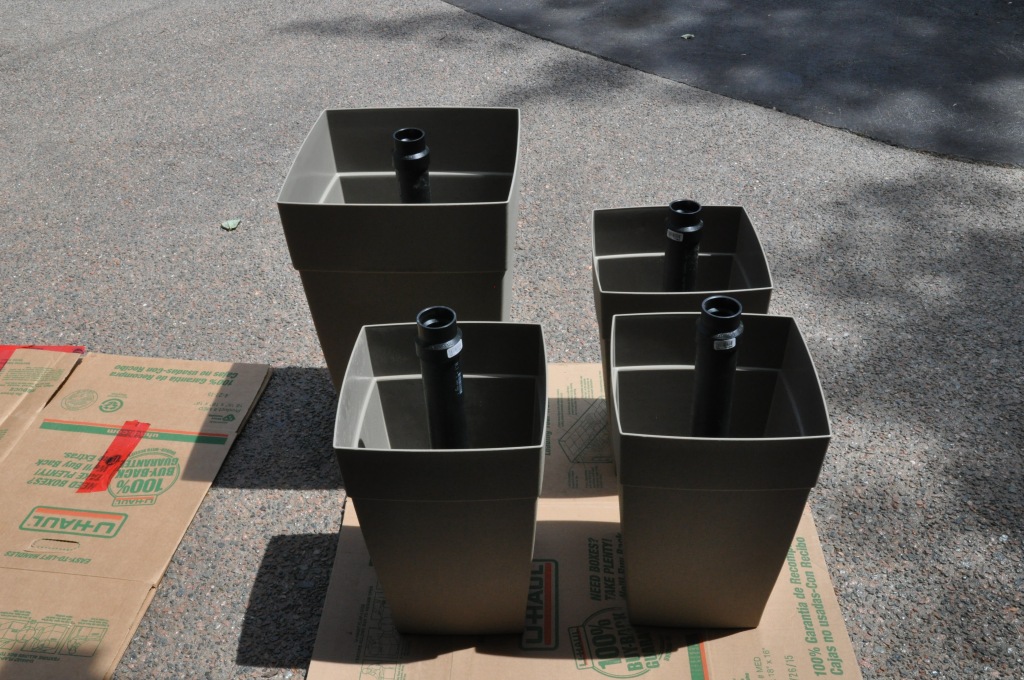 Everything looks great, remove the reducer from the pipe and start mixing the concrete.
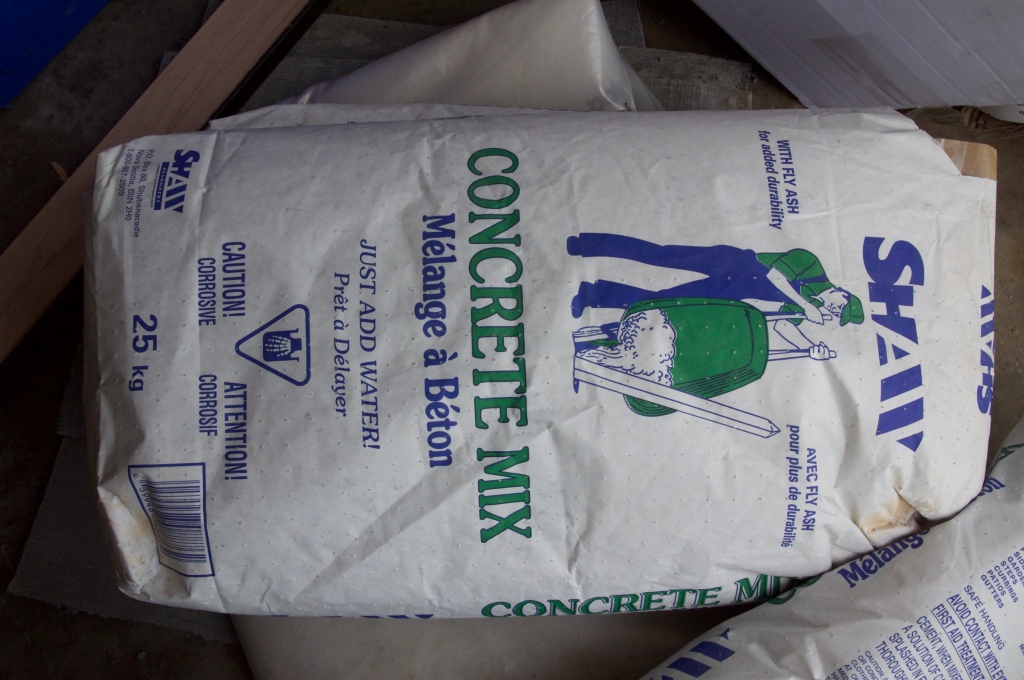 I bought this ready mix concrete at Rona for just under 6$ a bag. If you are not sure what to buy ask an associate at your hardware store. You don’t need the expensive stuff.
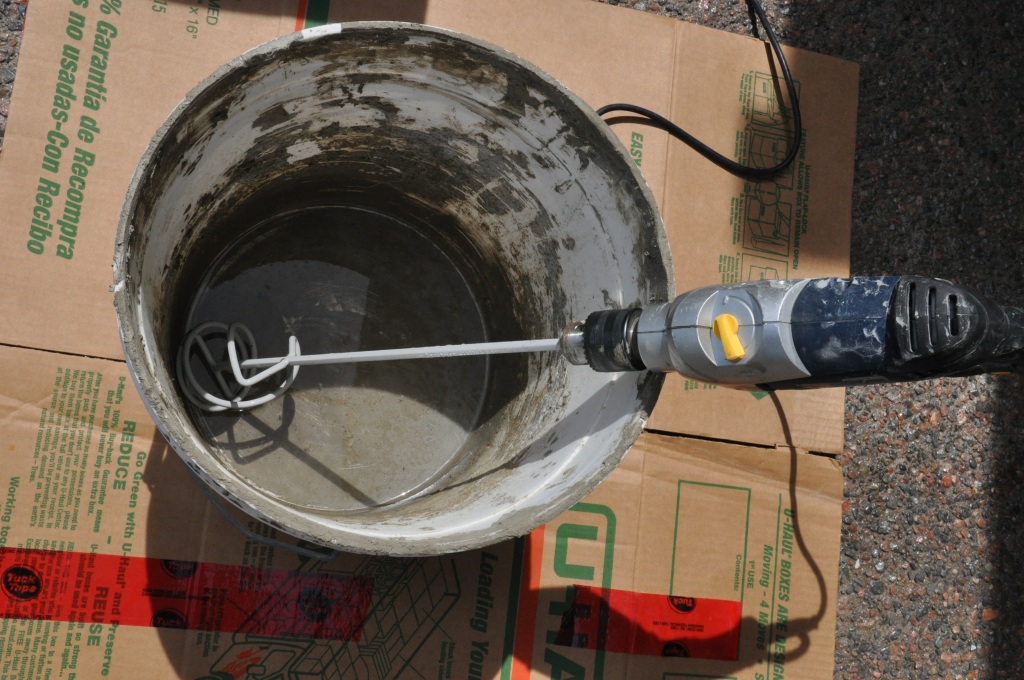 Mix the concrete as per the directions on the bag. If mixing in a large container I always like to add a little of the water in before I add the concrete. It minimizes small dry patches on the bottom of the bucket the mixing wand may miss.
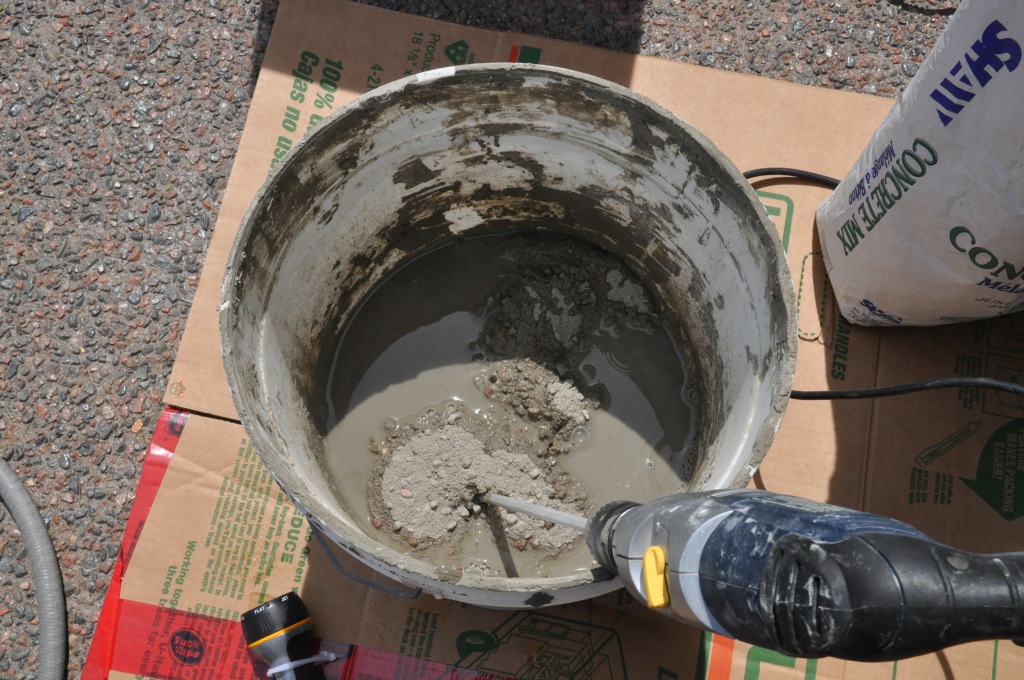 Be sure to mix the concrete on a protected surface.
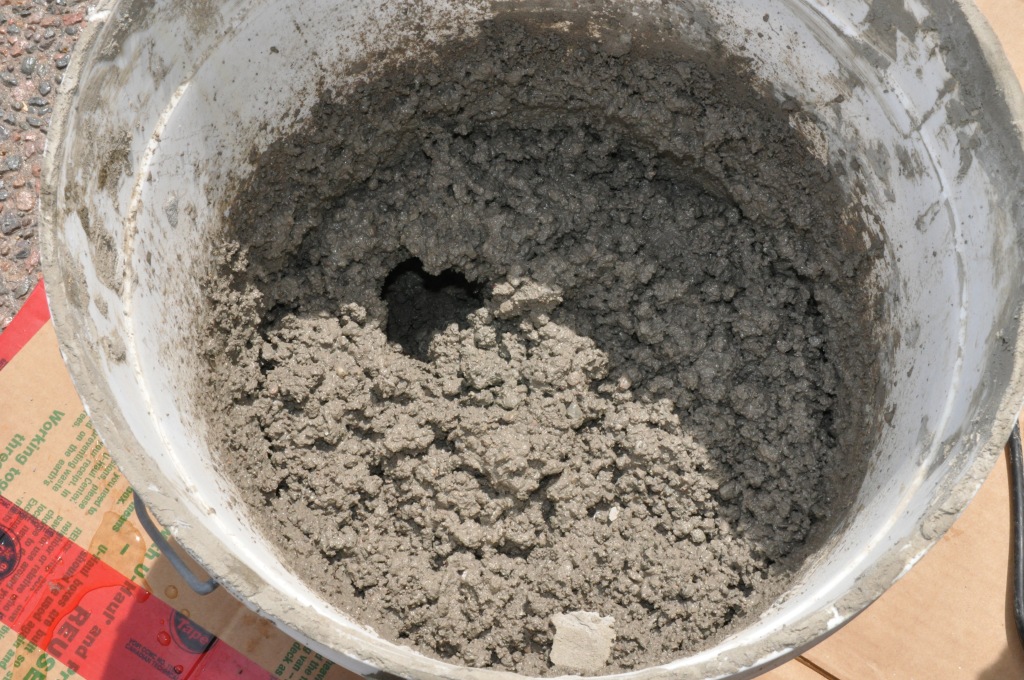 You want the concrete thick. Not runny.
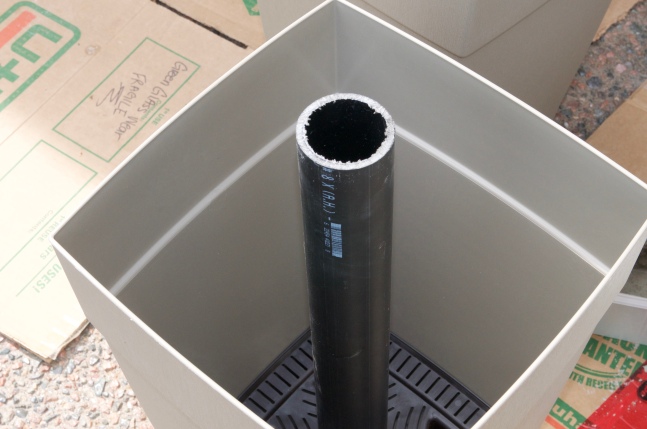 If you have another set of hands you can leave the post in place while you scoop in the concrete. It may be easier to place in after if not. Take care not to get any inside the pipe.
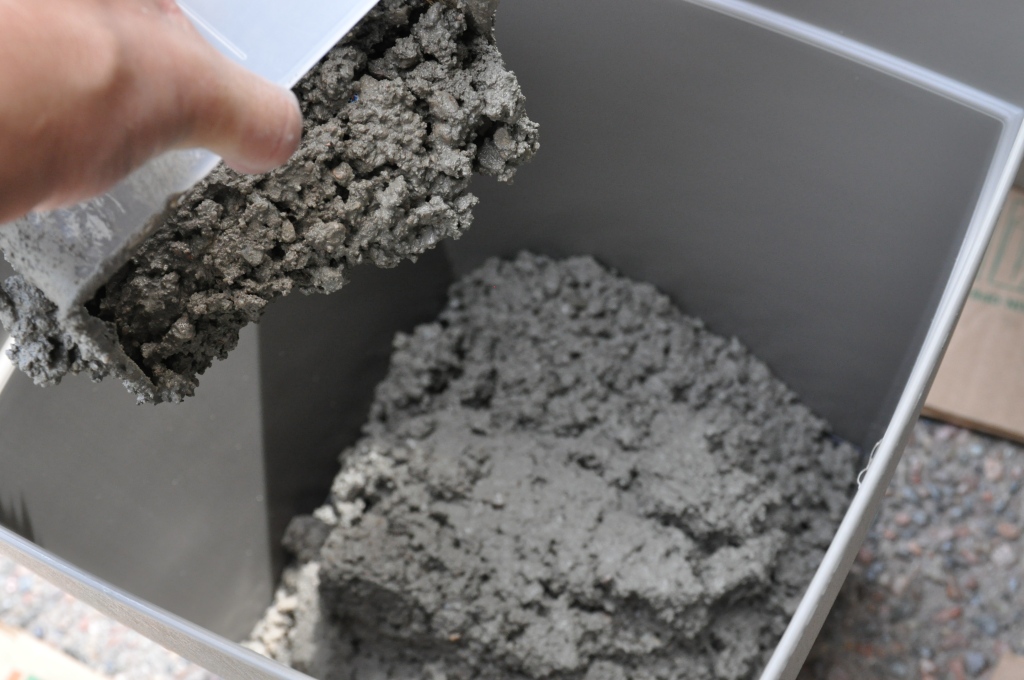 Scoop the concrete in the container
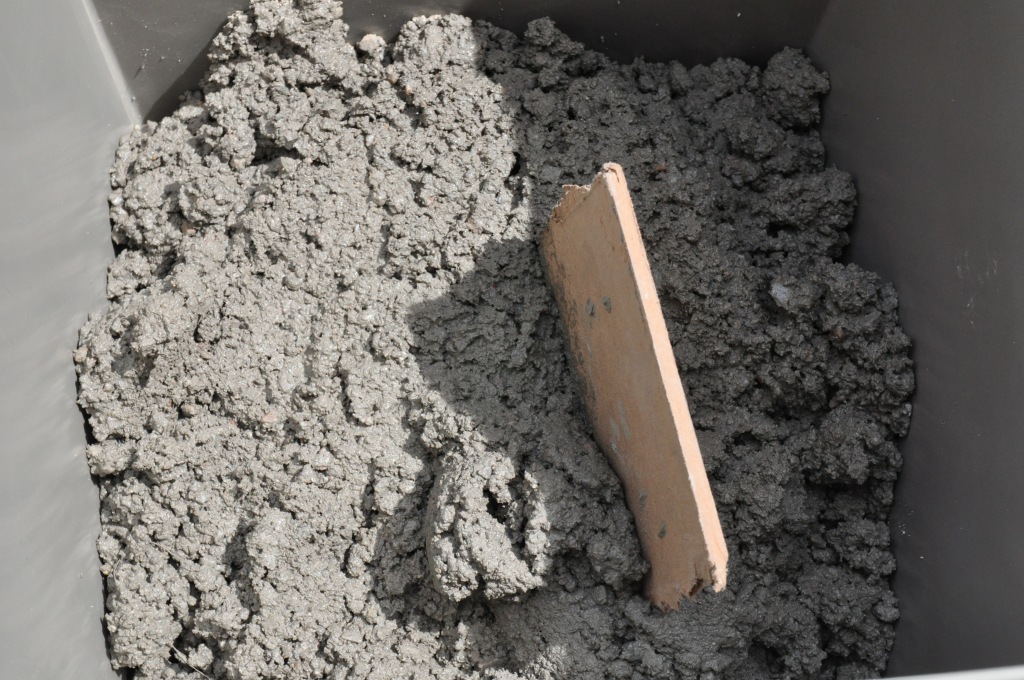 Tamp in place with some scrap wood or even cardboard to protect your hands
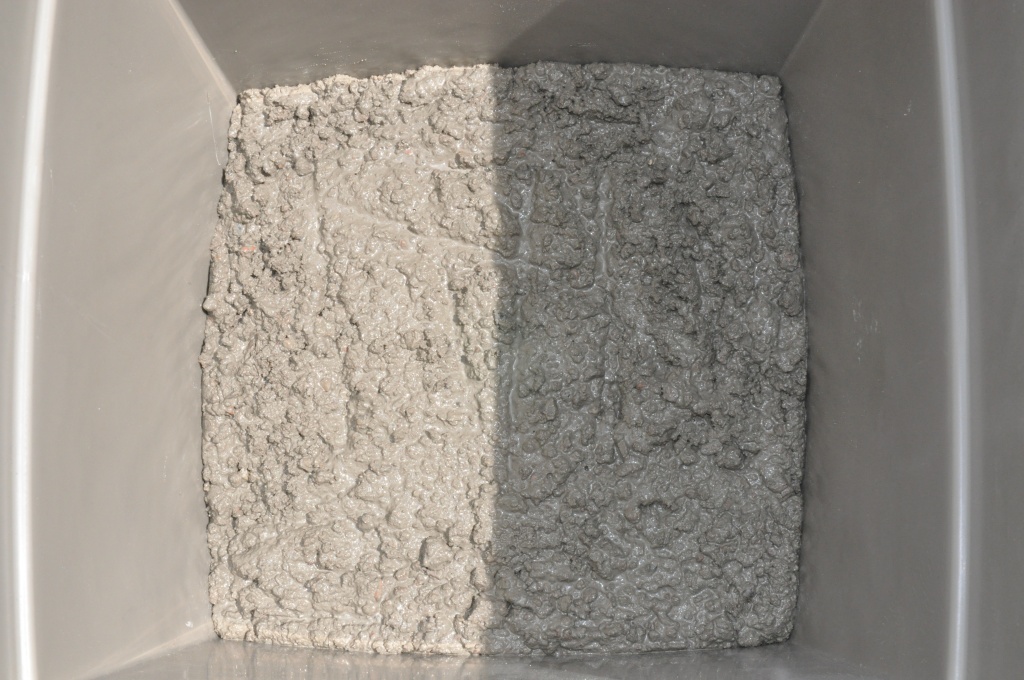 Looks good. Now if you haven’t placed the pipe from the beginning add it now. Pick a spot as close to the center of the container.
 Make sure the bottom is sealed with duct tape or something to prevent concrete from entering the pipe
 Check for level. This is why the concrete needs to be thick. Otherwise you may need to tape to the edges of the container to keep the post from moving or tipping before it’s set.
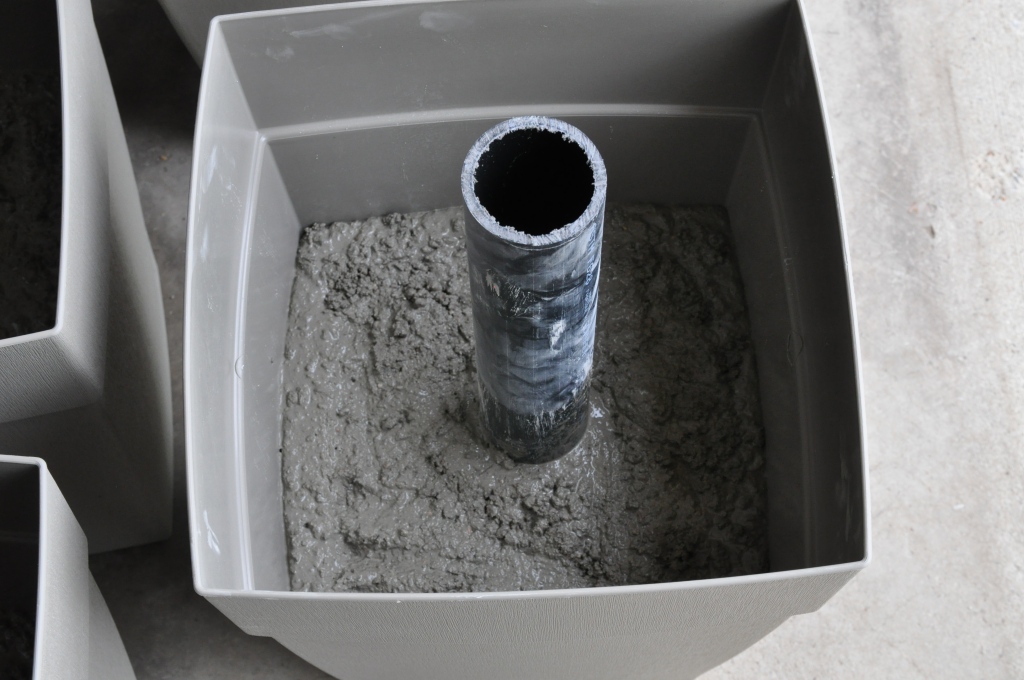 Now let sit overnight.
 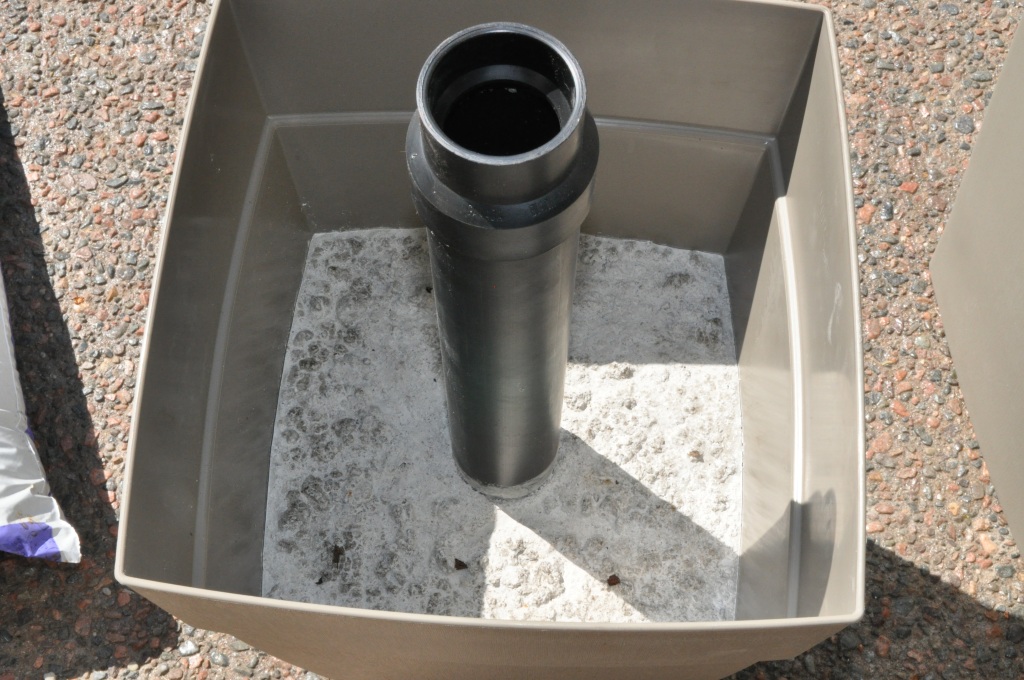 That was easy breezy.. Now you are ready for the fun part.
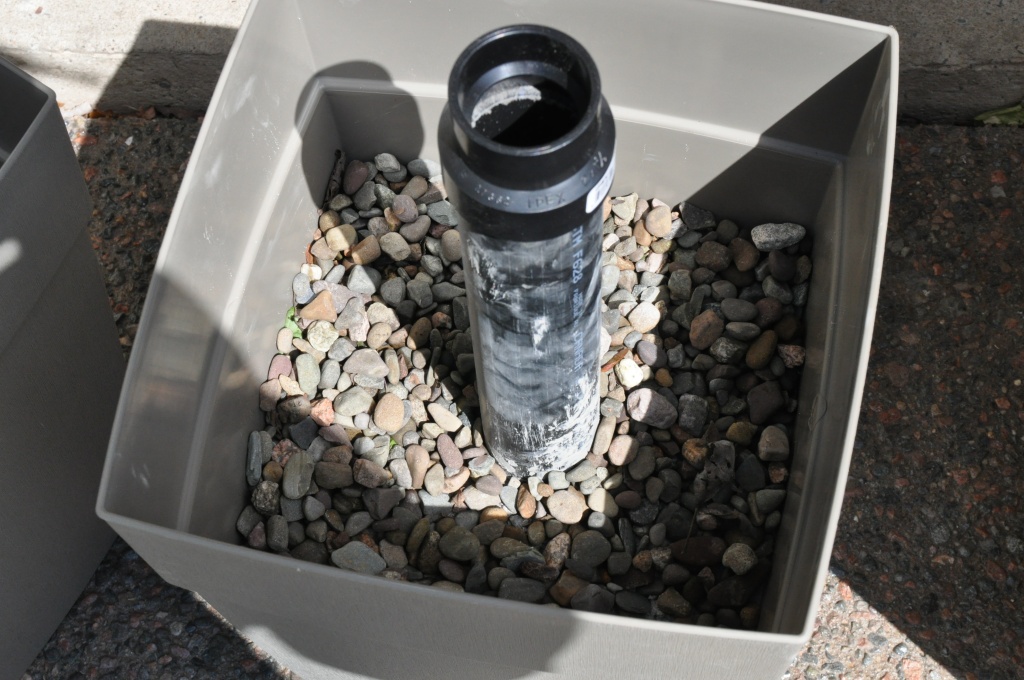 Add a couple of inches of crushed rock to the bottom of a planter. Then fill will potting soil an inch or two from the top of the planter.
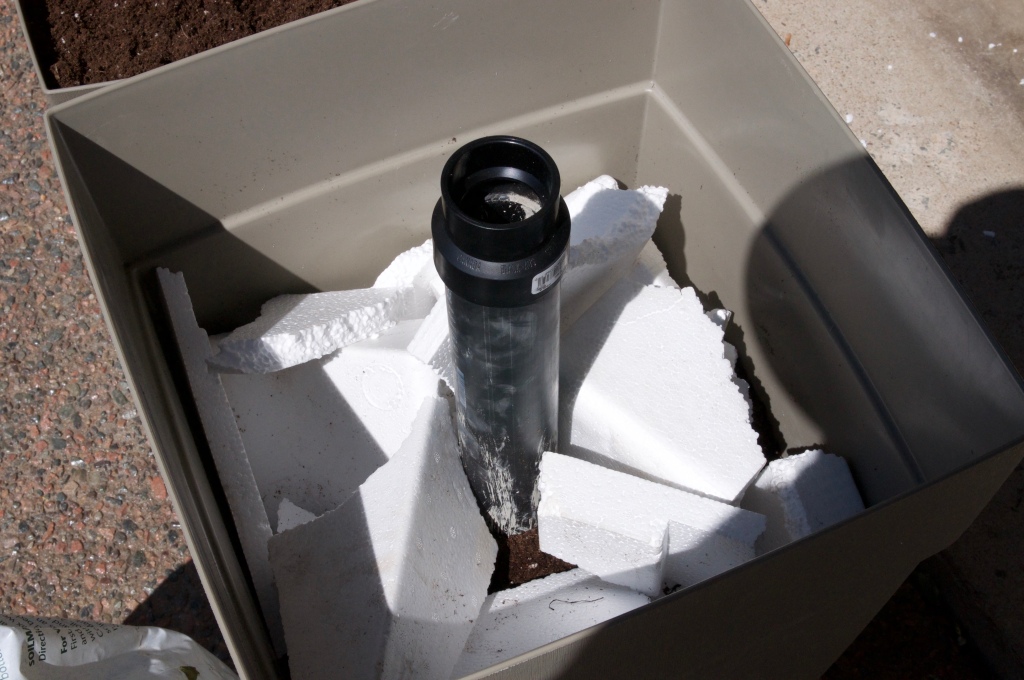 In the large pots I like to add styrofoam pieces (or packaging peanuts) This cuts back on the amount of potting soil you need to buy.
 Now add a mix of beautiful flowers. I would give you caution to wait to add the water to these planters once they are in the spot you want. They are heavy before you add water. With the reducer placed on the top of the pipe pre-drill 3 holes around the top. Making sure to drill through the pipe and the reducer.
 Add the screws but don’t screw all the way in.
 Put the umbrella post in the pipe
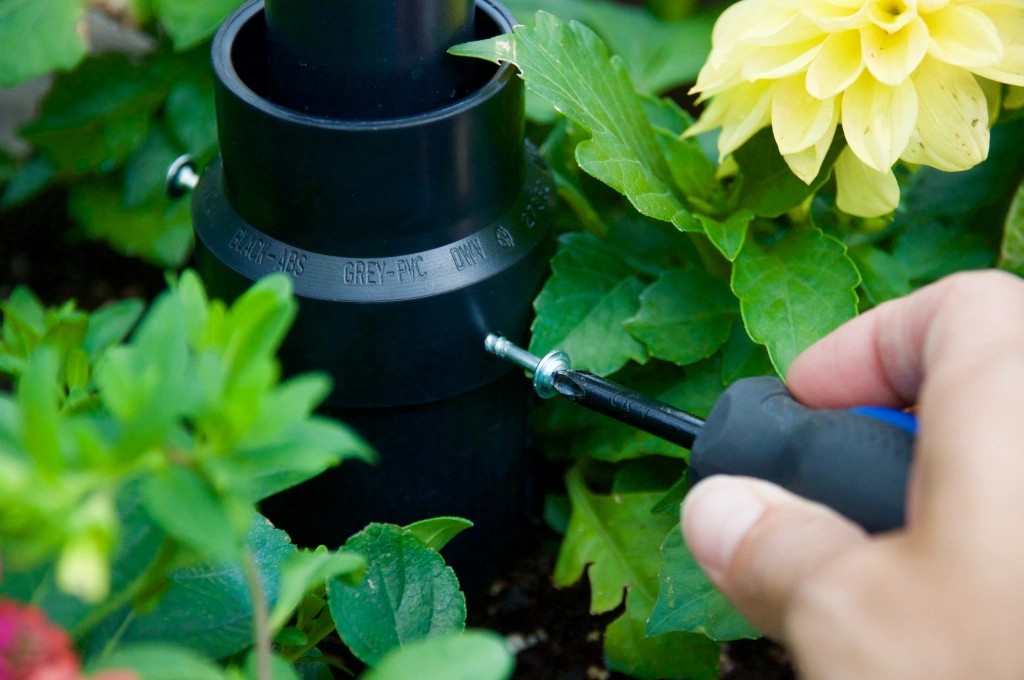 Now gently screw all three screws to keep the umbrella from spinning or moving.
 Ready for those sunny days of summer.
 Now to find the time to kick my feet up, relax, and read a book.
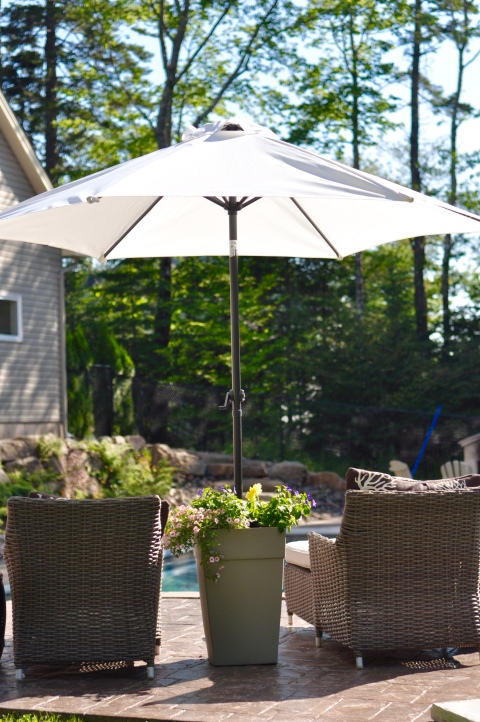 Petunias are perfect flowers for planters.
 Thanks for visiting 🙂


One response to “Easy DIY Umbrella Planter Stand”
[…] thehandyhomemaker […]
LikeLike