
This is an easy project to help with garage storage. I’ve had this type of storage in every house we have lived in. In our first home 22 years ago, my father in law installed something like this in our garage and in the basement stairwell. However, he used saved condiment jars, like cheese whiz 😉 It was an easy way to find a screw or a nail and saved searching time. When I was organizing my garage I installed a few cabinets for storage and a better work area. I couldn’t wait to install this mason jar storage in this space. I spray painted the lids flat black as I wanted the lids to blend in with the shelving. You could paint them any color you want or leave them unpainted. Once everything was installed, I placed a couple of extra lids in a small container on the counter. When I need to take the jar to a project, I can do so without spilling the contents of the jar. Once finished with your offsite project, return the jar and put back in place.
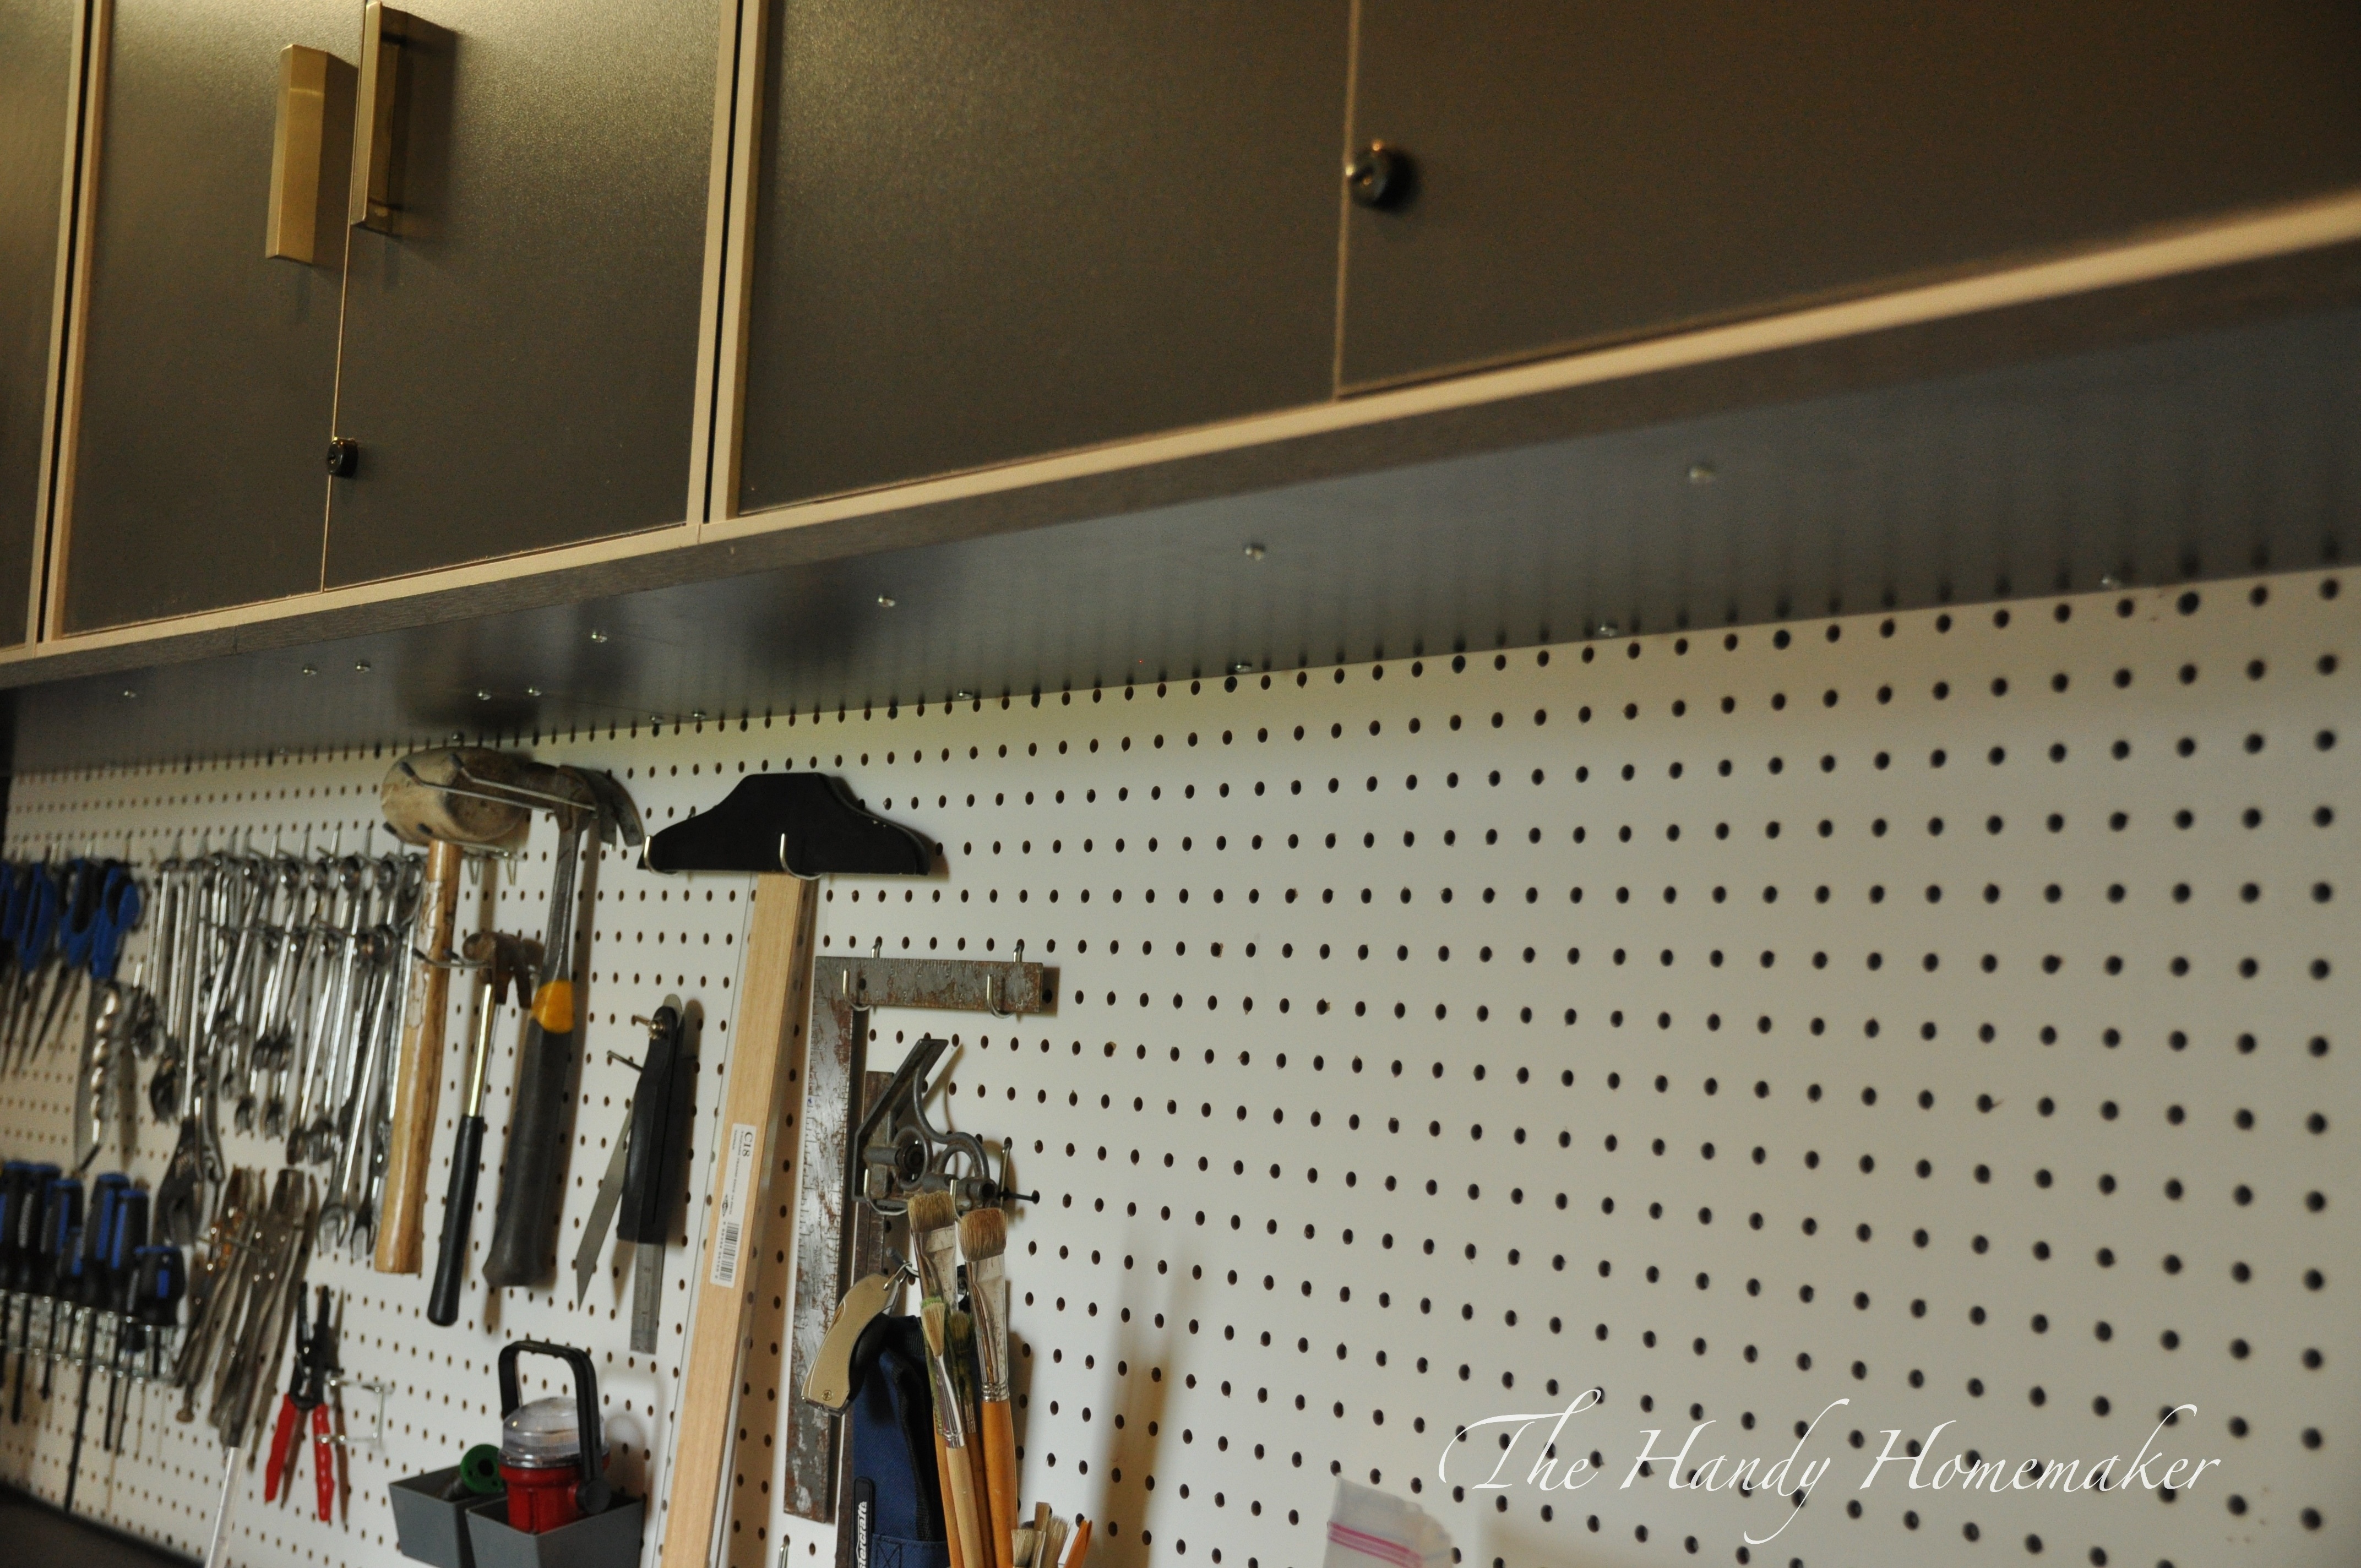
To start, I installed upper cabinets and base cabinets mounted them together and added a pegboard backsplash. The cabinets I have the bottom shelf is only 5/8″ thick which I felt was not thick enough to hold a jar full of screws or nails as over time small screws could loosen and fall out. I added 5/8″ pre-painted black shelving to the bottom of my cabinets. This allowed for a 1-1/4″ screw to grip through without going into the cabinet interior. The shelving also gave the bottom of my cabinets a finished look.
Materials needed:
- Pre-finished shelving to fit project area
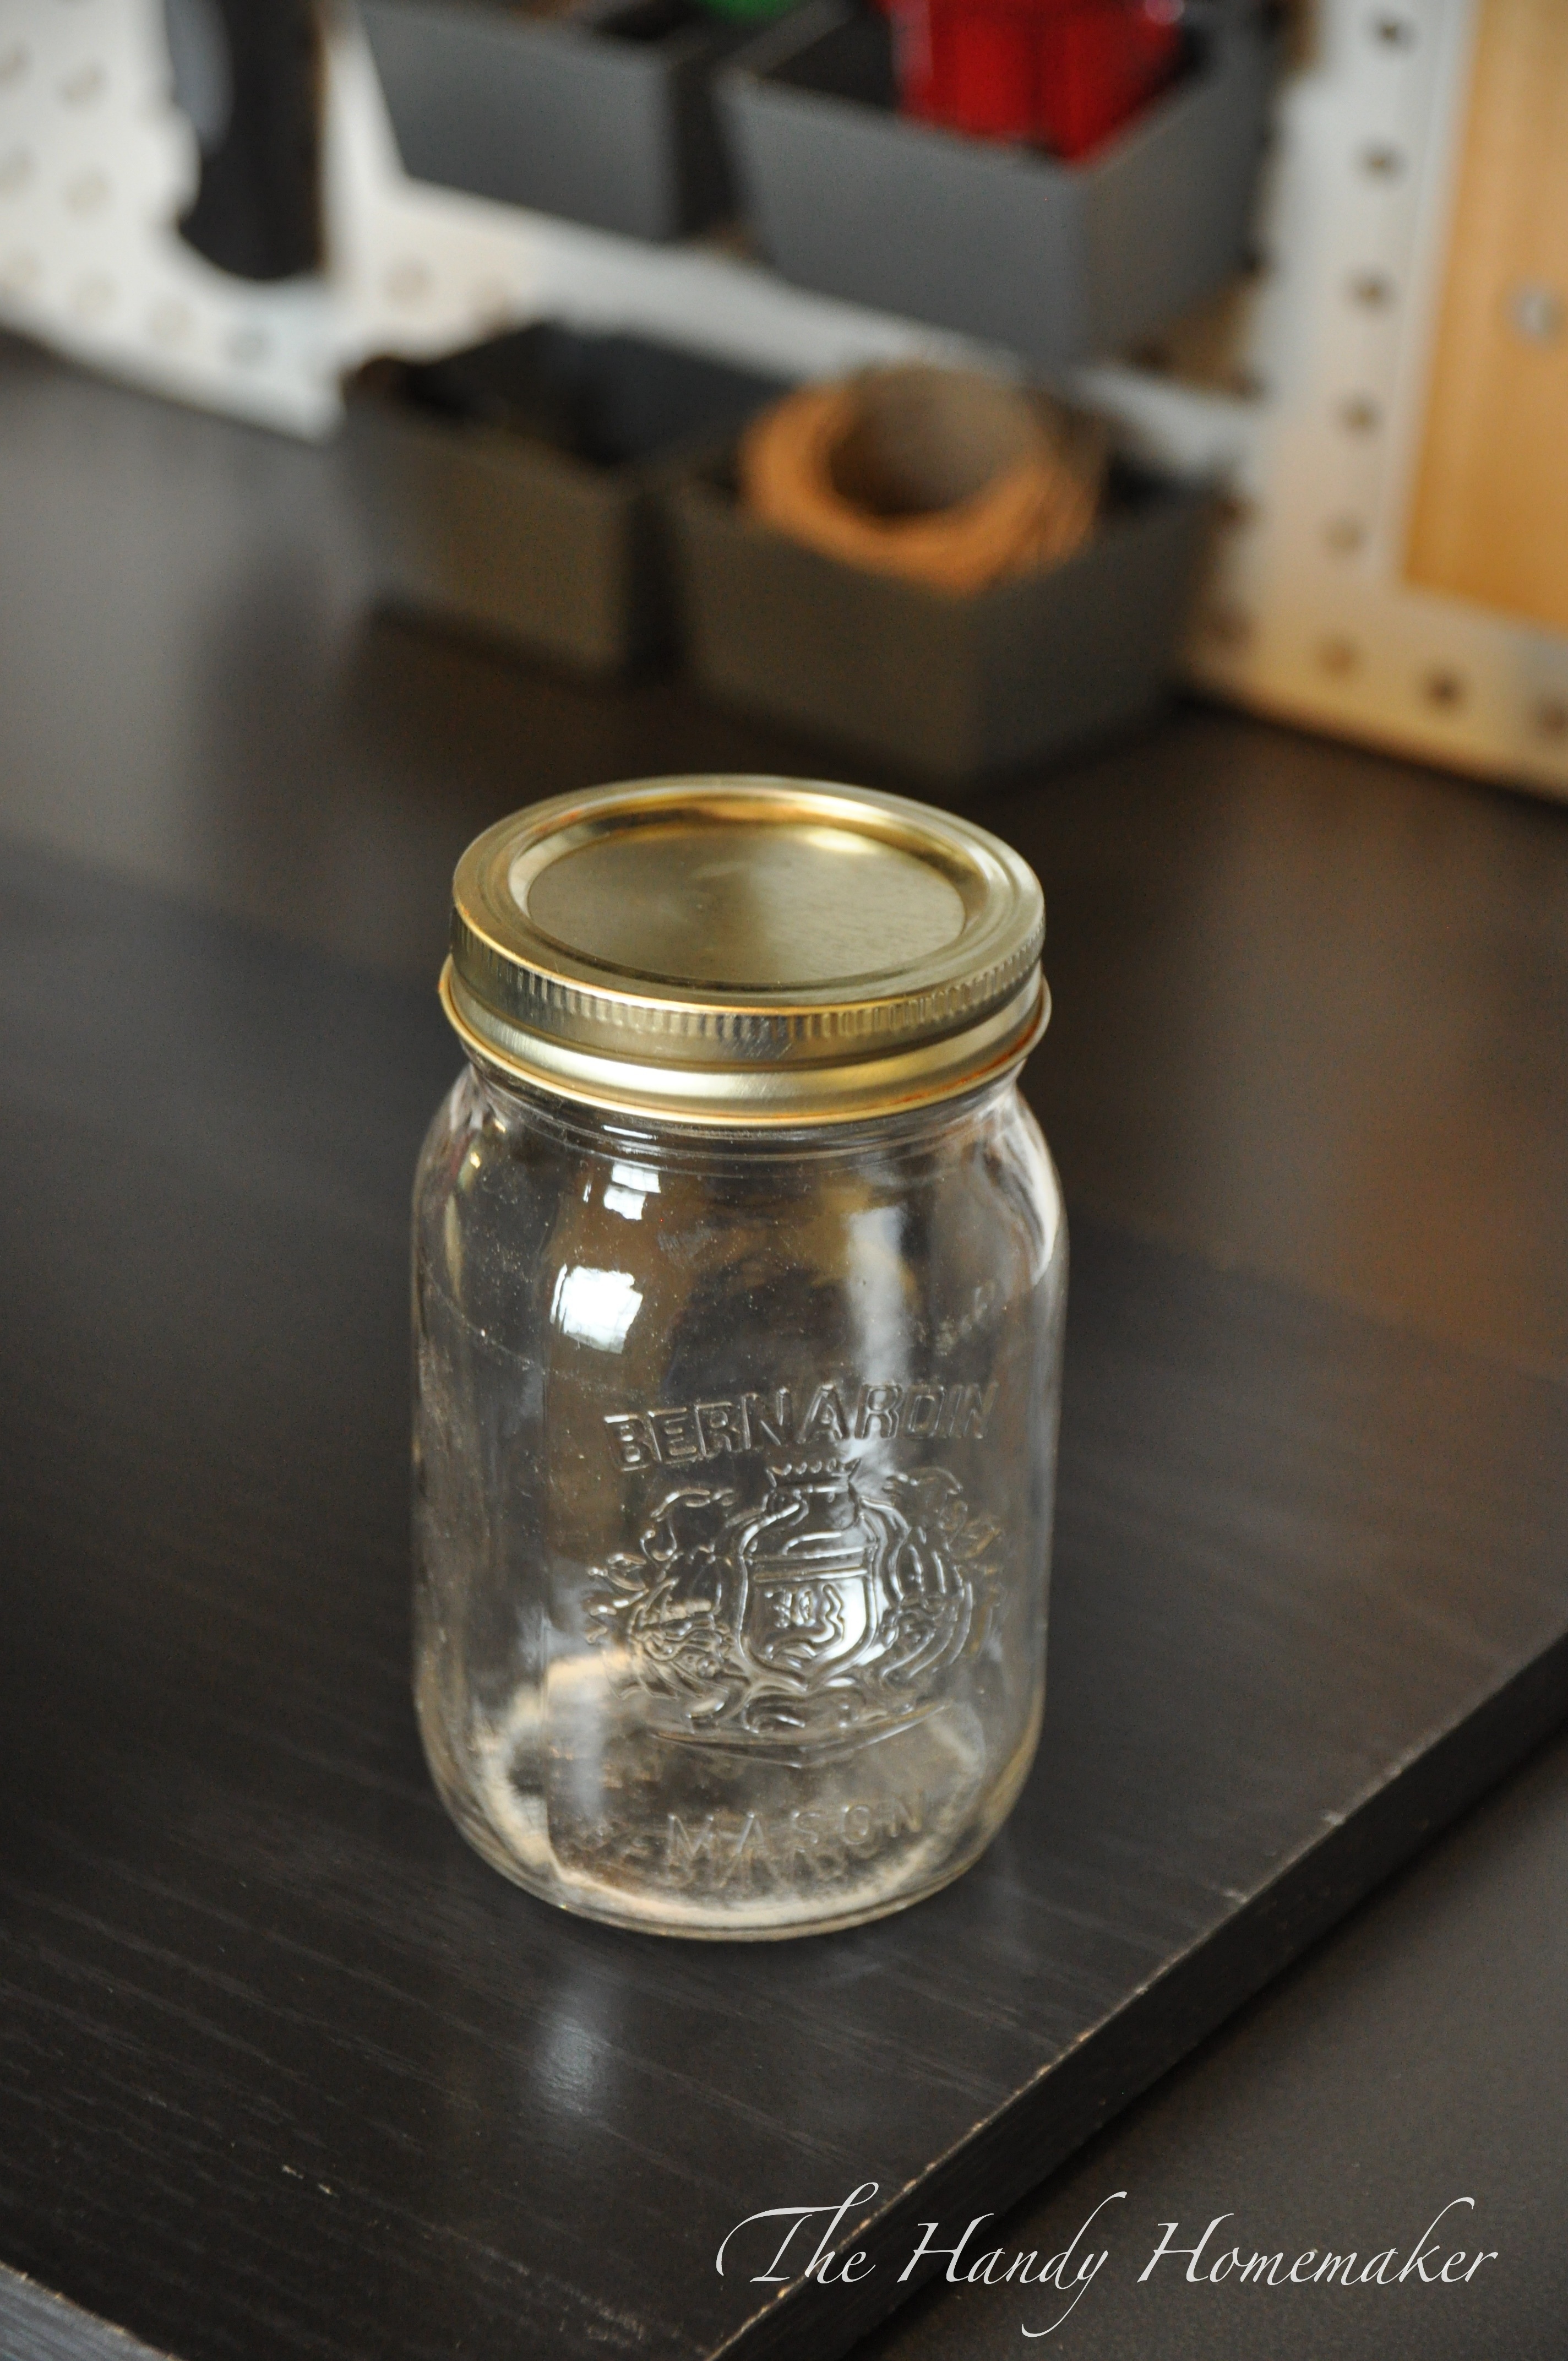
- Mason jars with covers
- Spray paint (in the color of your choice if choosing to paint the lids)
- 1-1/4″ Wood screws
- 5/8″ wood screws
- wood glue
- pencil
- hammer
- drill with bit to match screws being used
- small drill bit to pre-drill holes
- measuring tape
- ruler or carpenter square
- protective eye wear
- *sliding mitre saw or circular saw

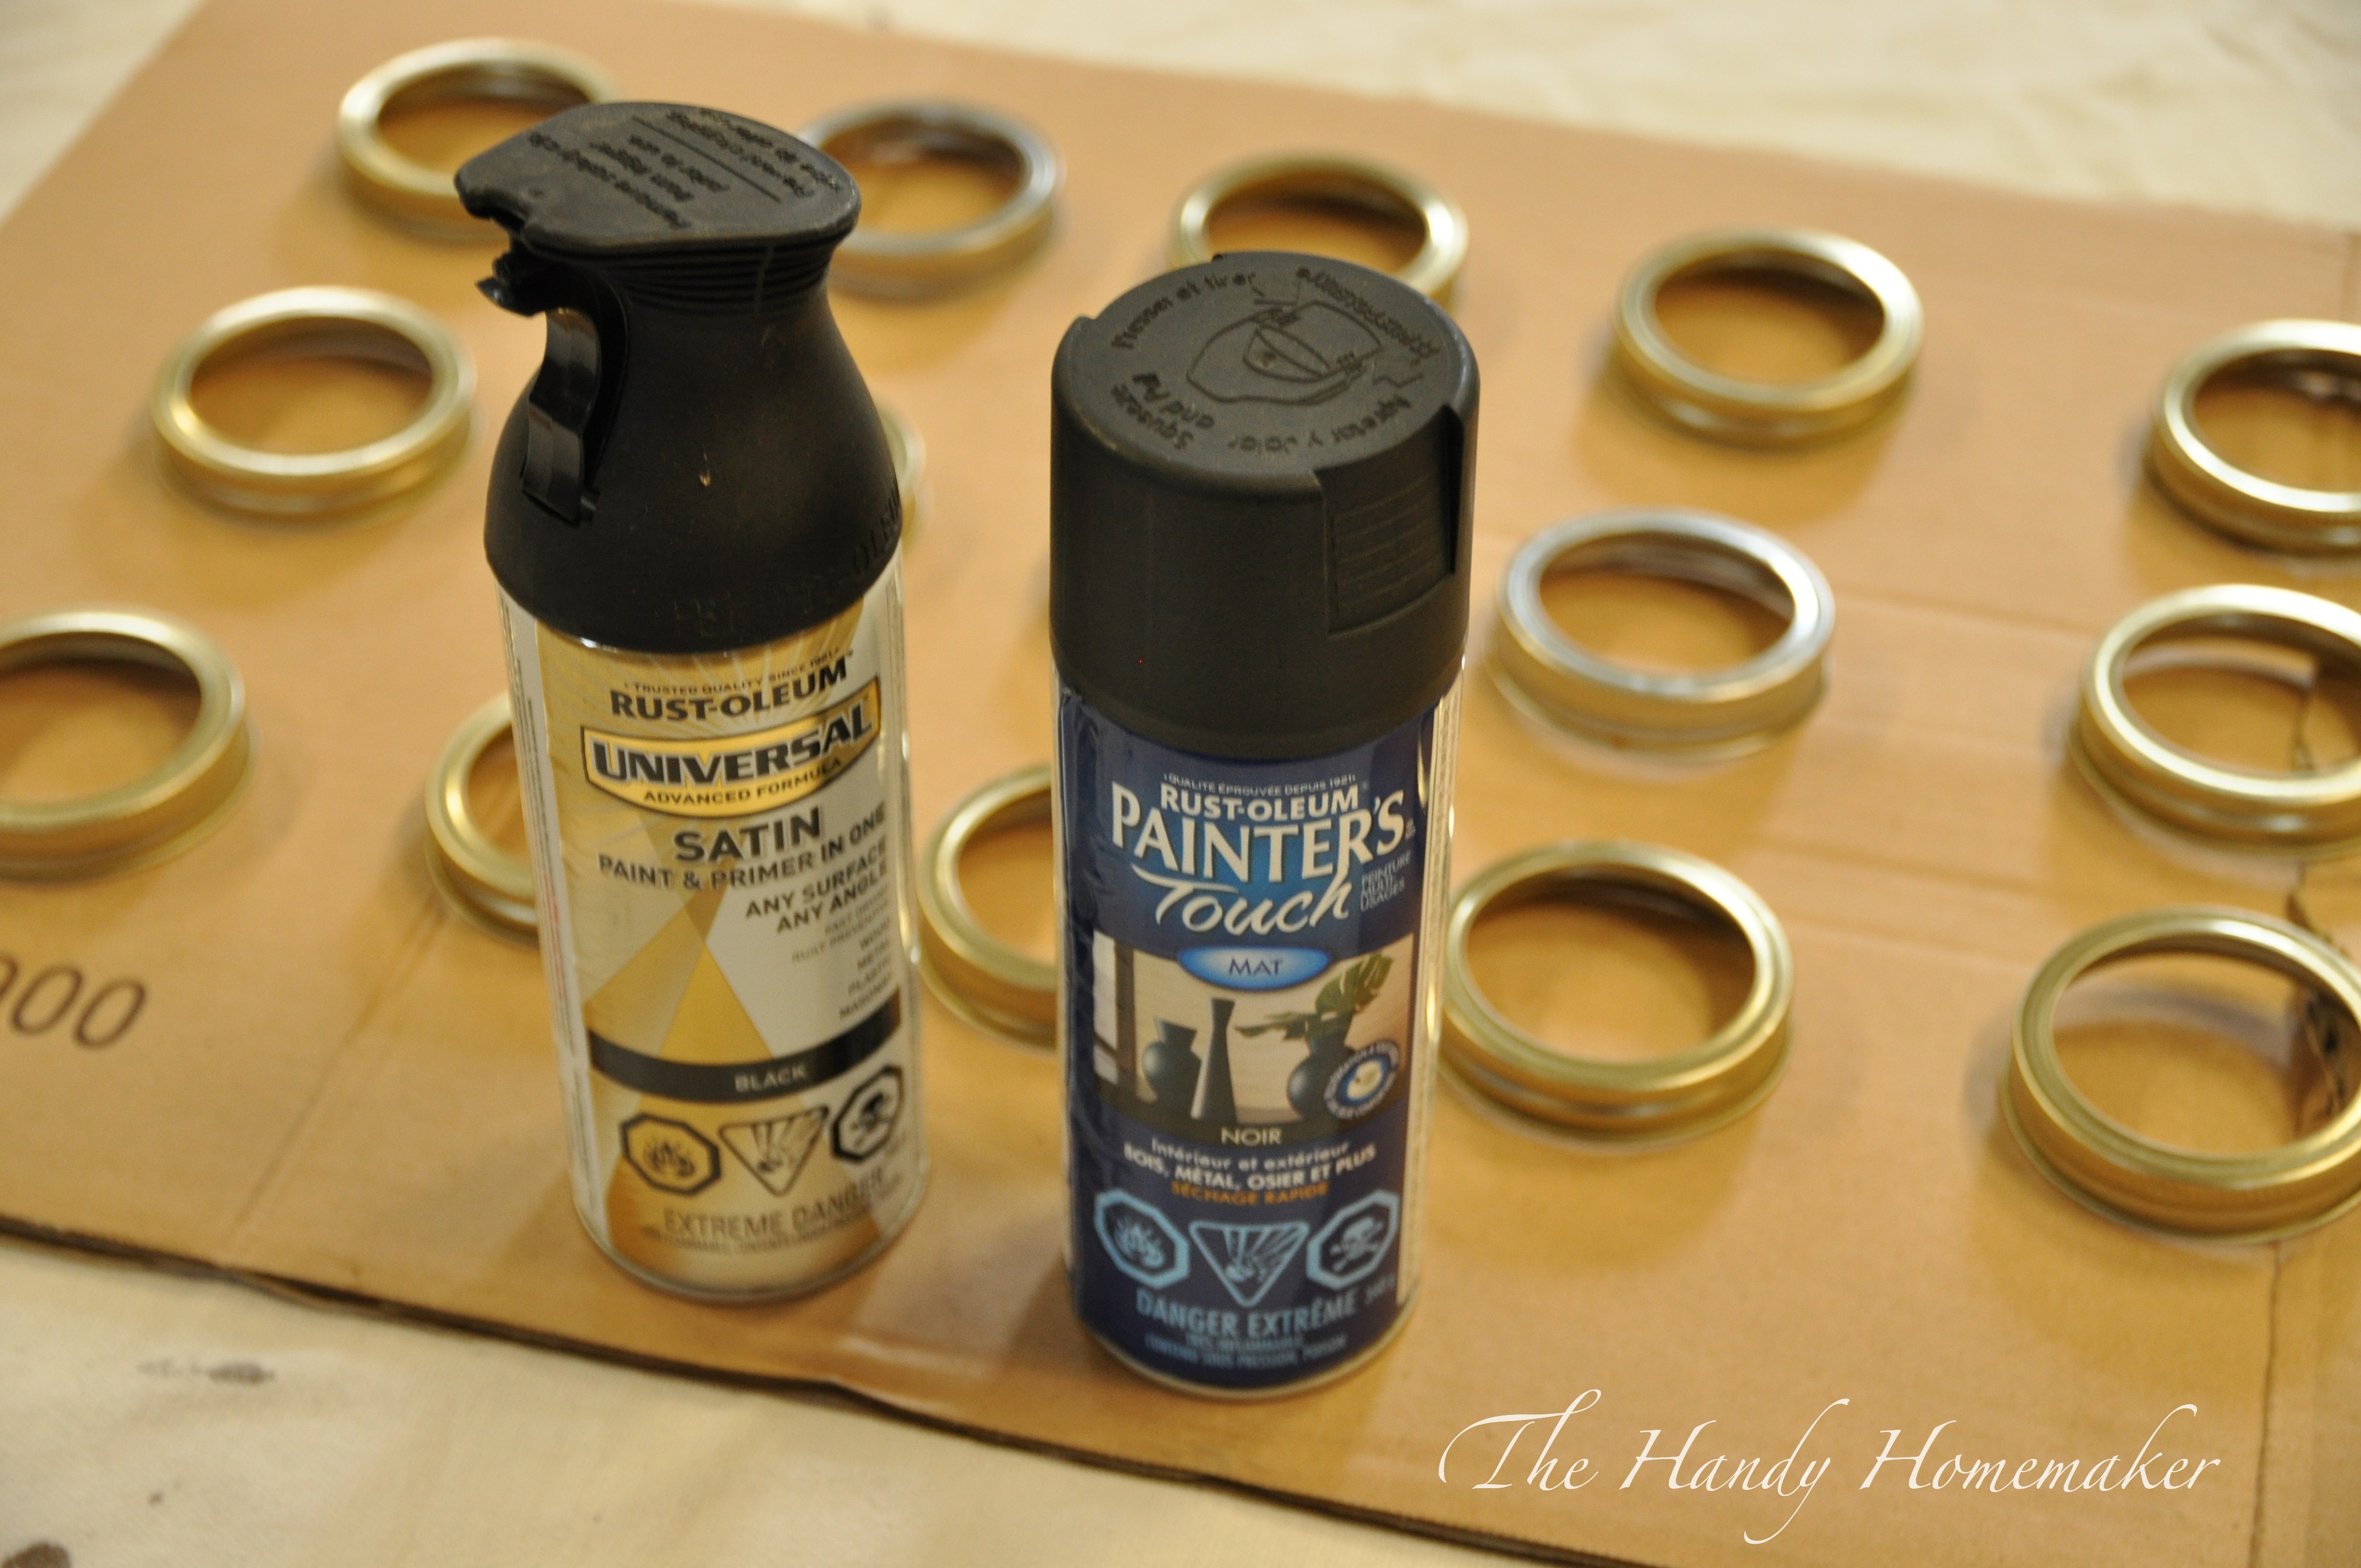 In a well ventilated area spread the jar lids on a piece of cardboard placed in on a painting sheet to protect the area from over-spray
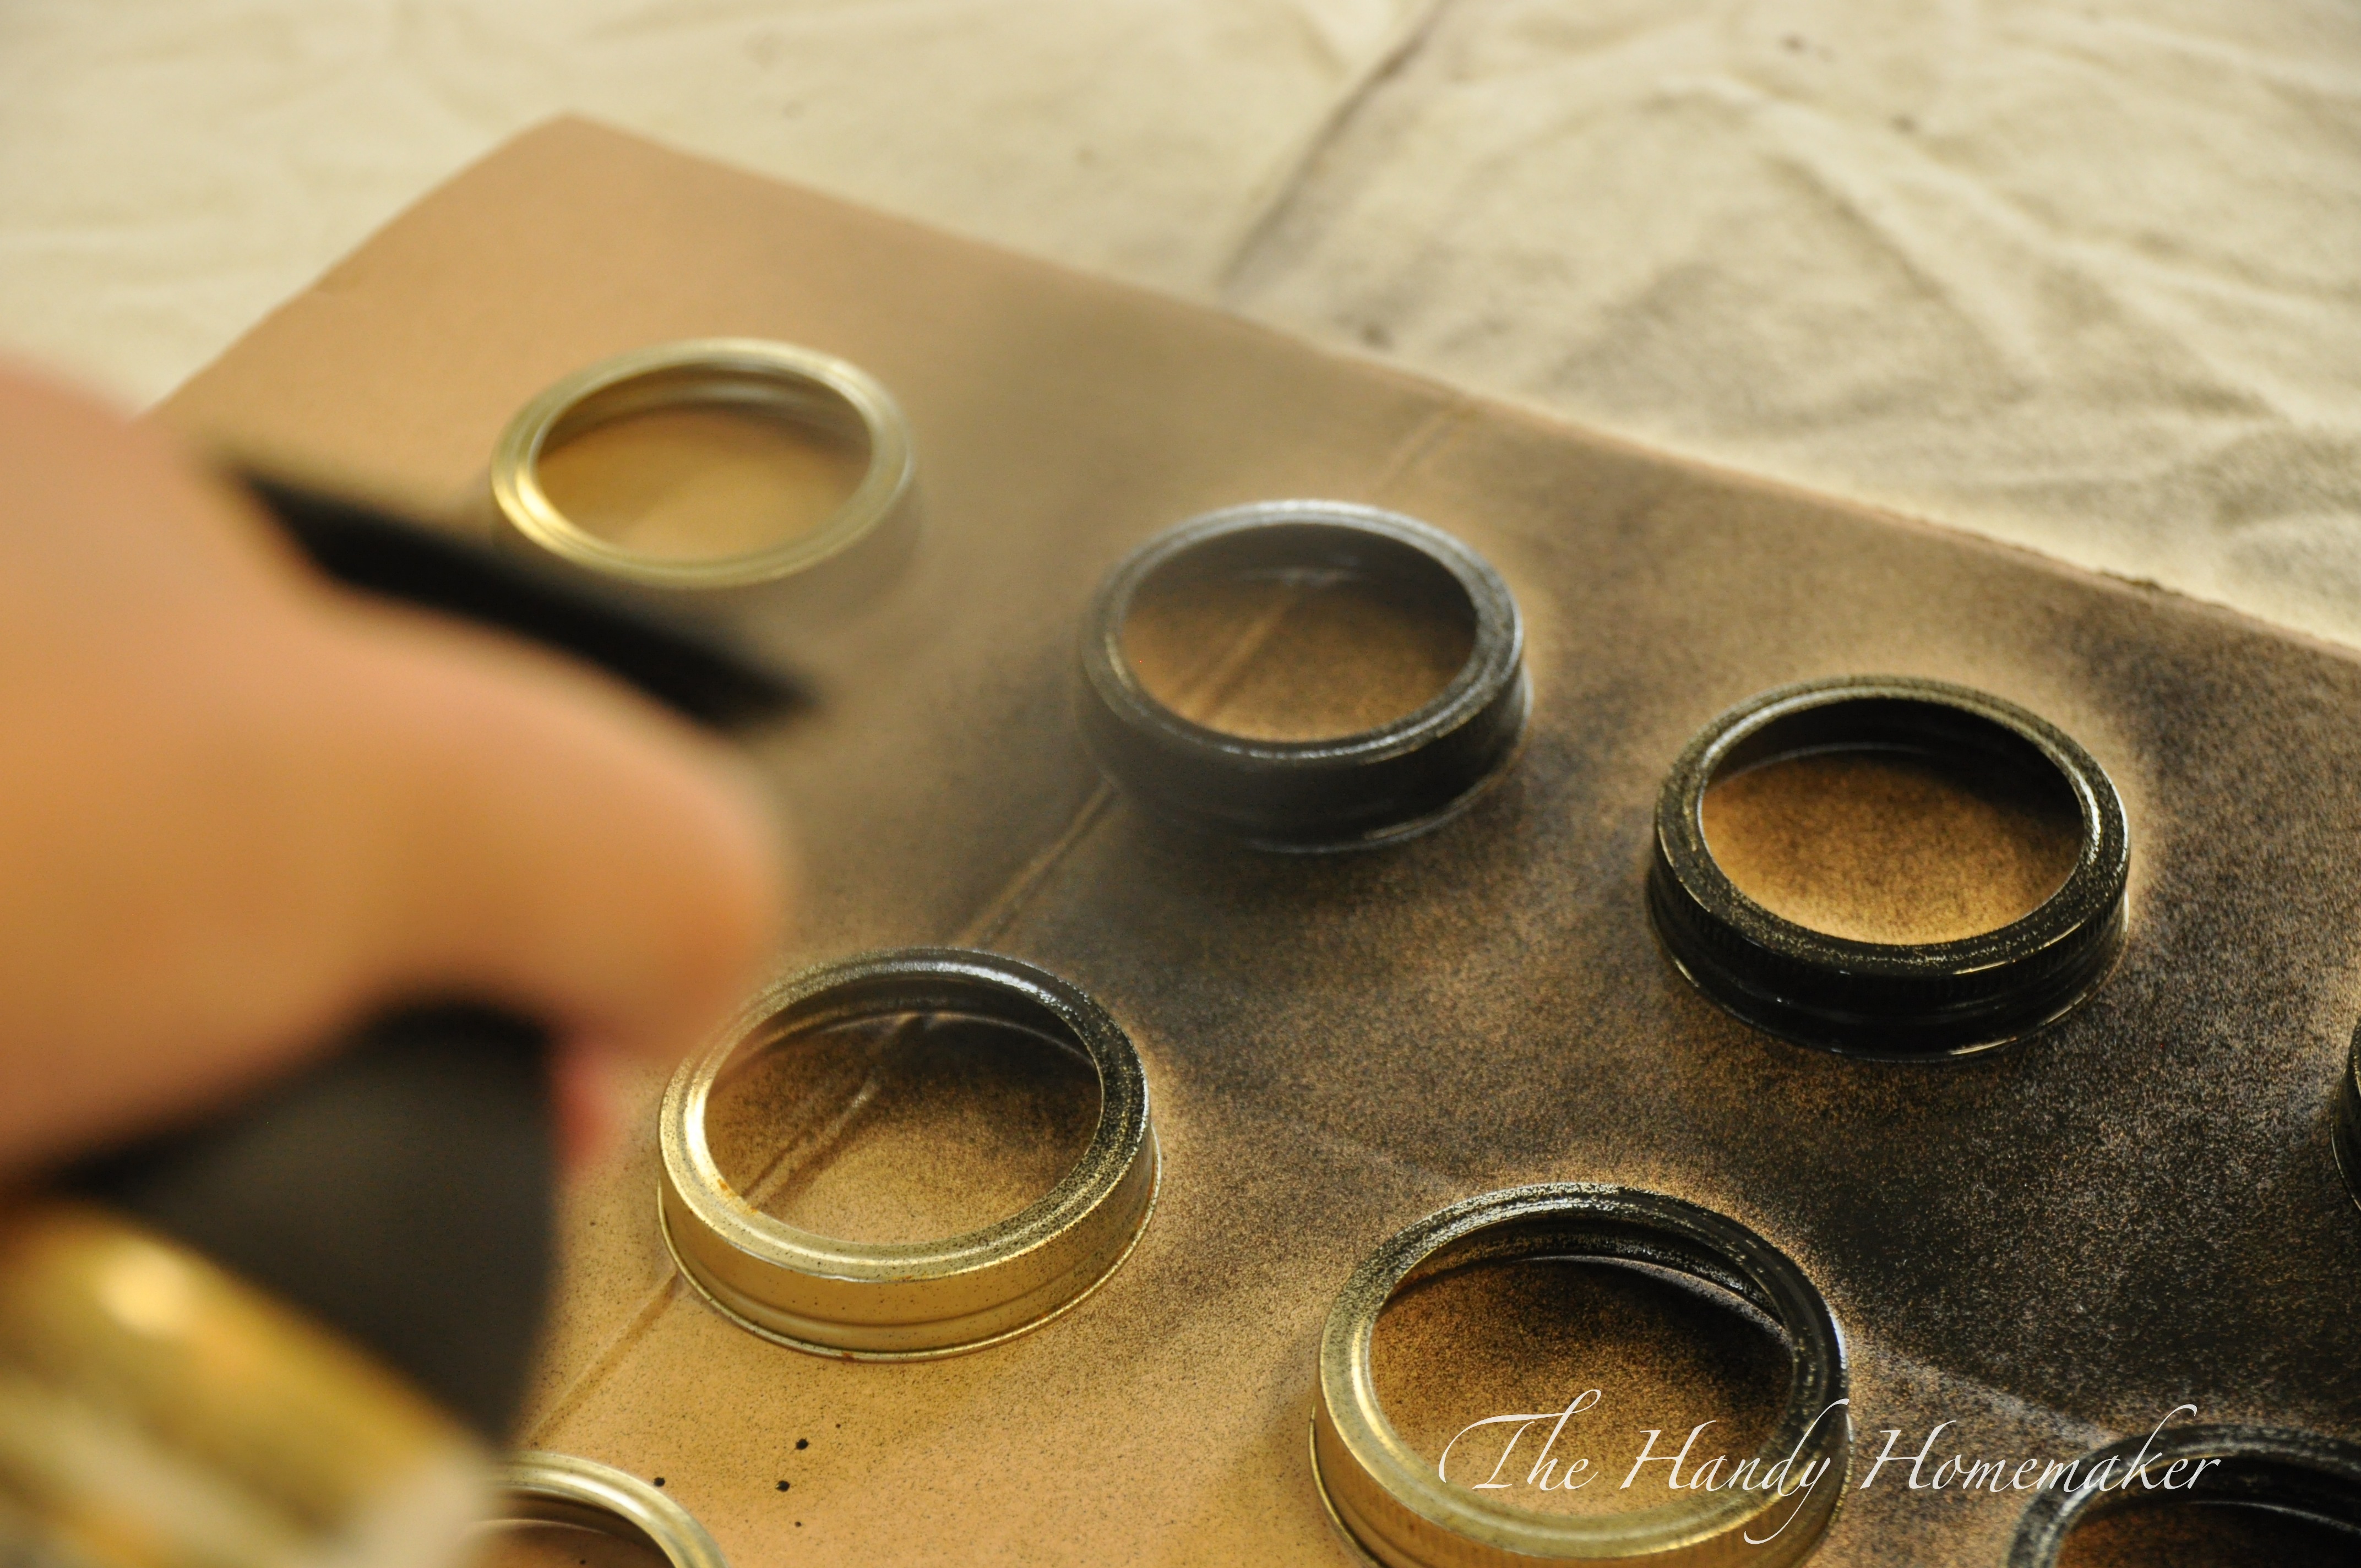 Spray a light, even coat of paint to cover the screw band part of the cover. Let dry as per instructions on the can and then spray another coat of paint if needed
 Let the covers completely dry
 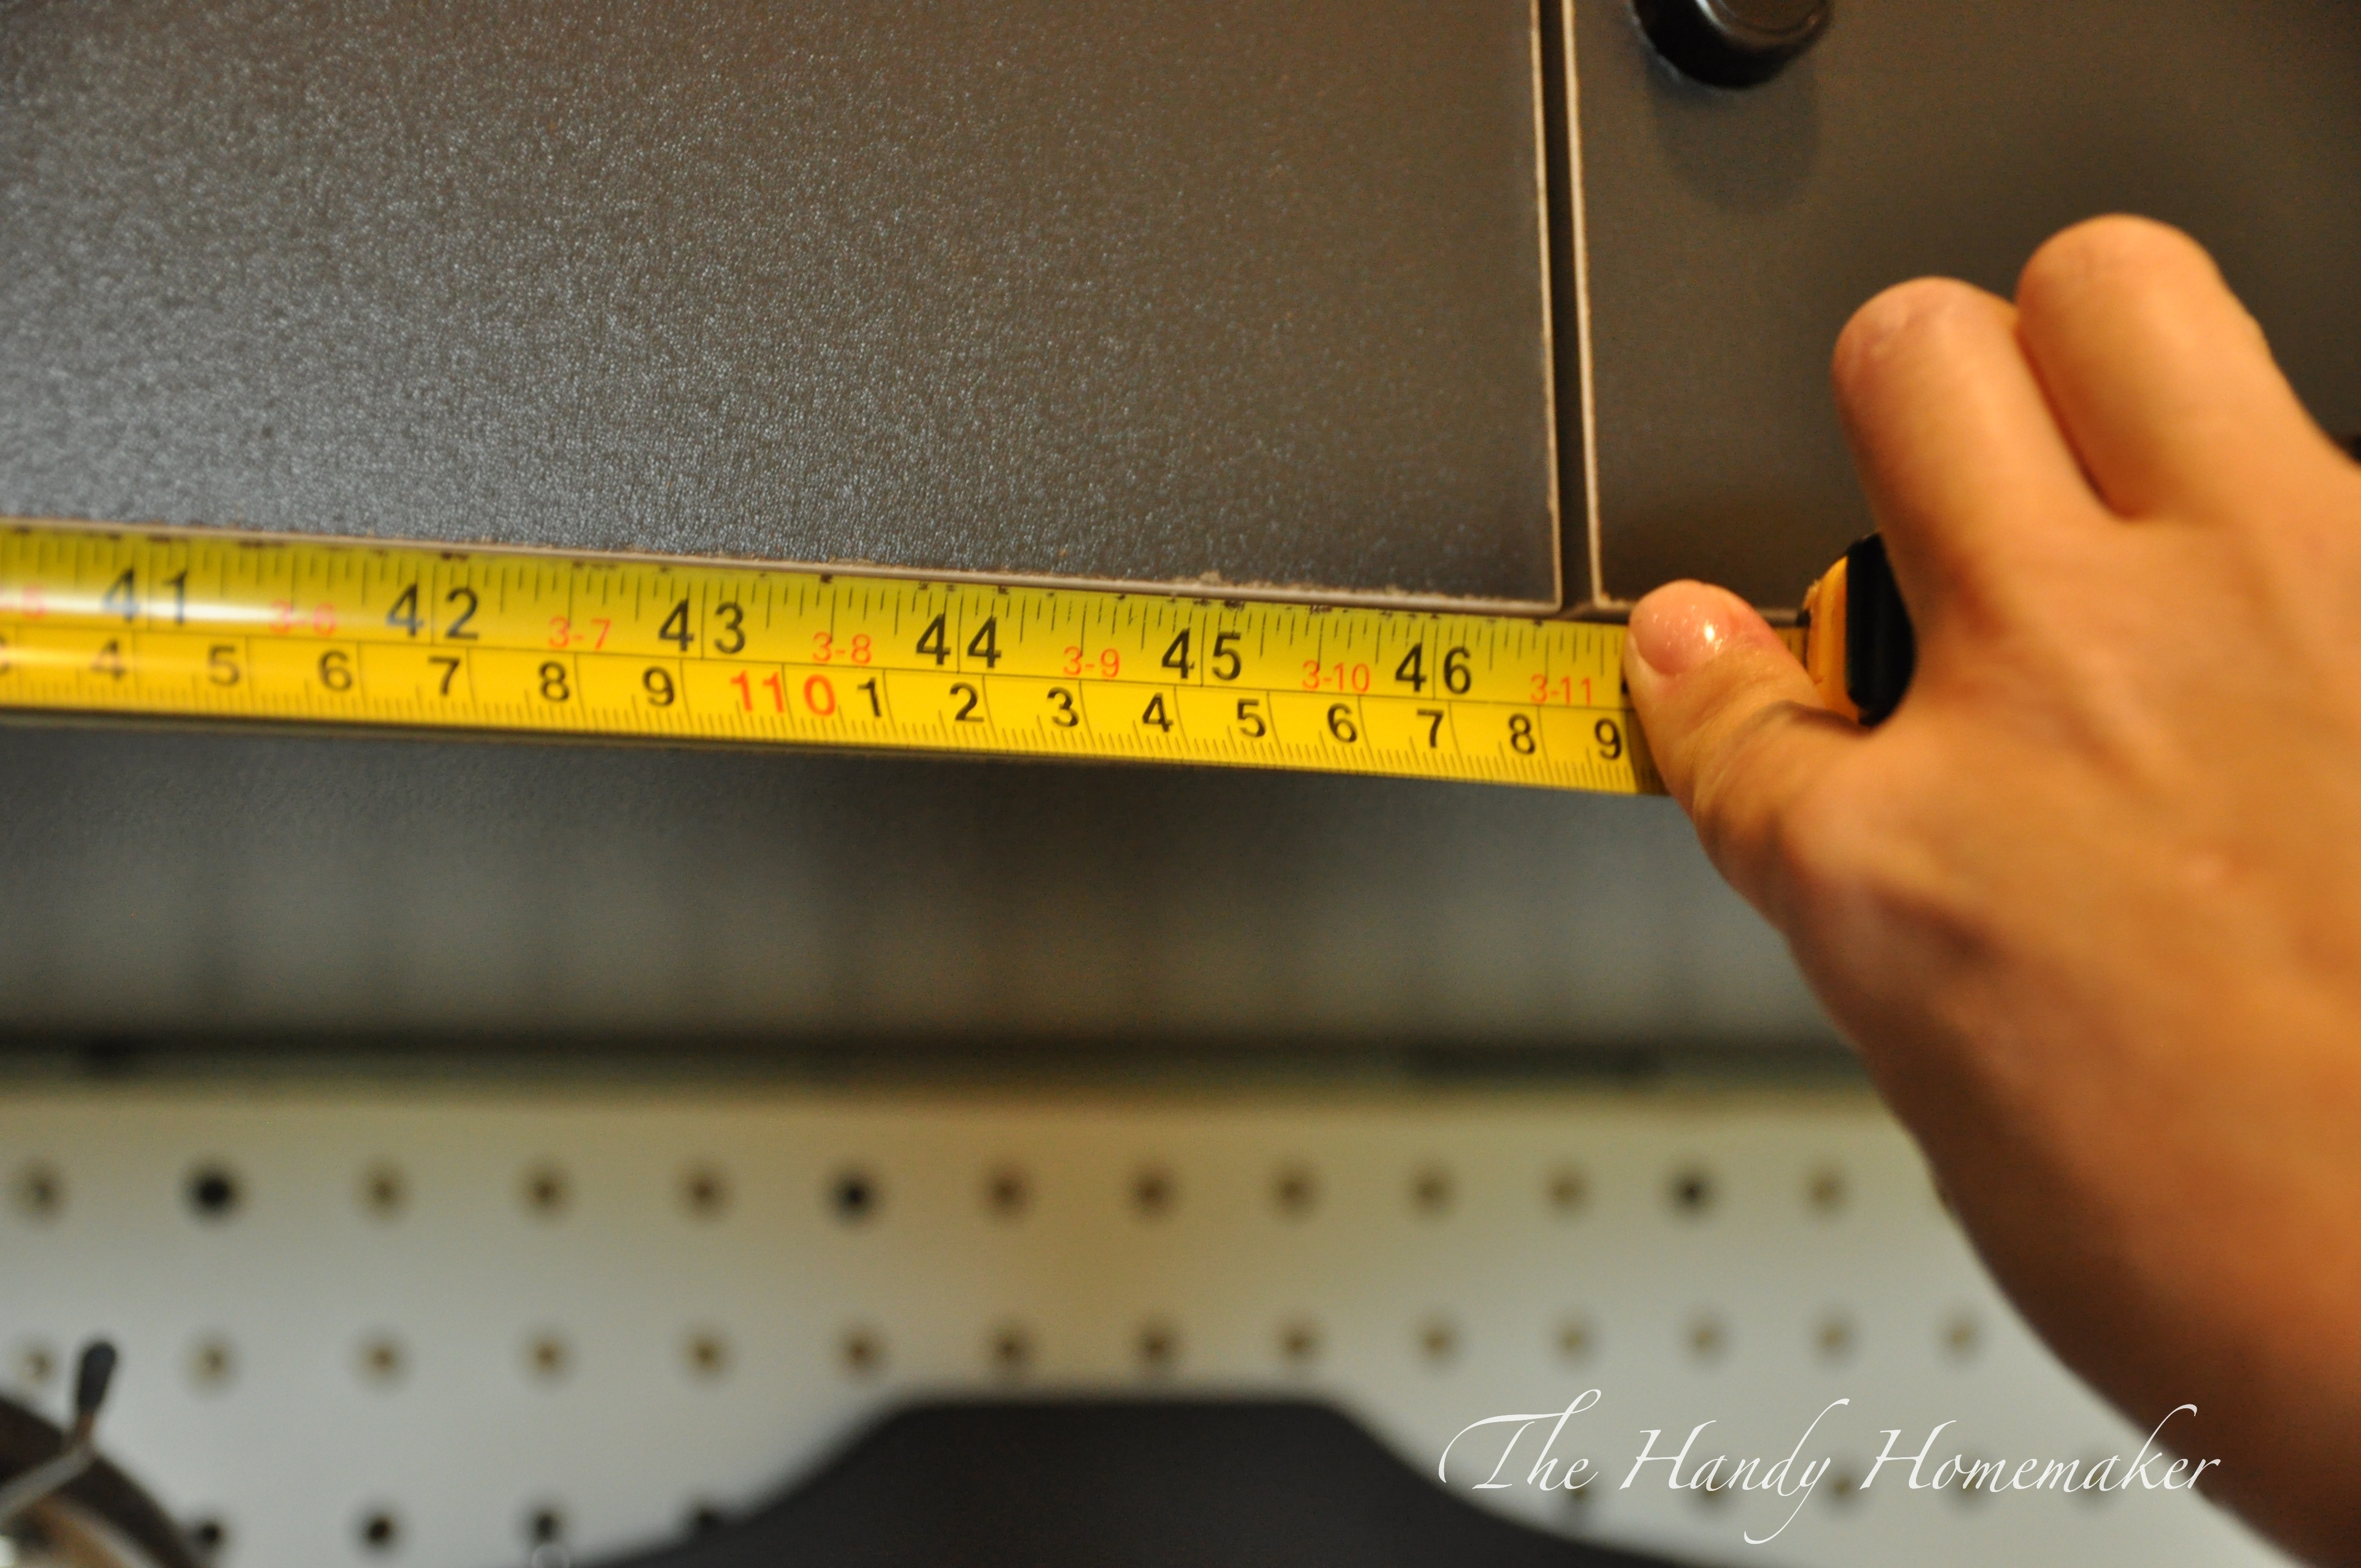 If the shelving needs to be cut to fit the space you are installing, measure twice, cut once 😉
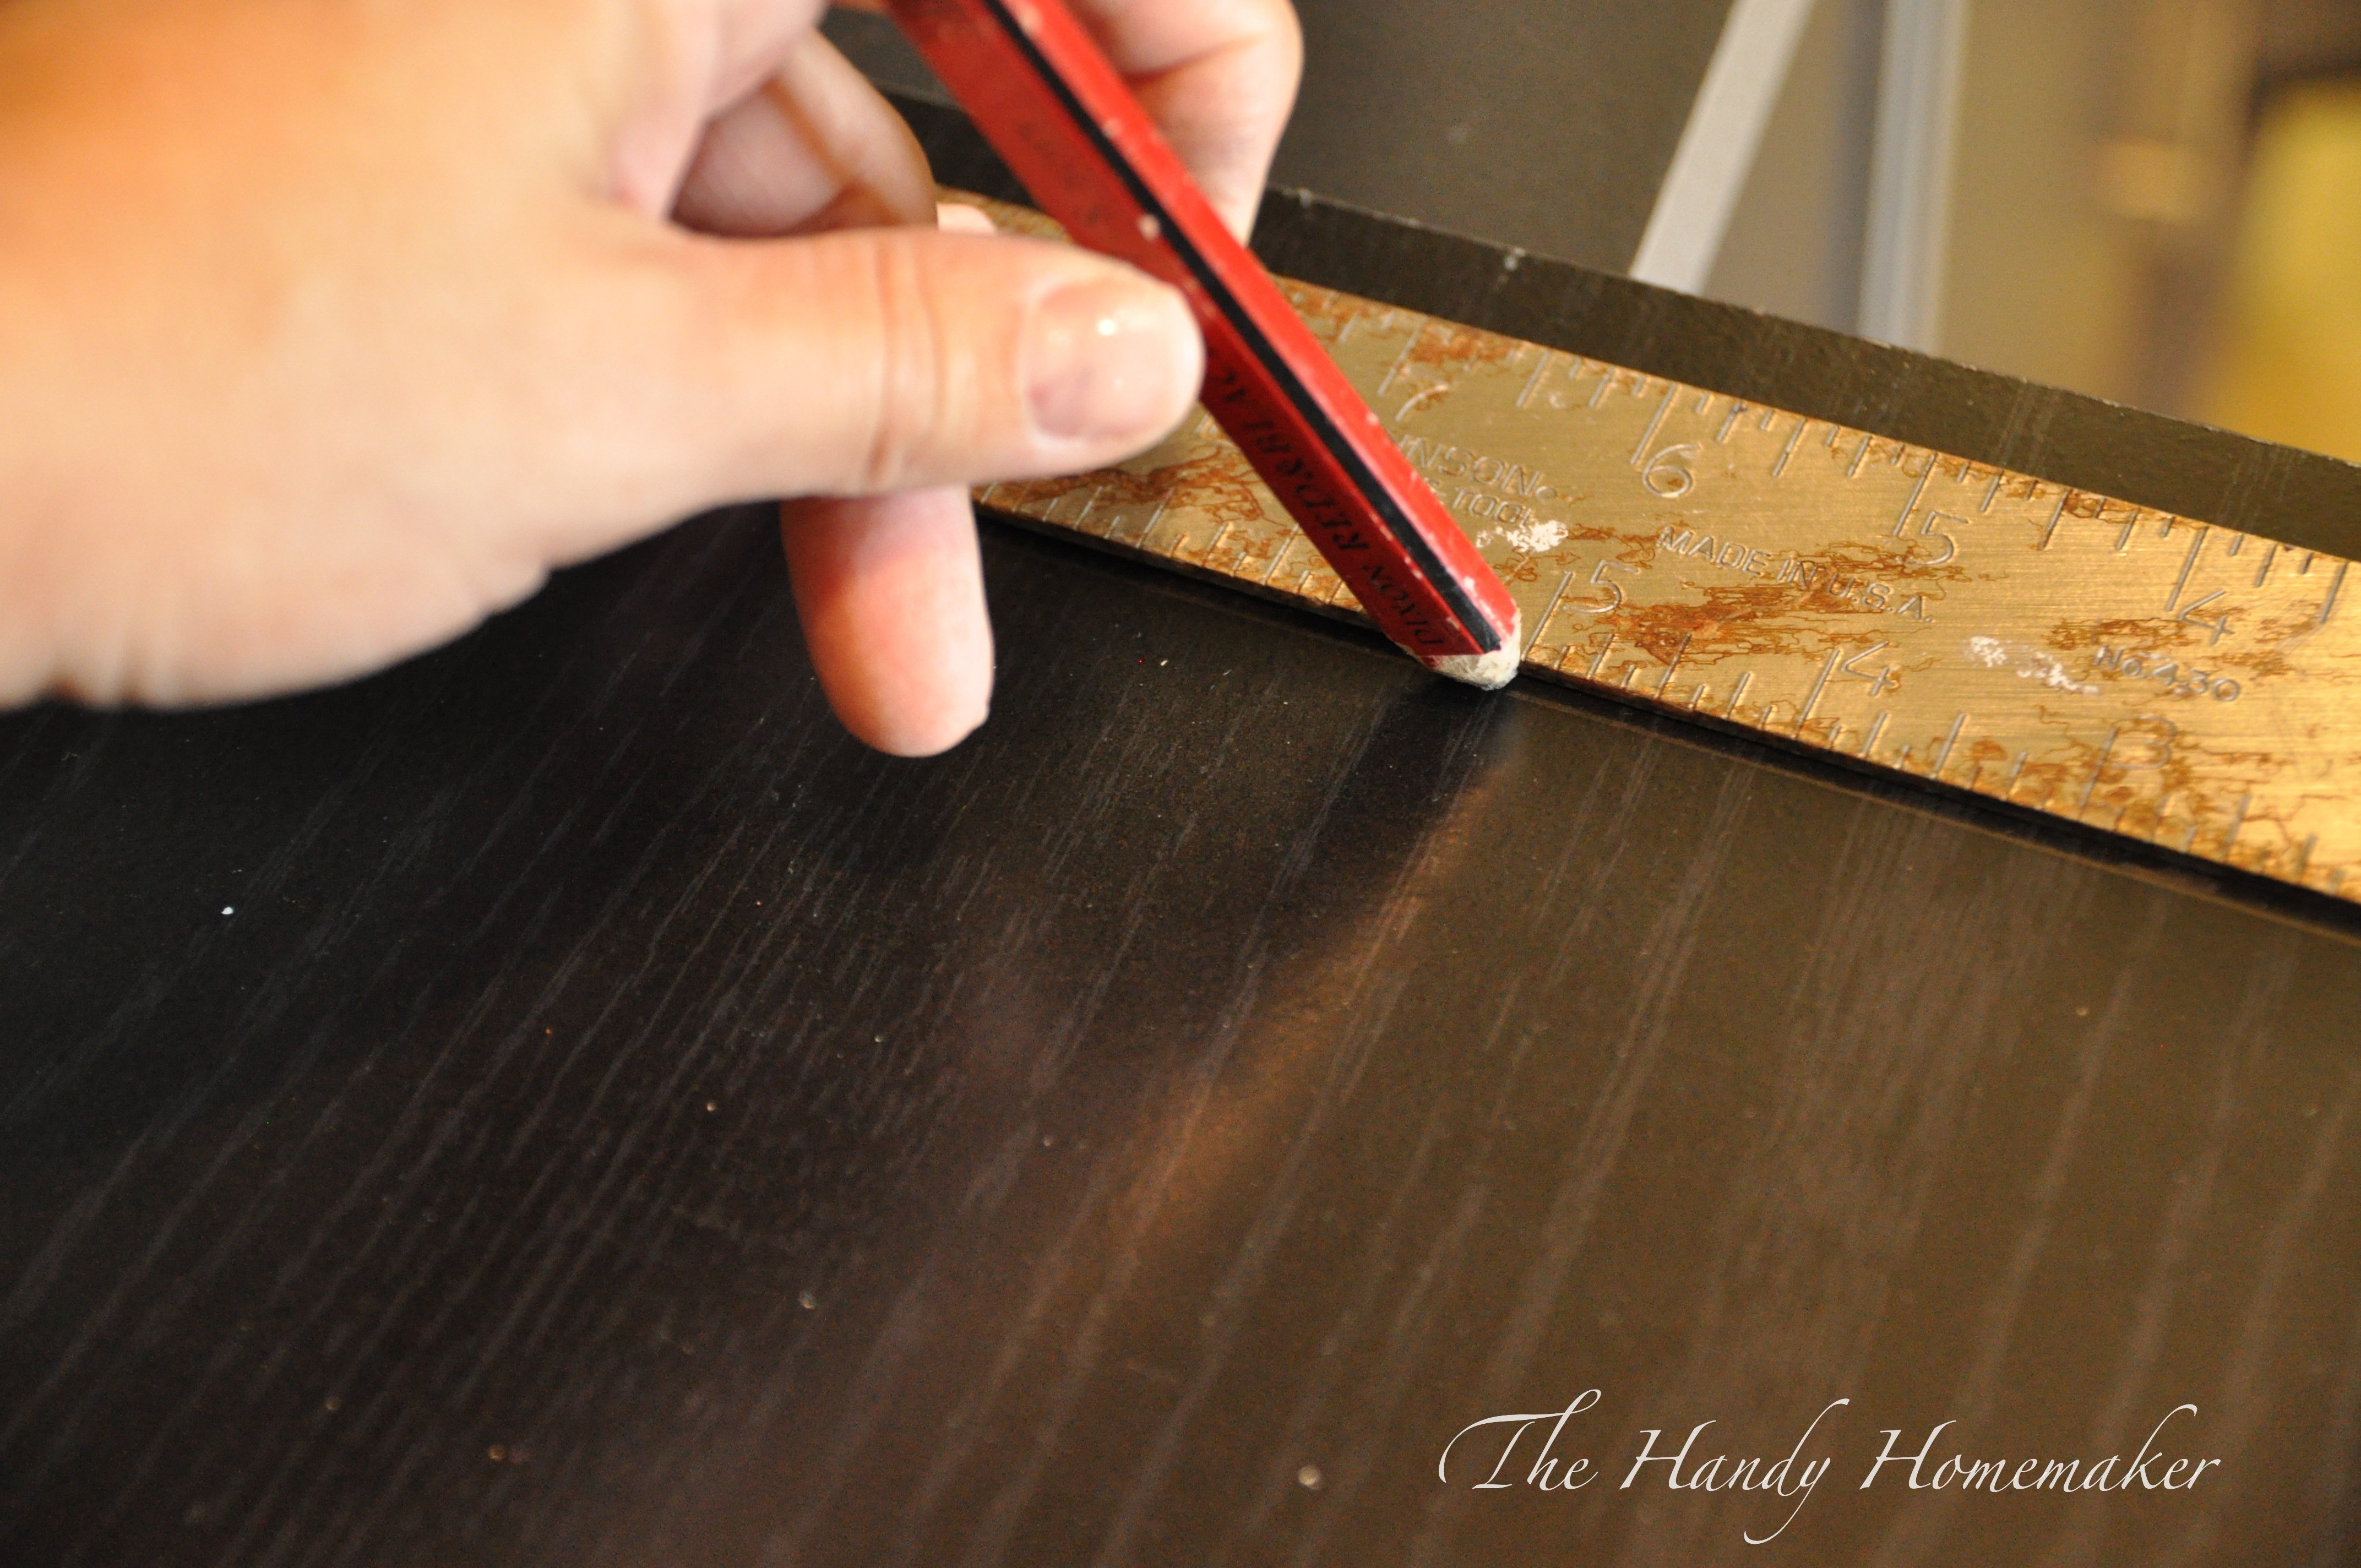 Use a ruler or carpenters square to make sure your cut mark is square and straight.
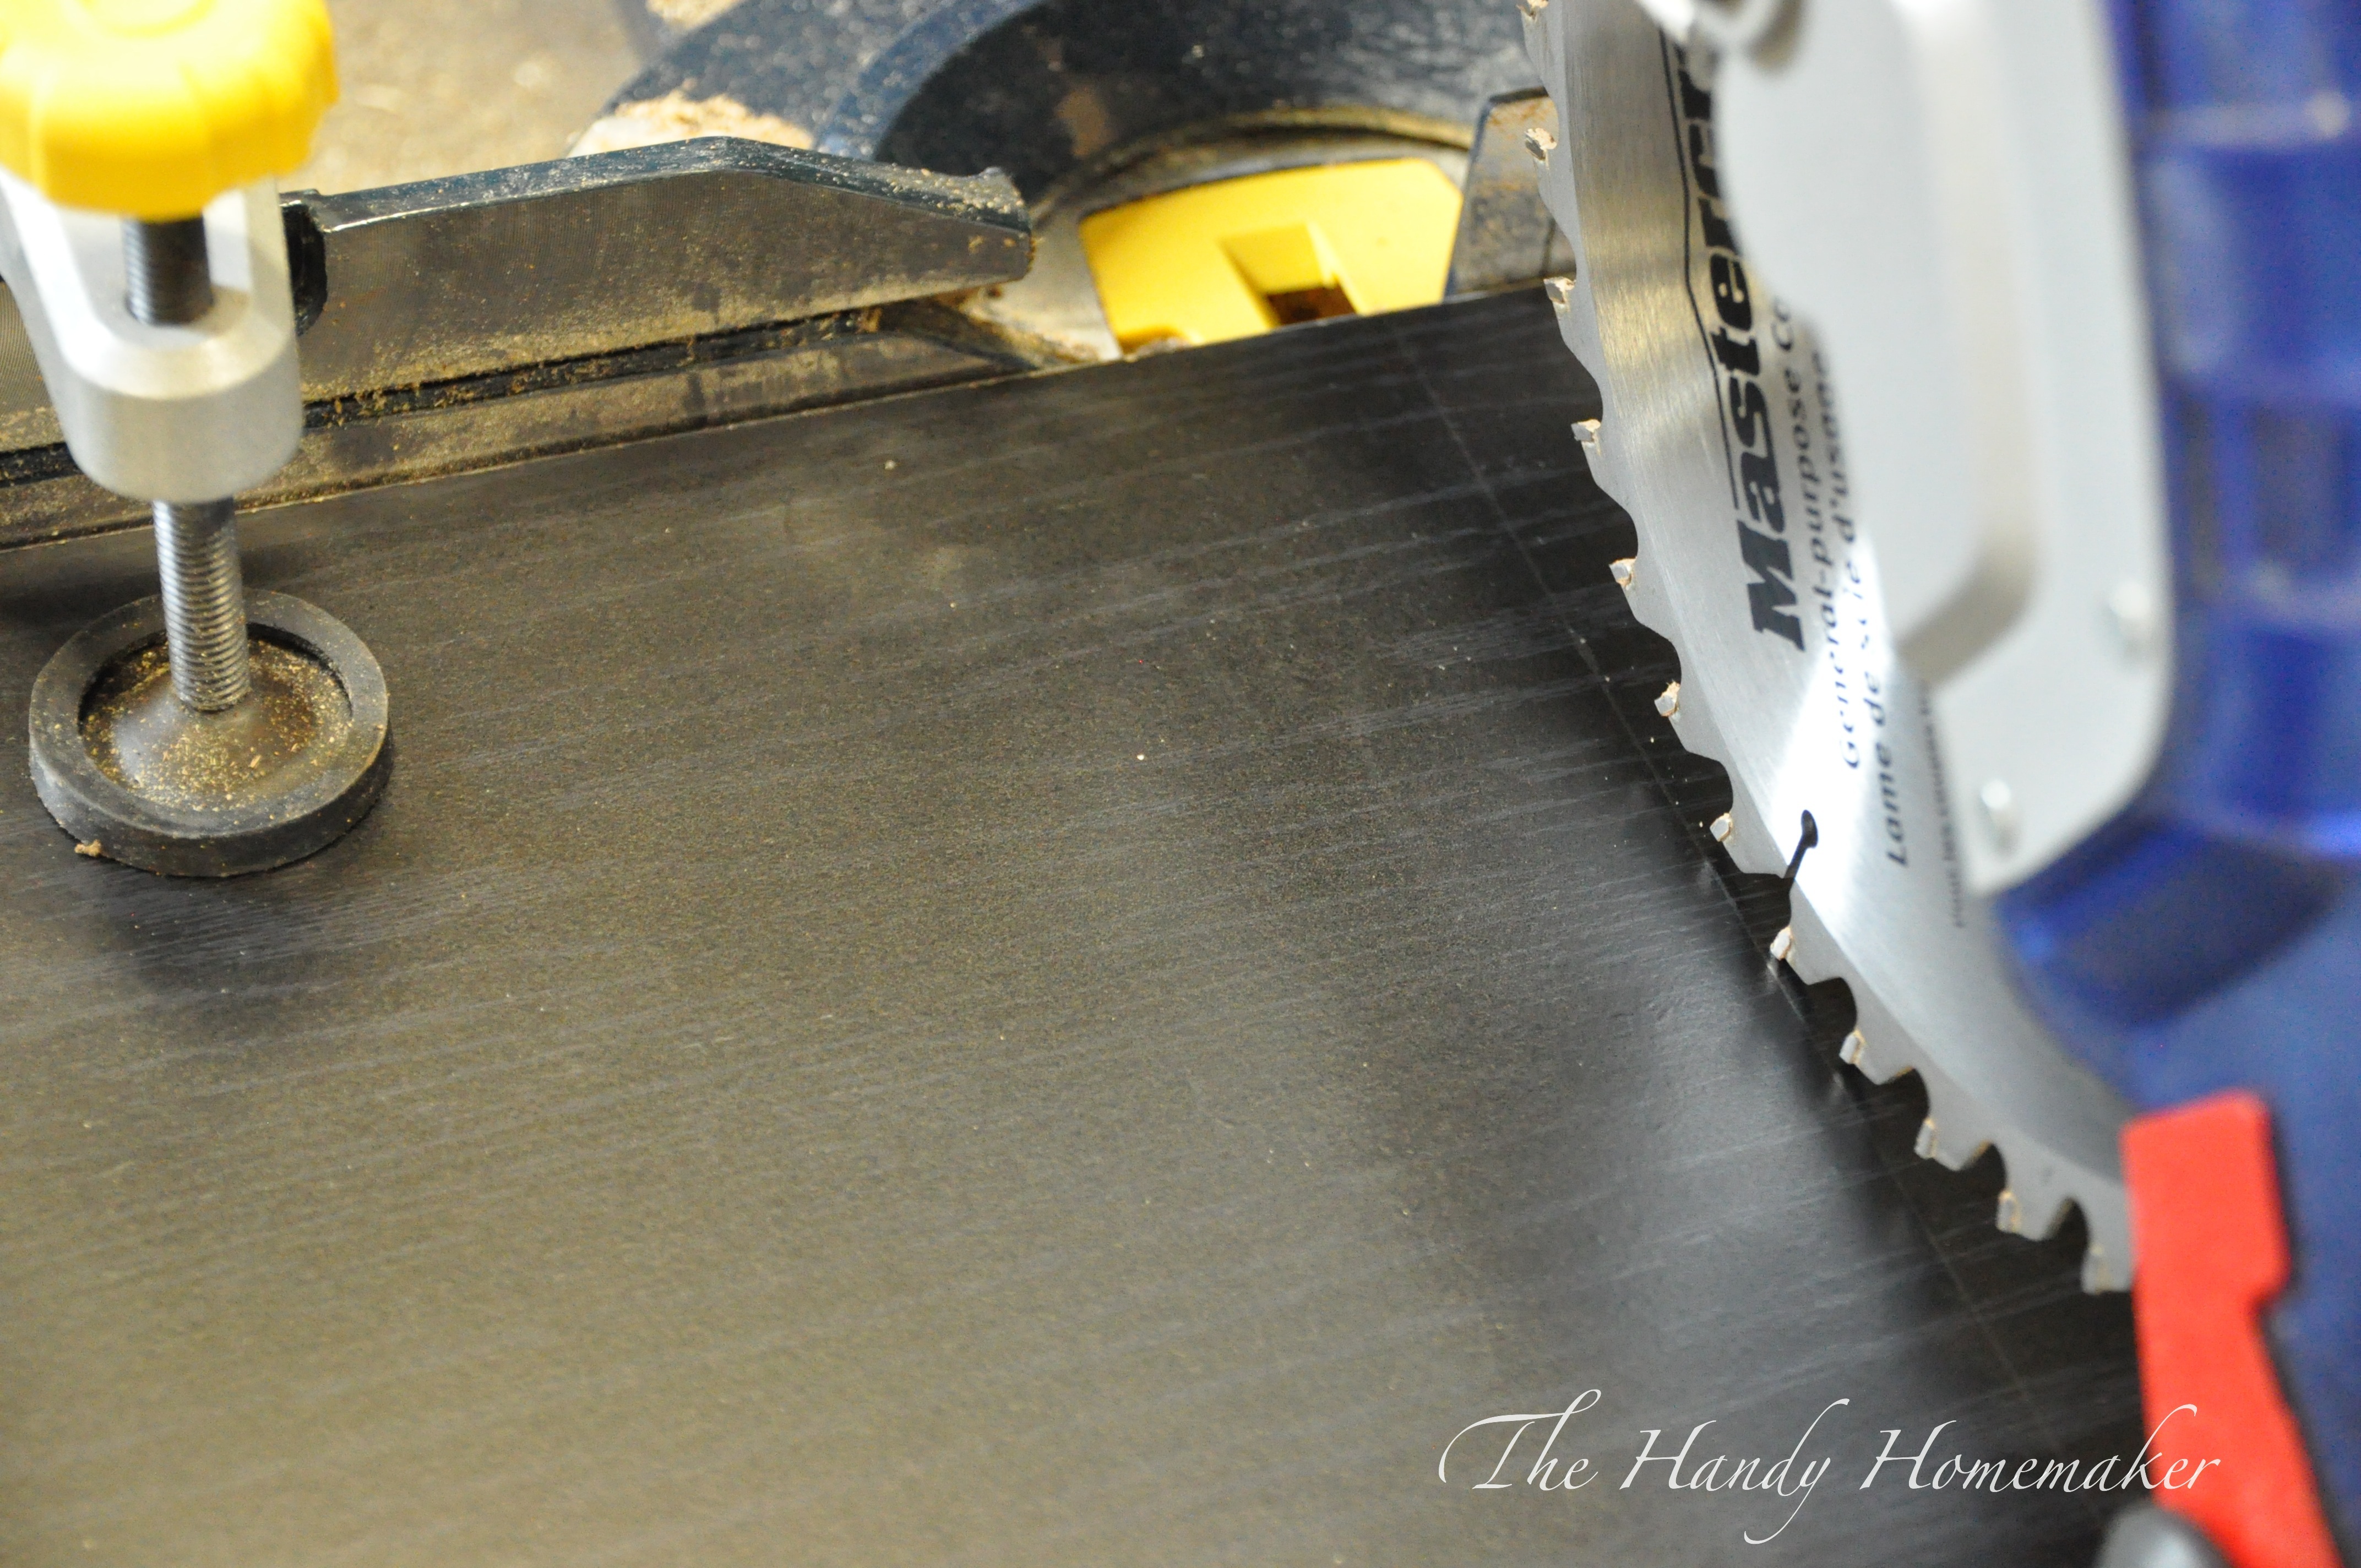
Place on your protective eyewear and set your board in place and line up your cut mark to the blade. I love that my saw has this grip vise attached to hold my board in place once I set it. 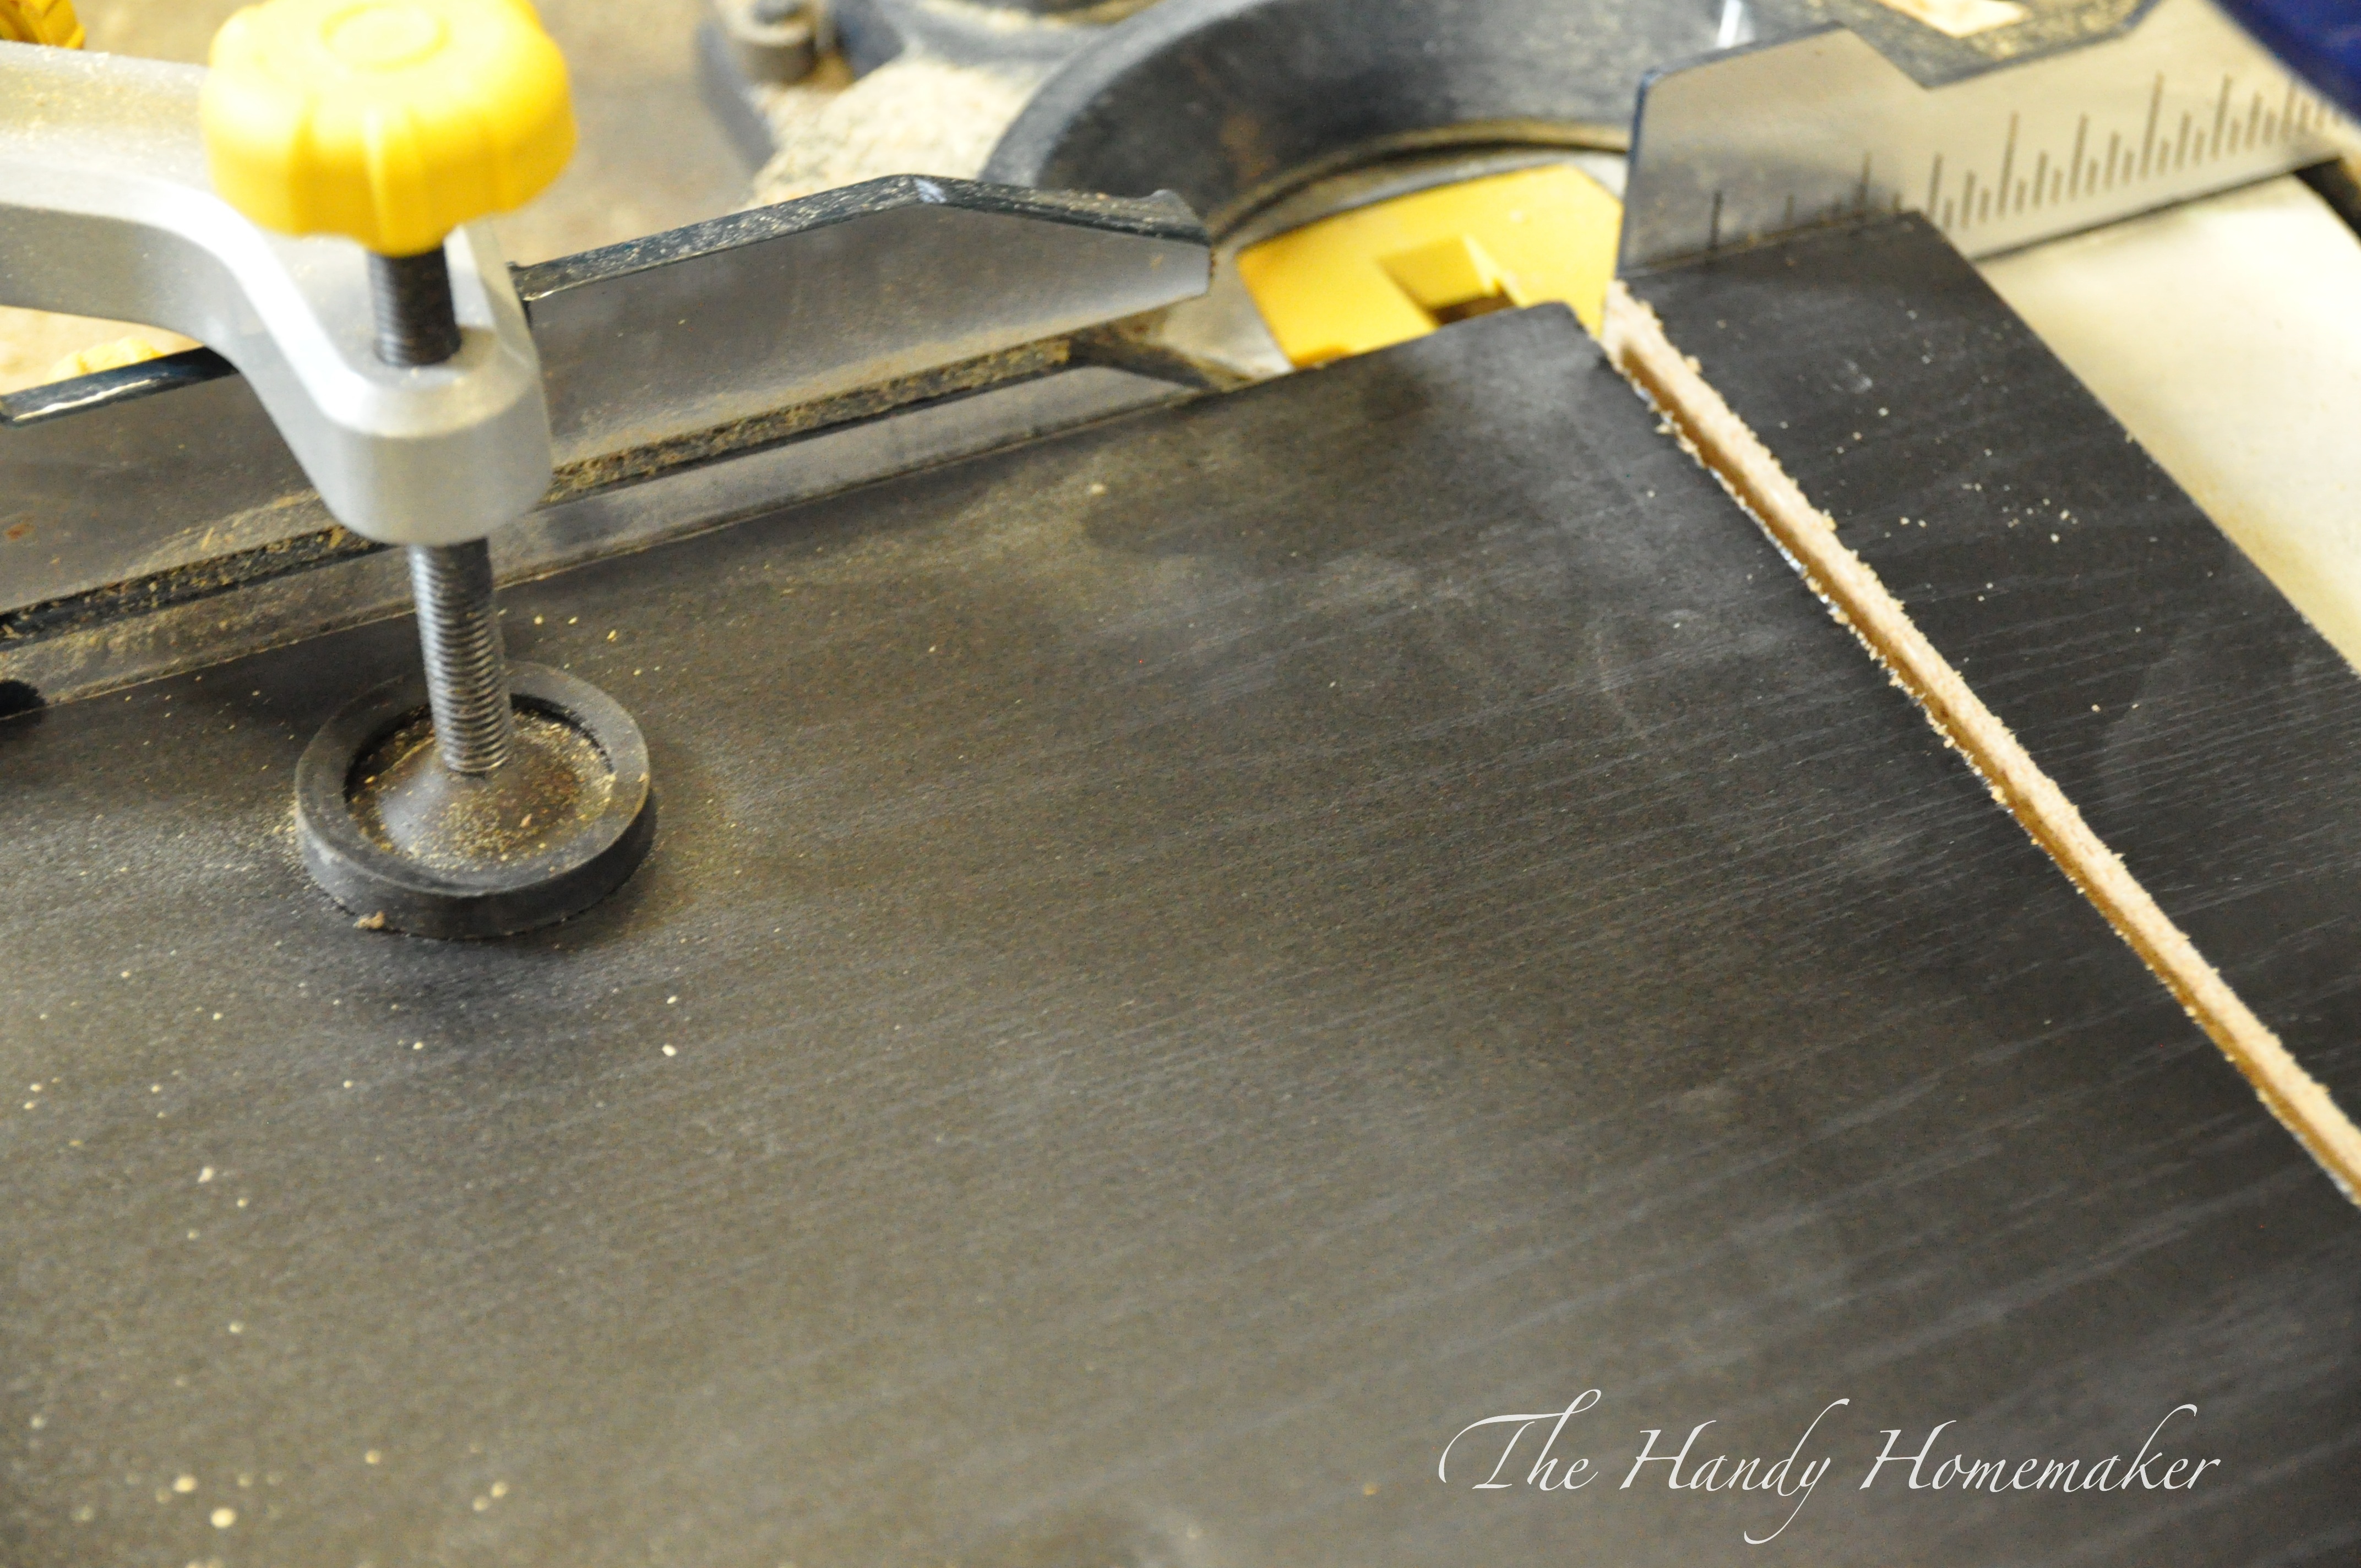 Finished cut
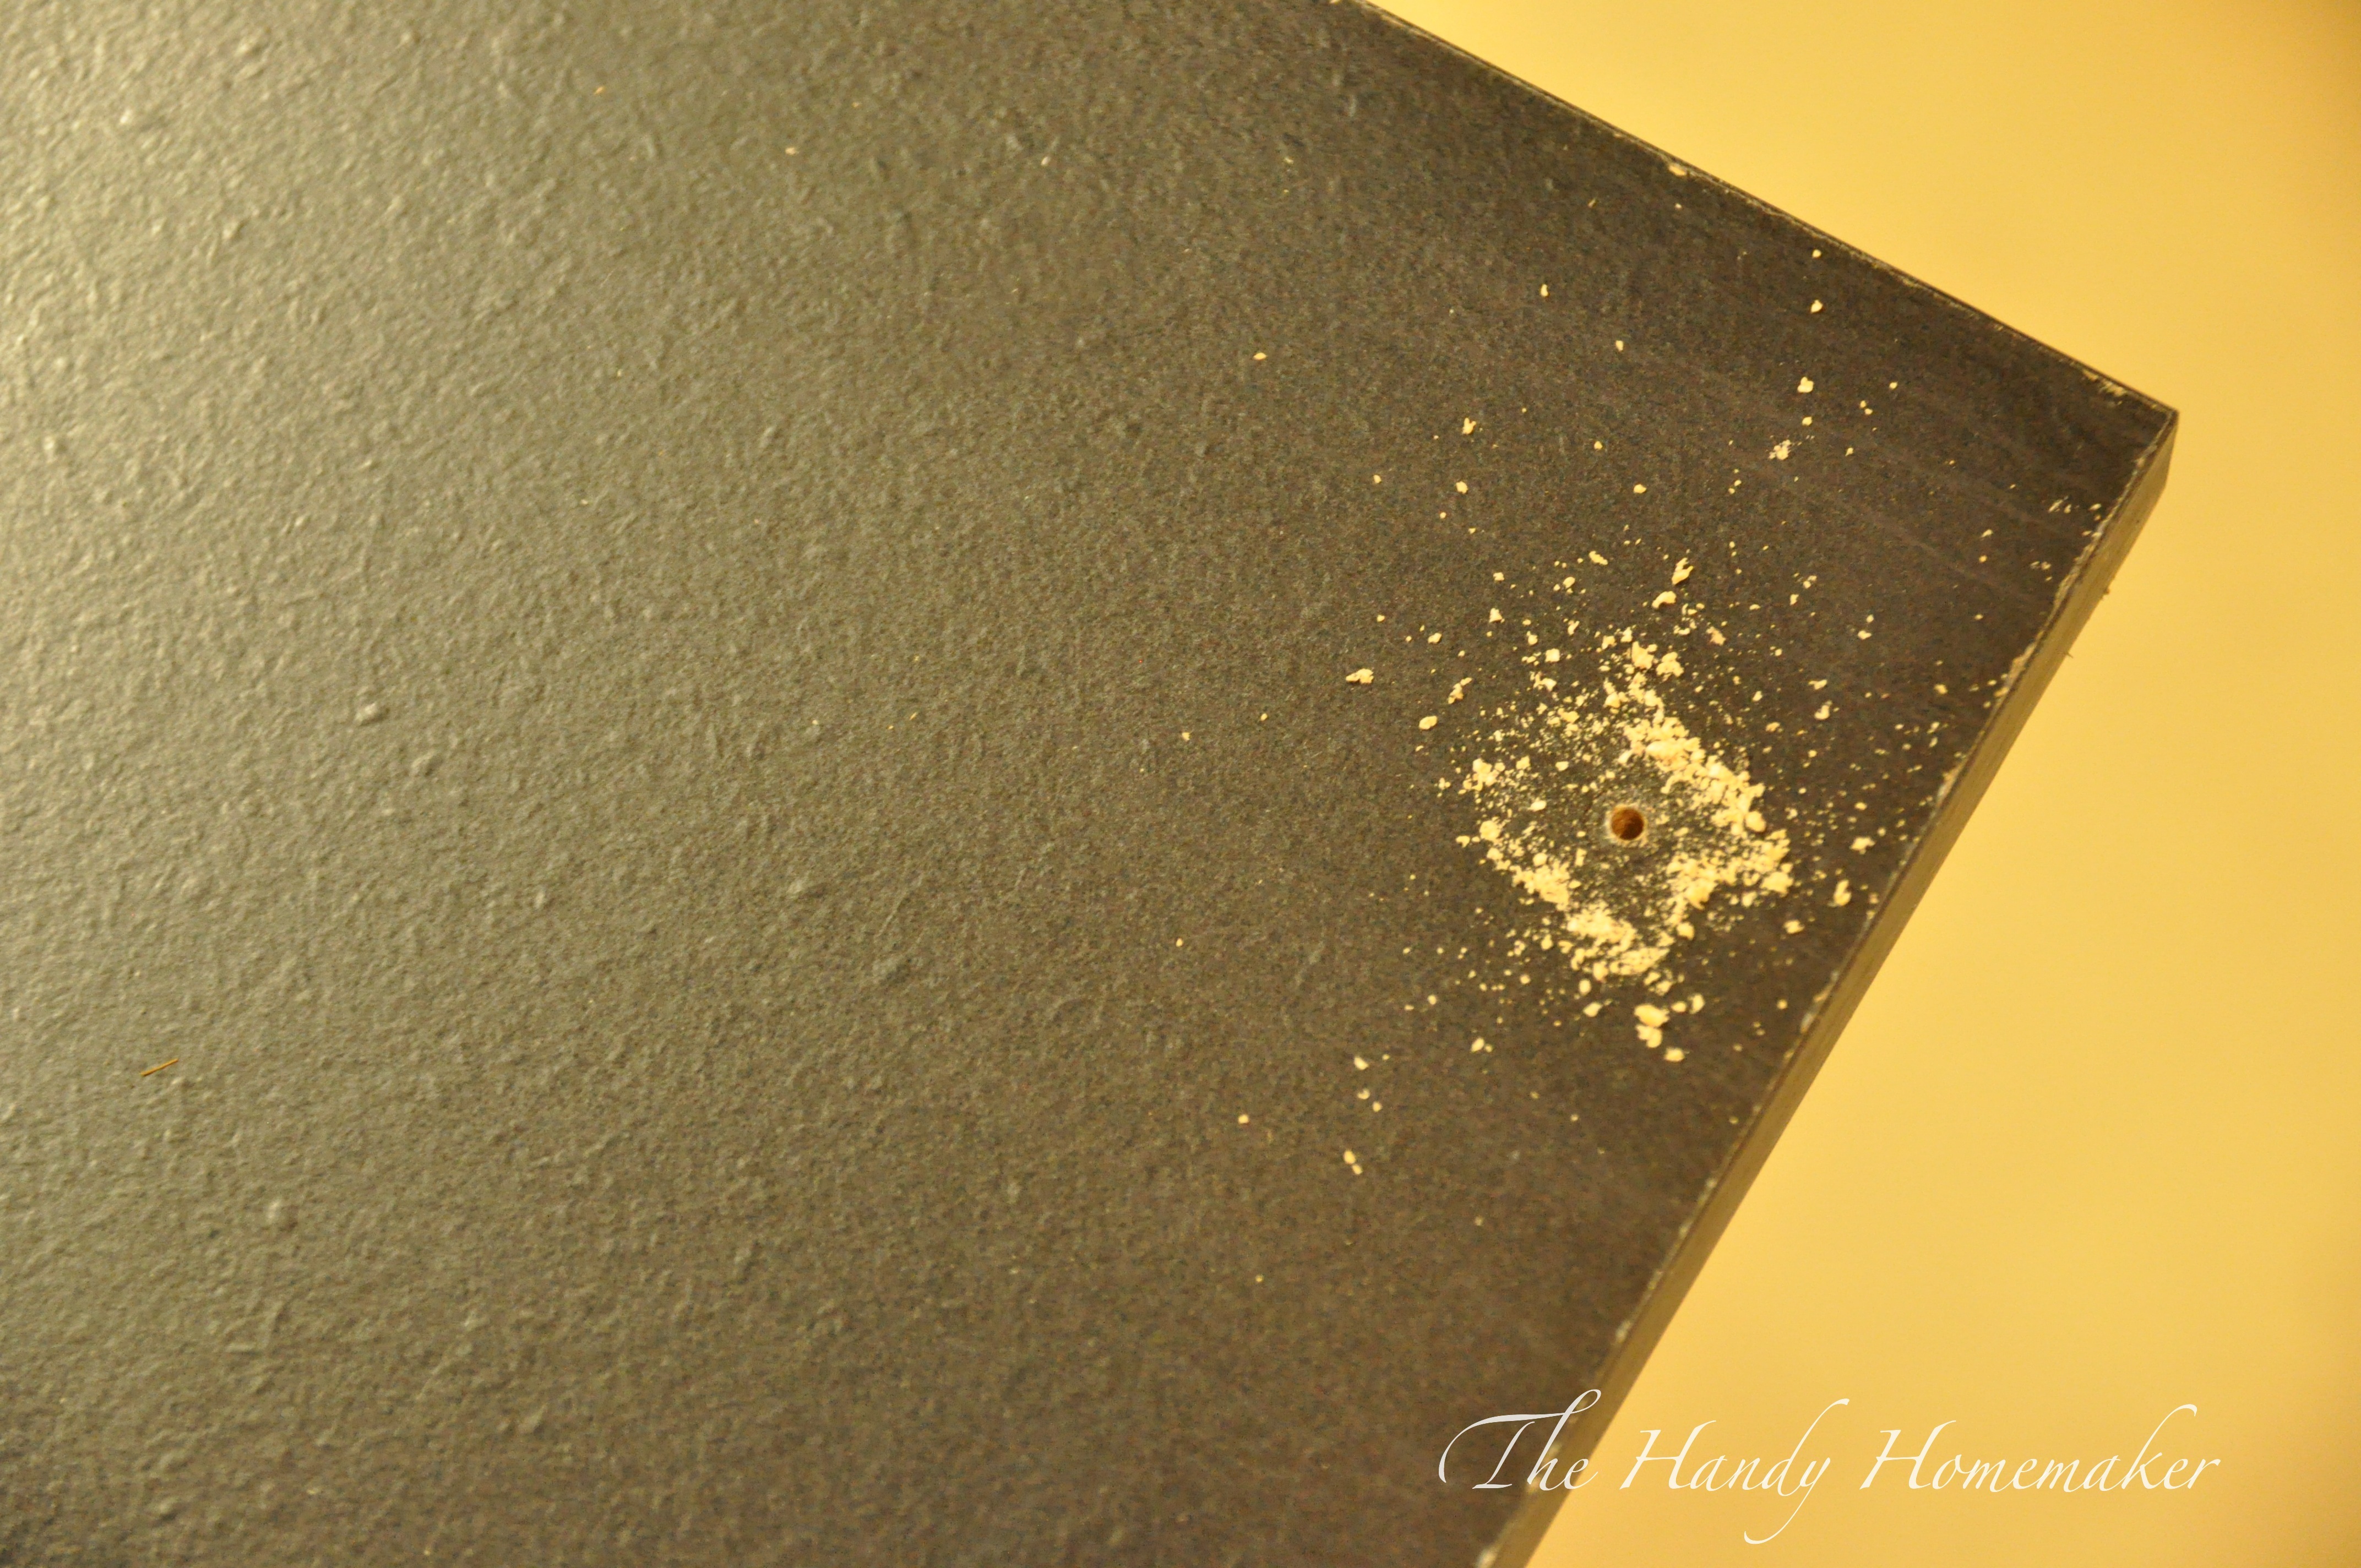 Measure, mark, and pre-drill holes for attaching the shelving to the bottom of the cabinets
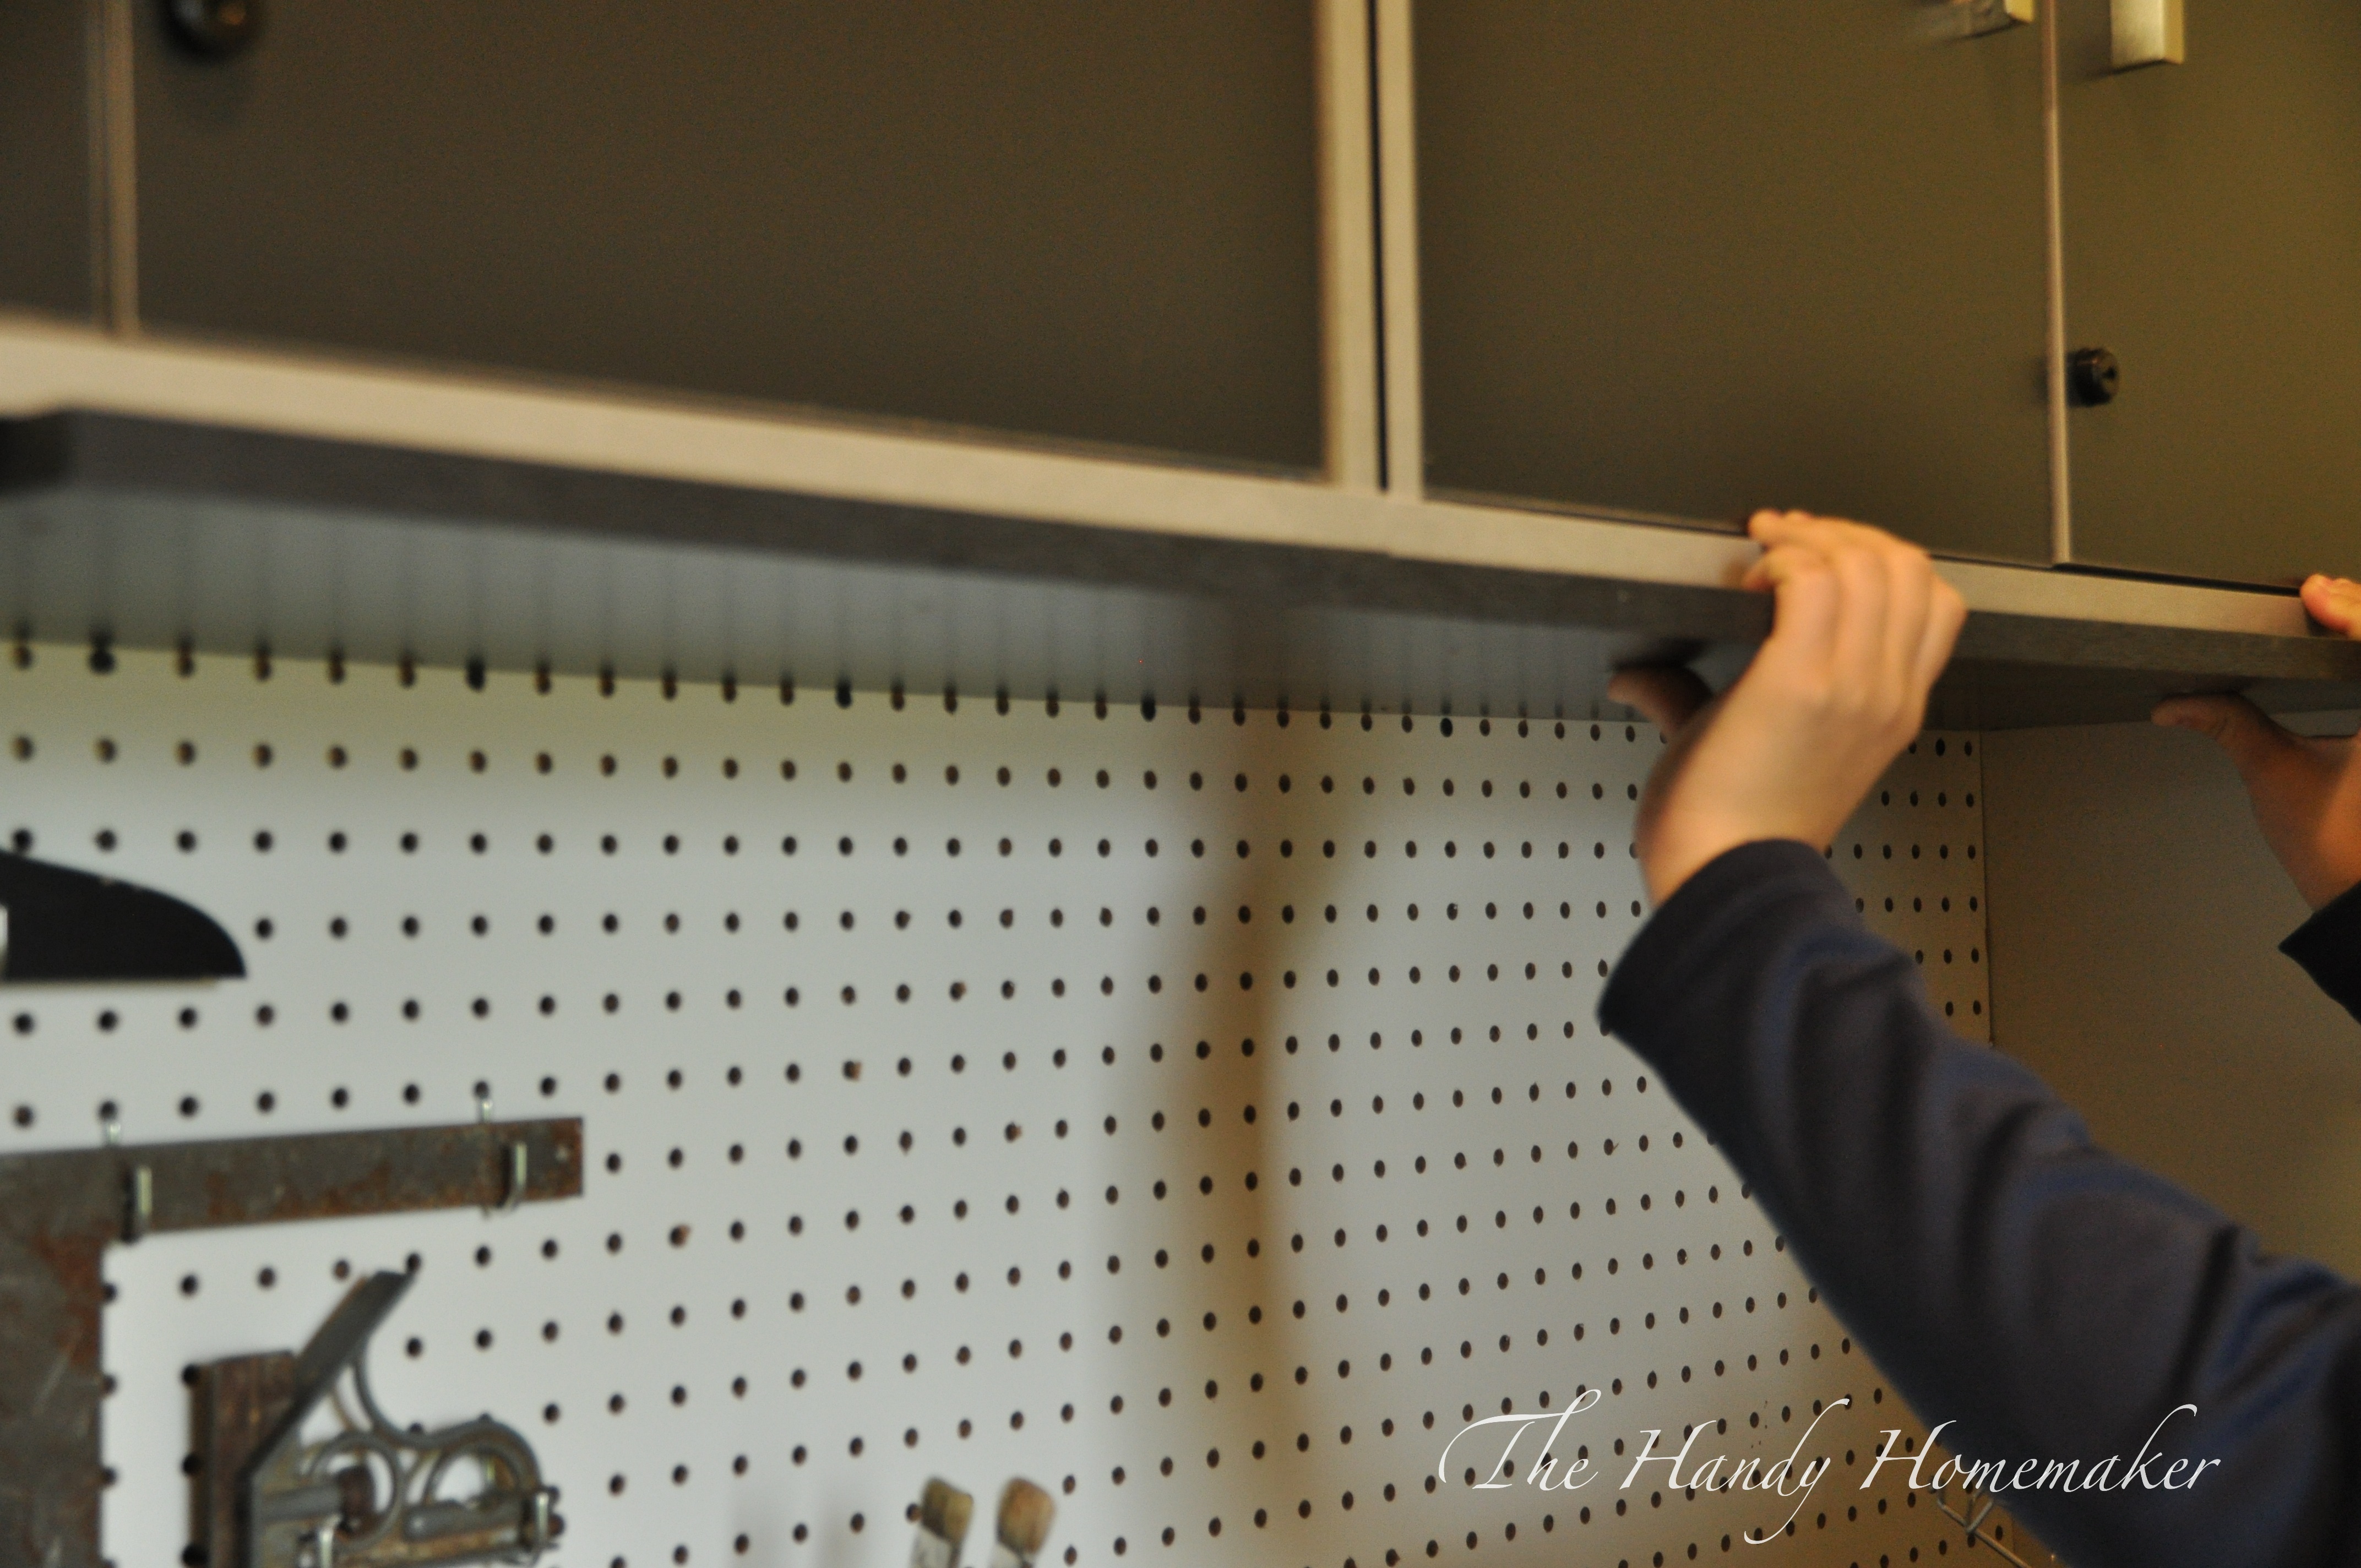 It helps to have an extra set of hands to hold the shelf/board in place while you place in the first couple of screws. Thank you Chelsea 🙂
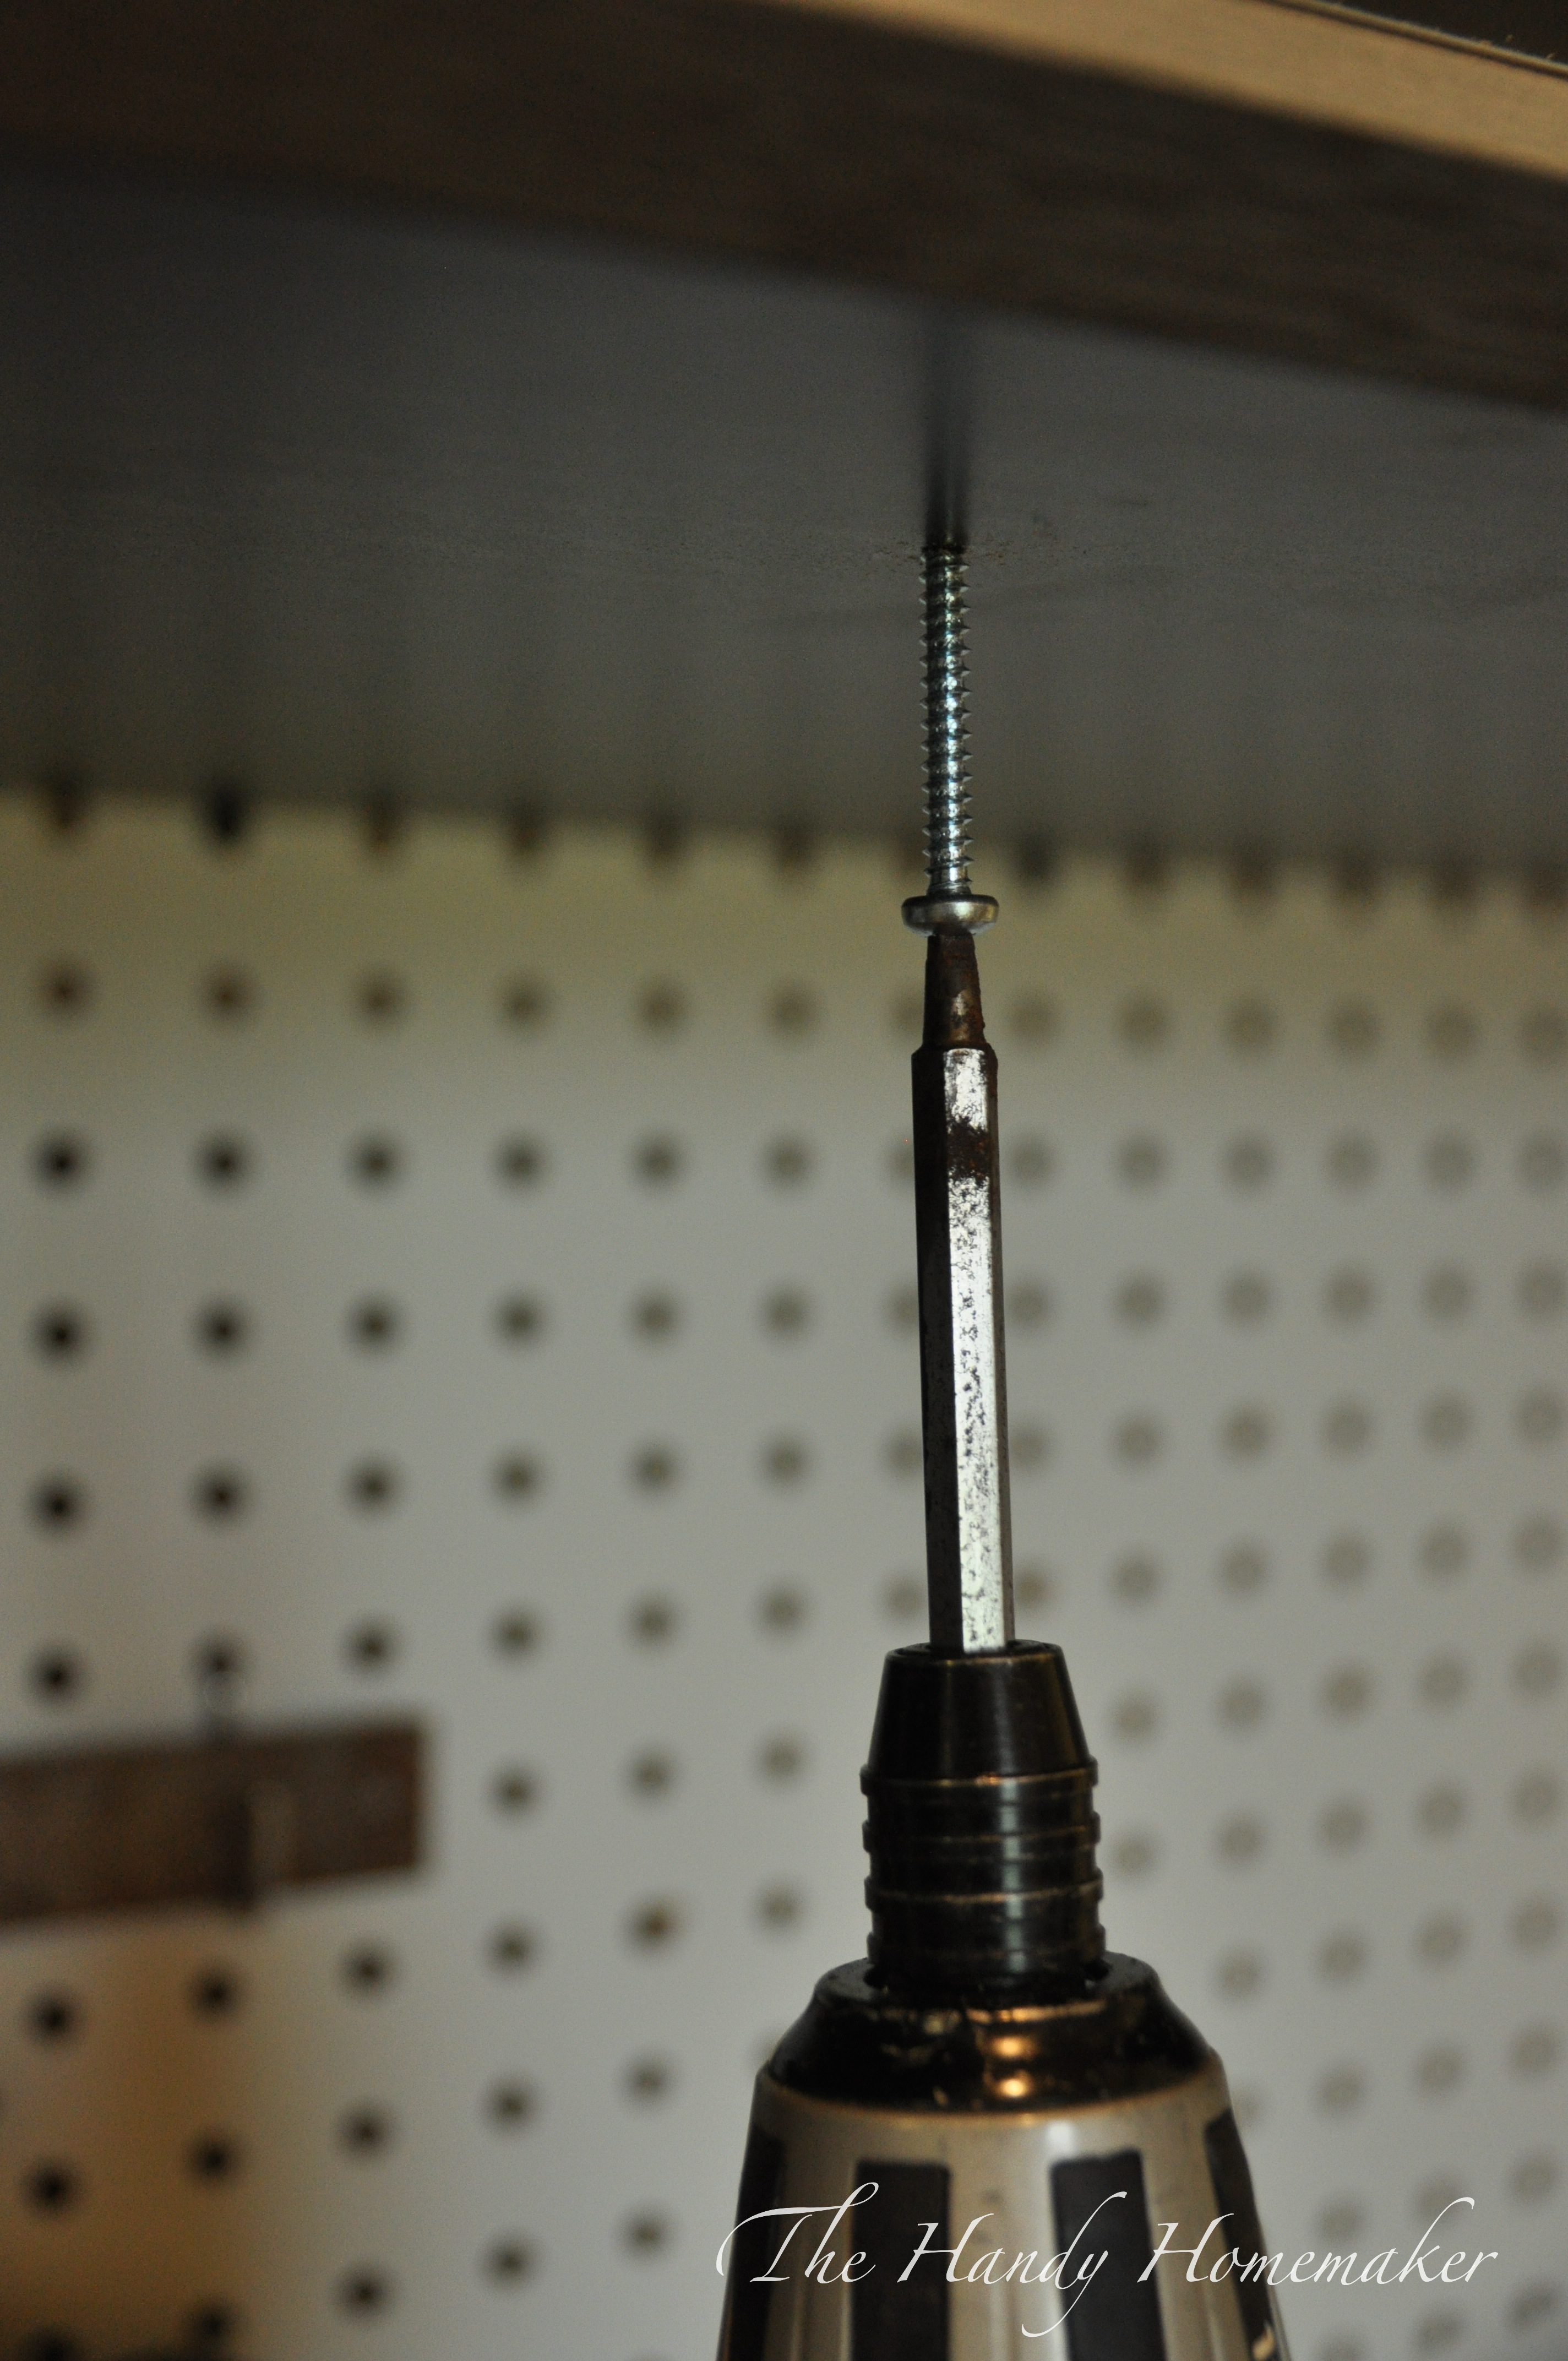 Screw the board in place
Ta Da, step one done. Now measure and mark the spots you want to place the jars. I place these 5″ apart center to center. The next row I did the same except I off-center the jars so I would be able to easily see what was in each jar.Once marked pre-drill the center hole
 Using a hammer, tap the center screw through the inside of the lid to allow for easier placement and drilling of the screw into the pre-drilled center hole
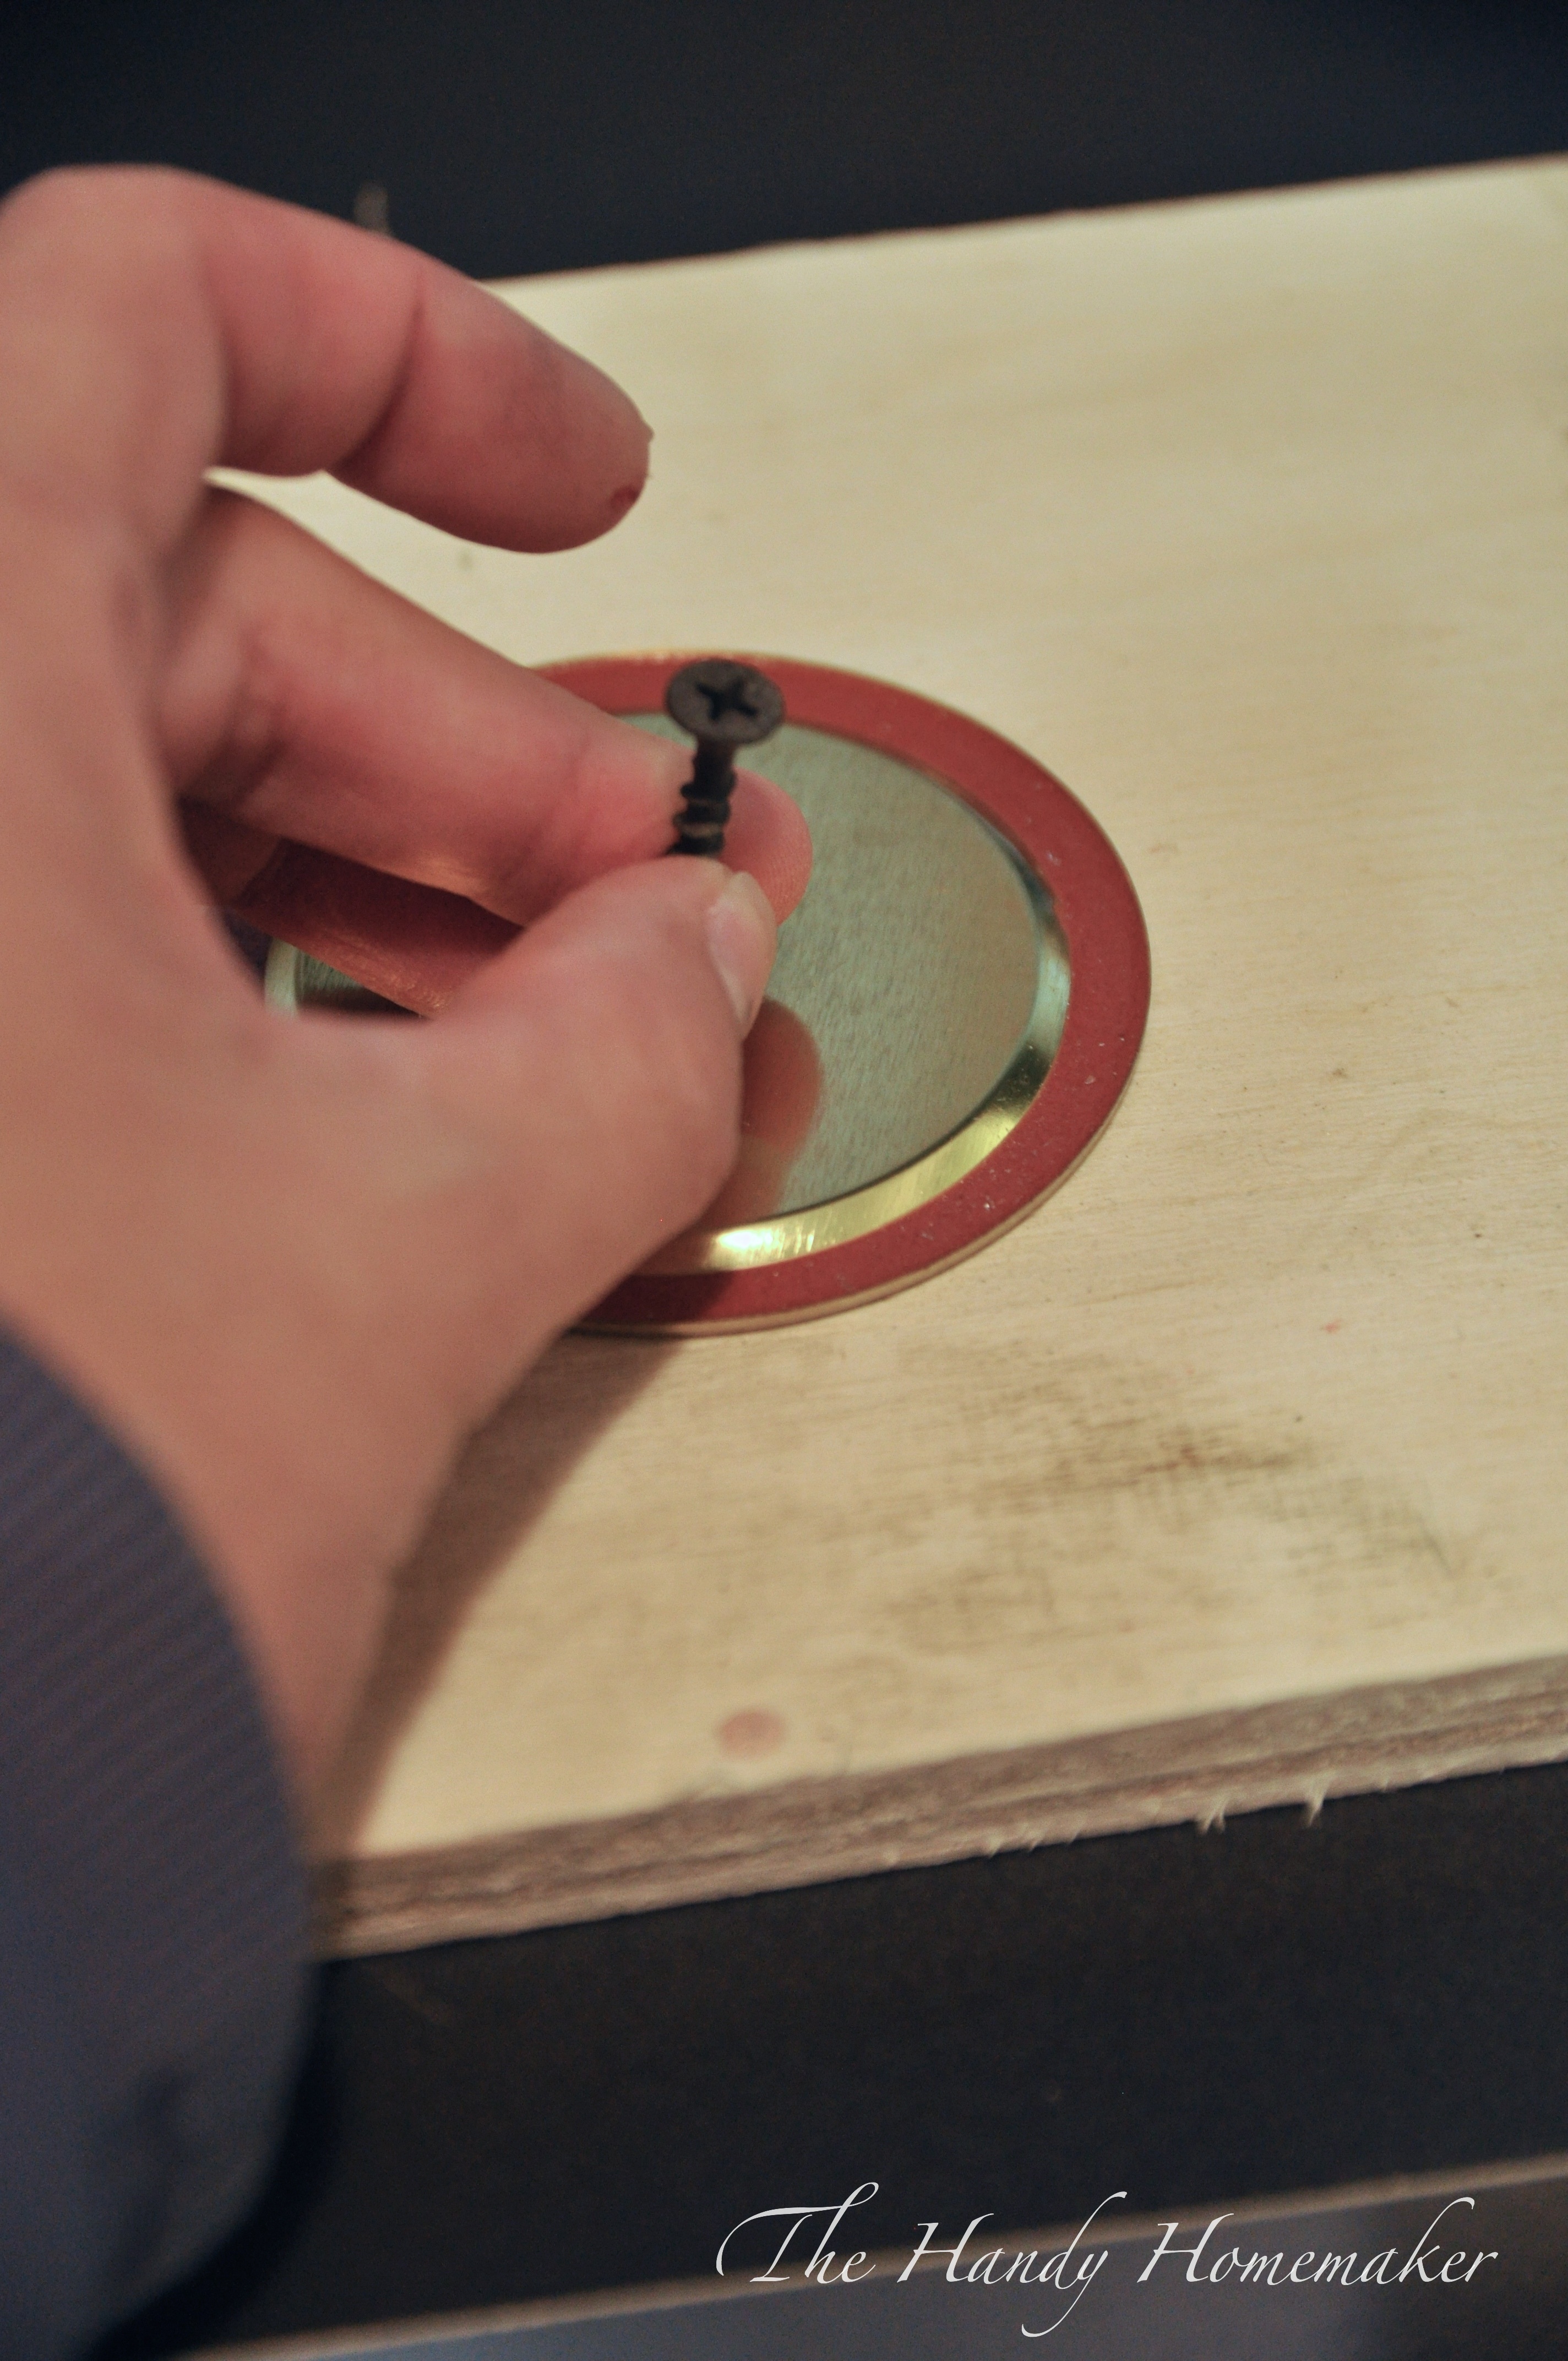
Using wood glue, place a small bead of glue on the inside of the screw band before placing the flat lid center back in place
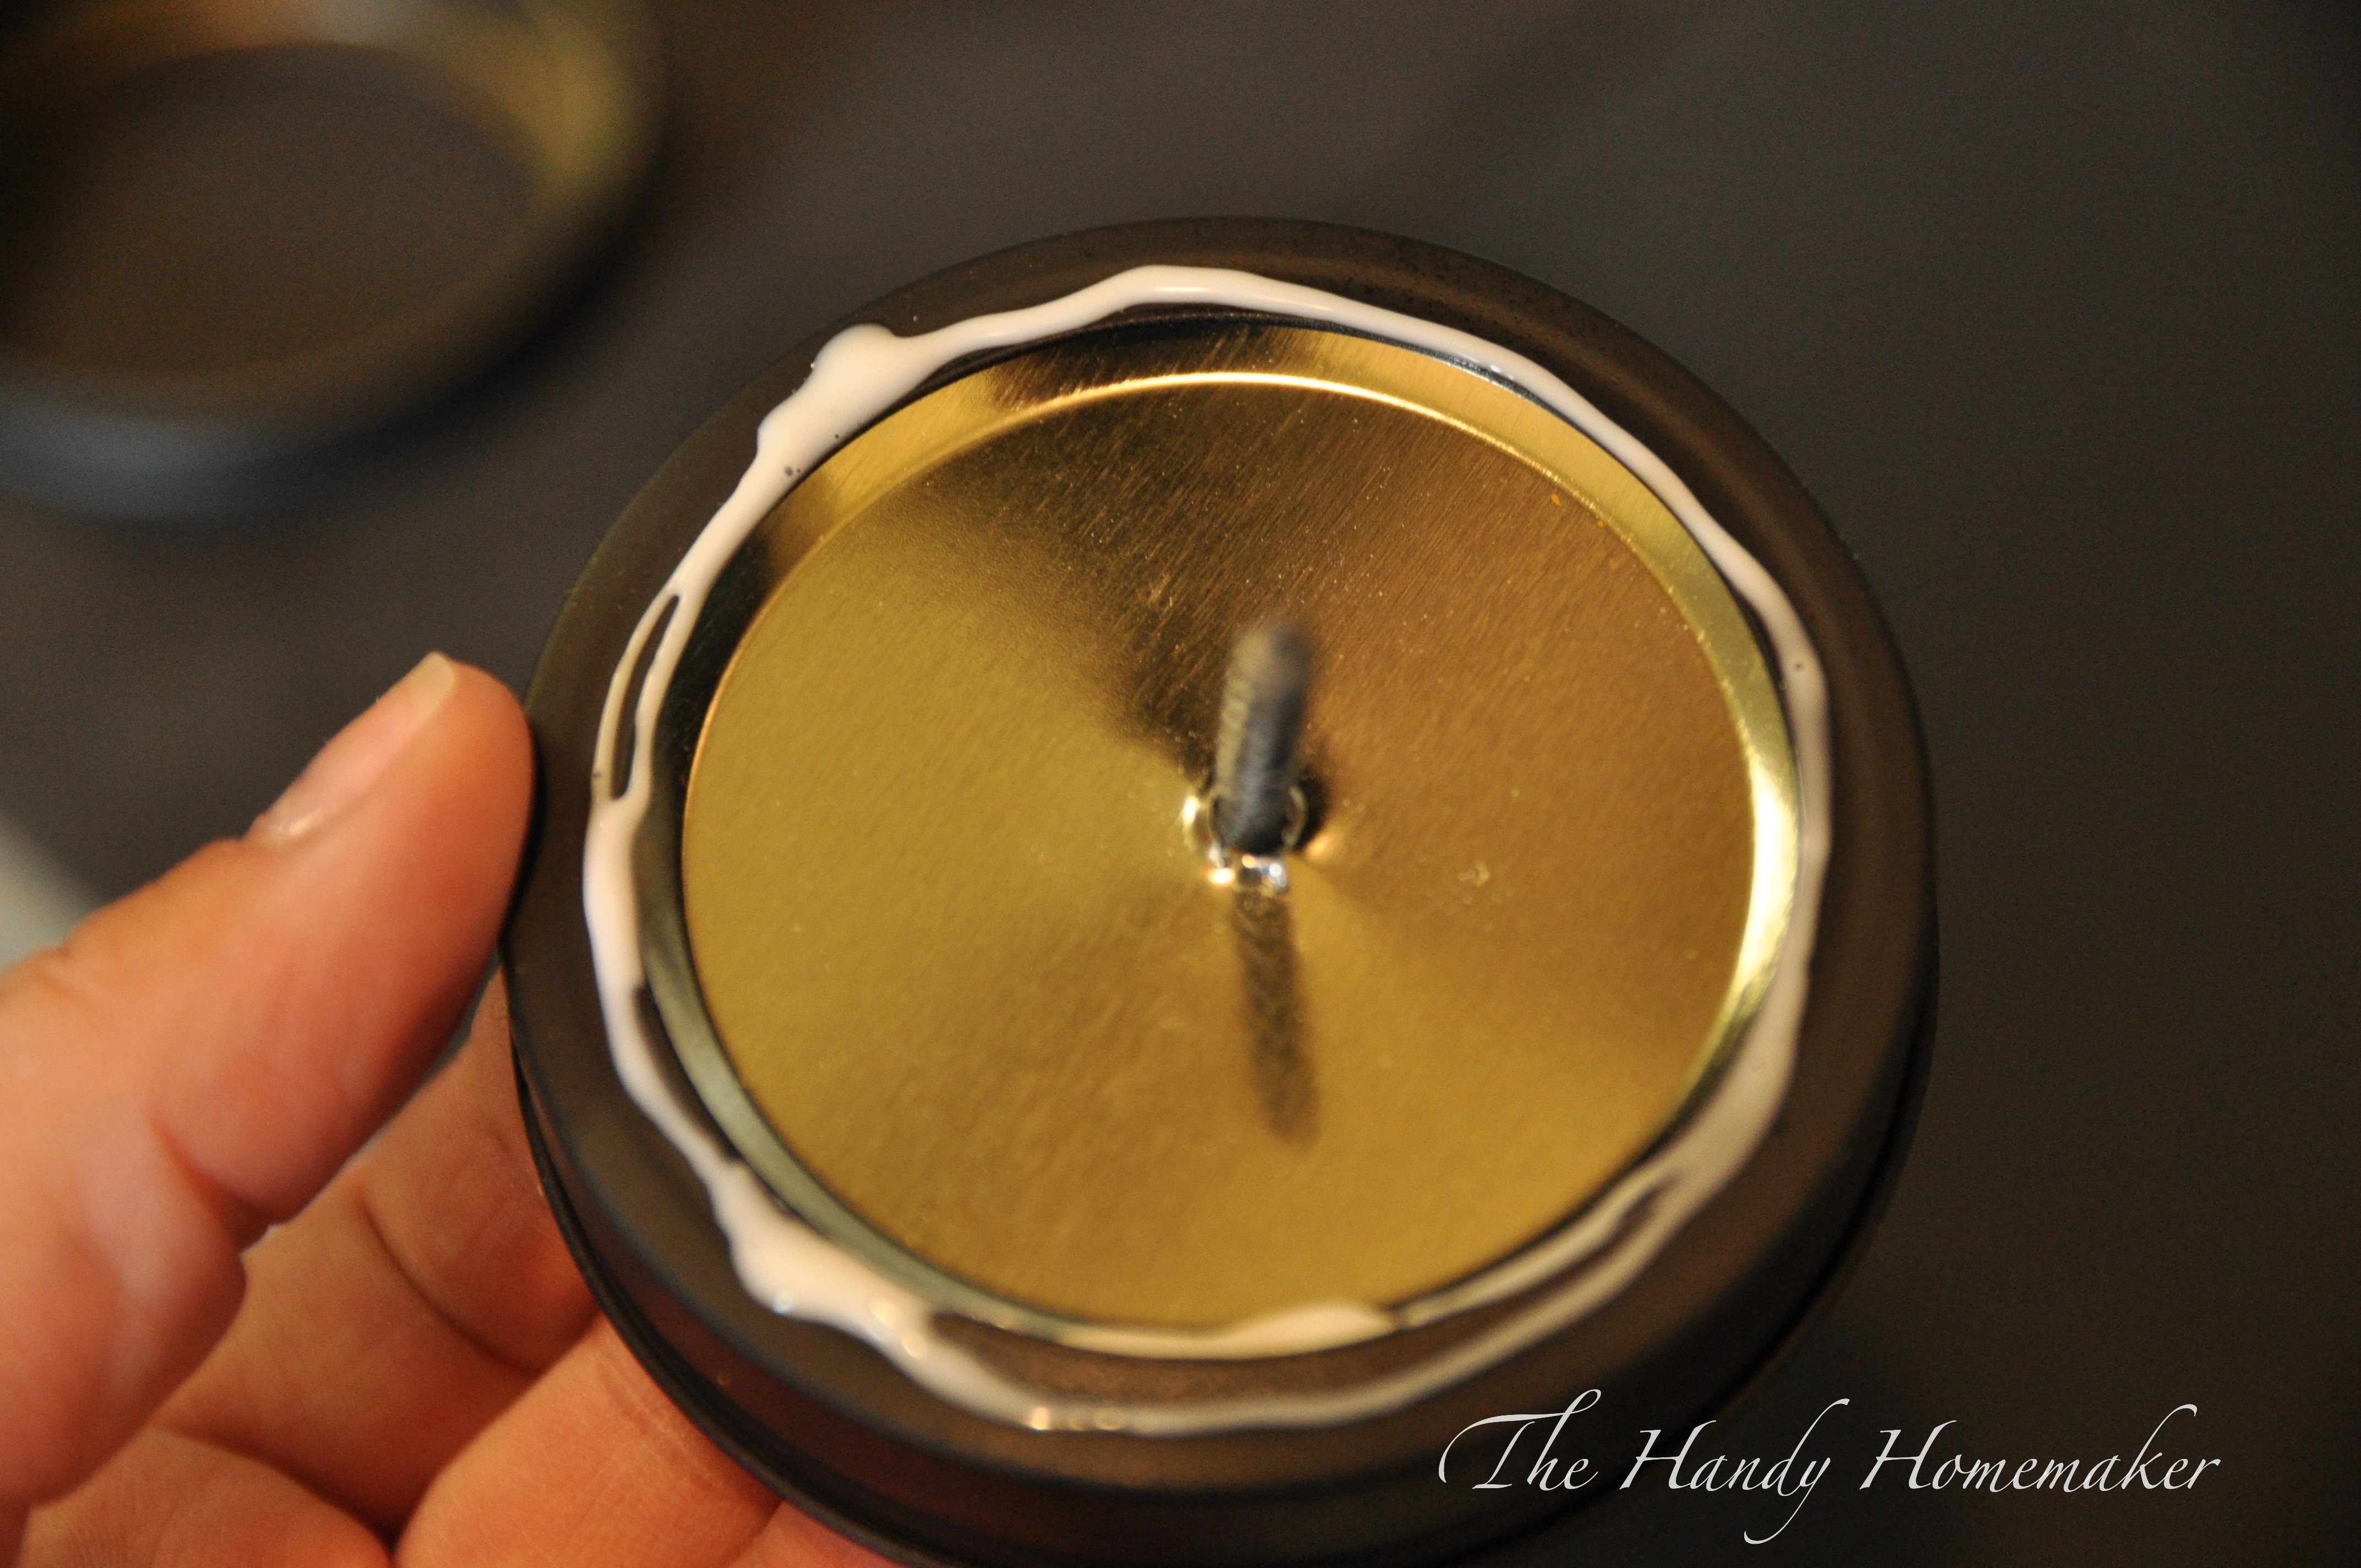 Add another bead of glue at the top of the lid where it will touch the shelf once screwed in place. This helps secure the lid and make sure there is not movement or future screw loosening.
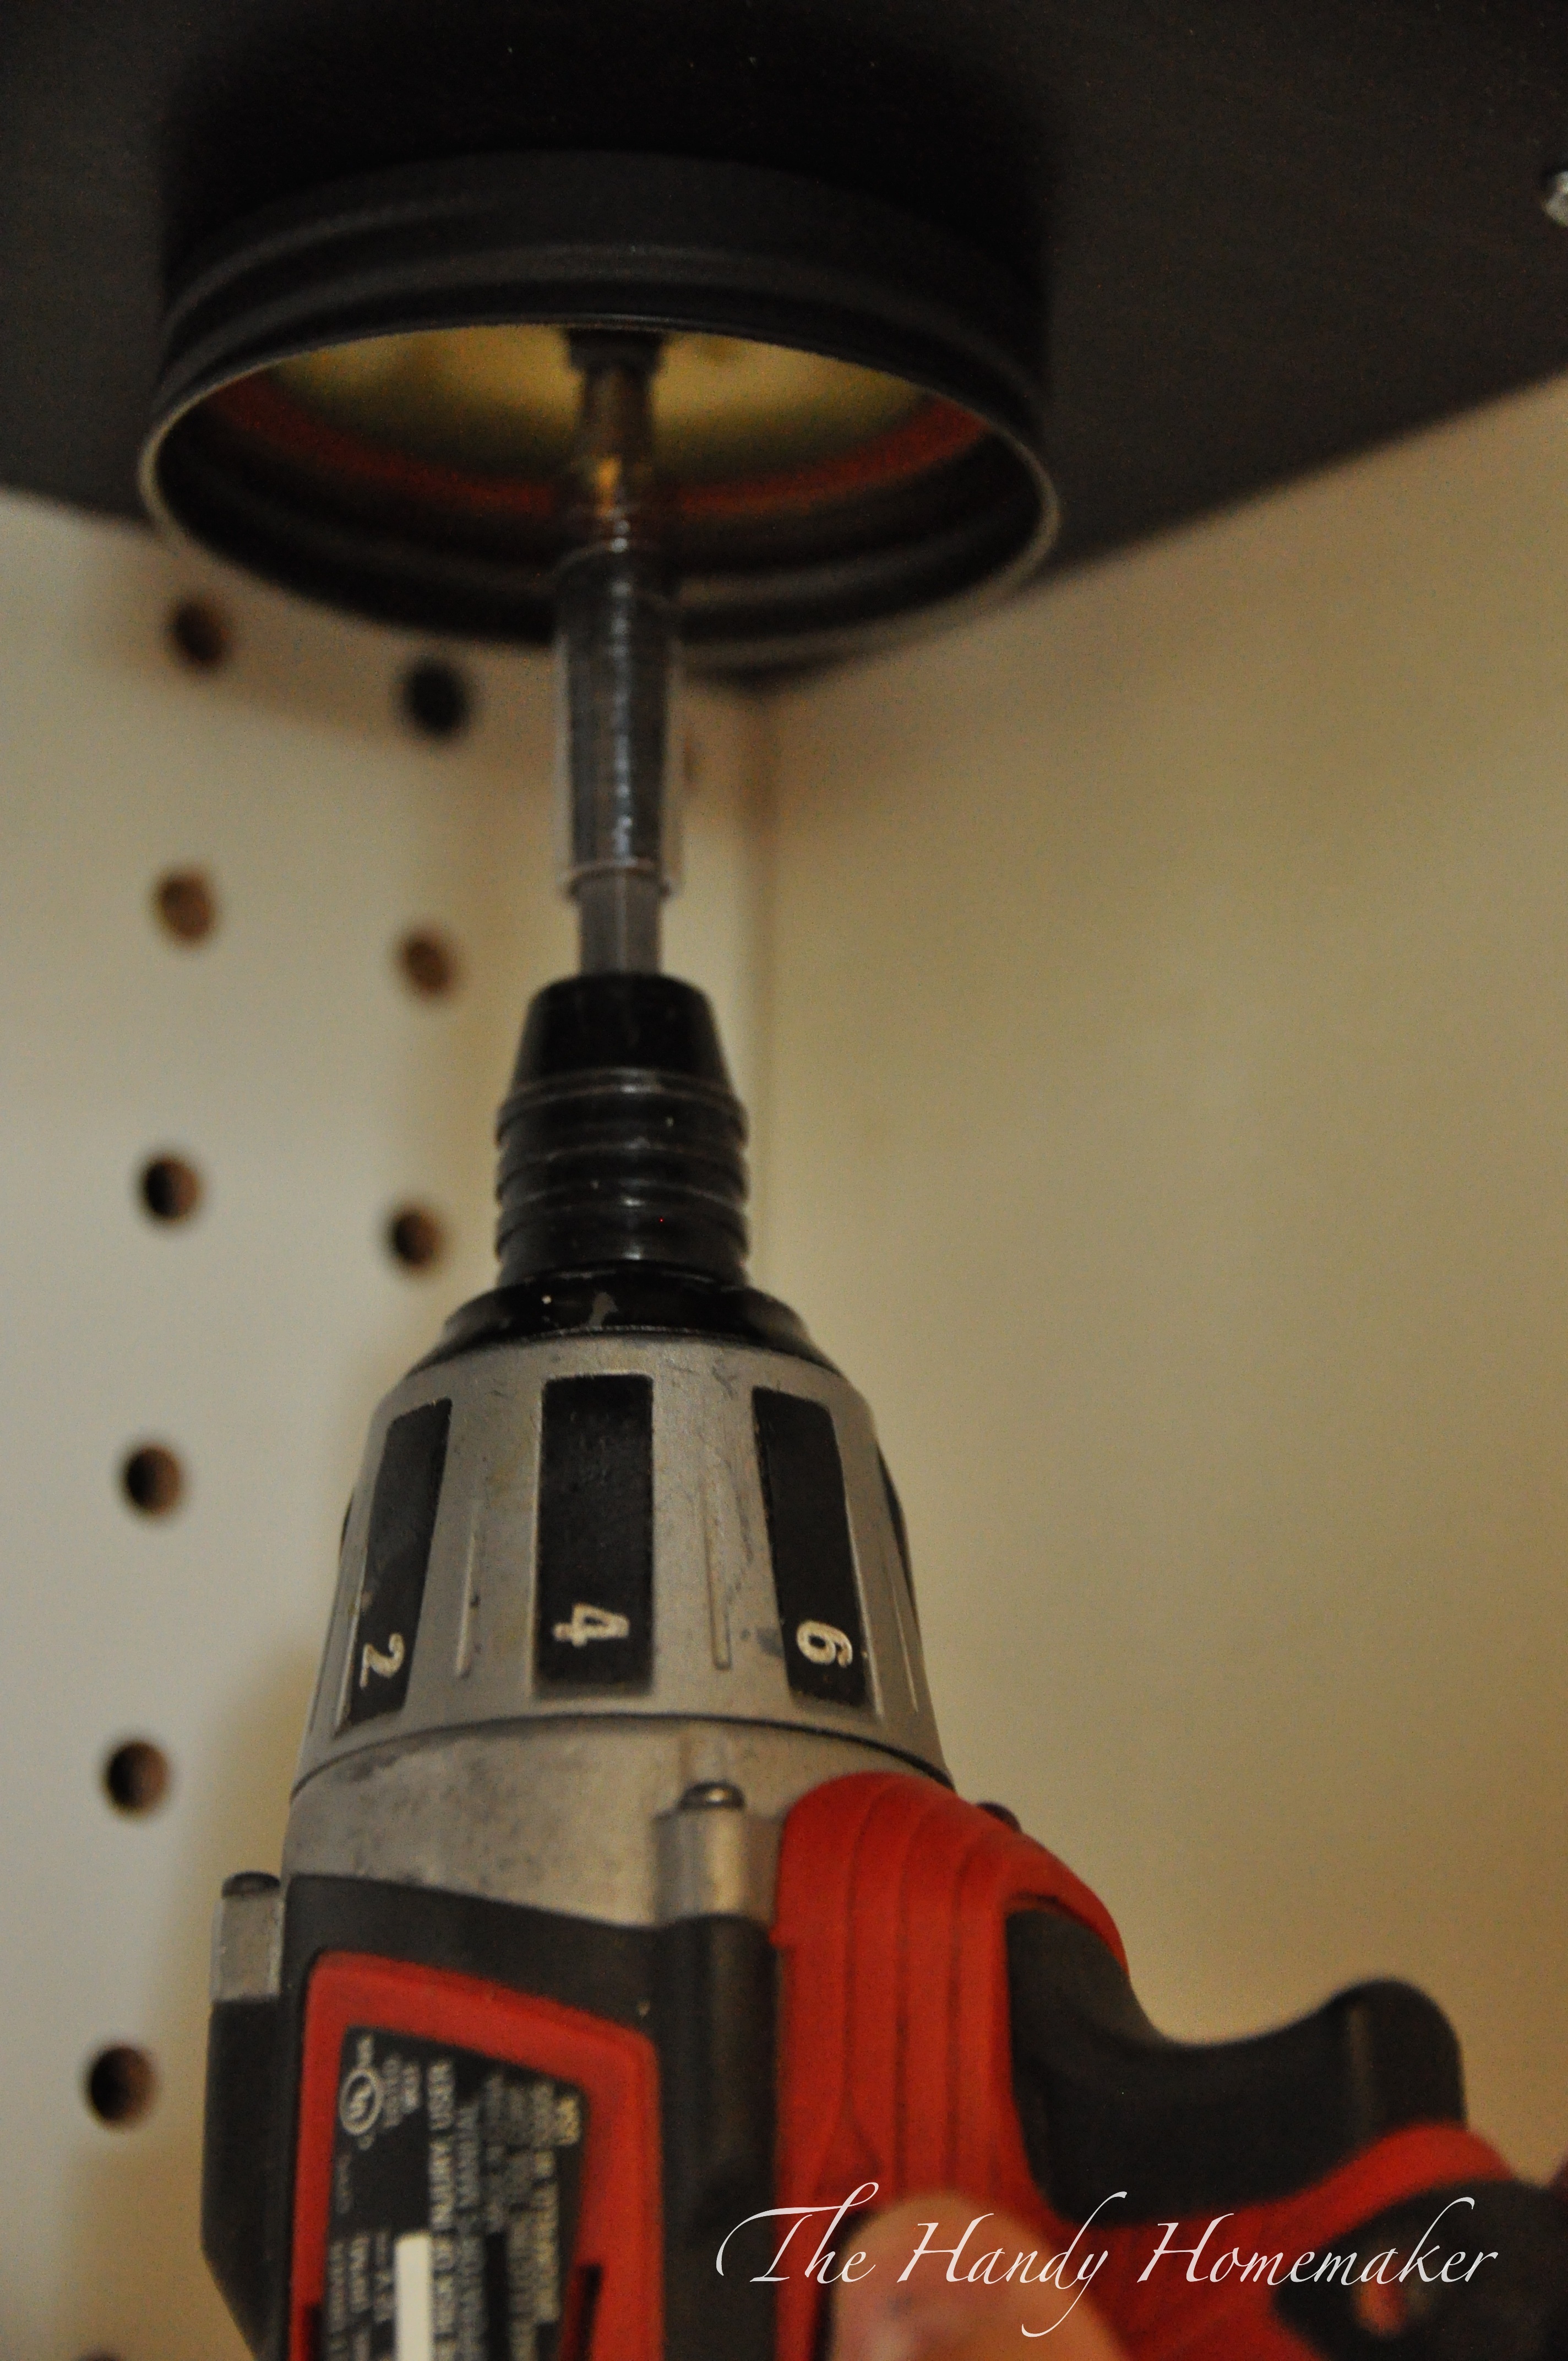 Screw in place
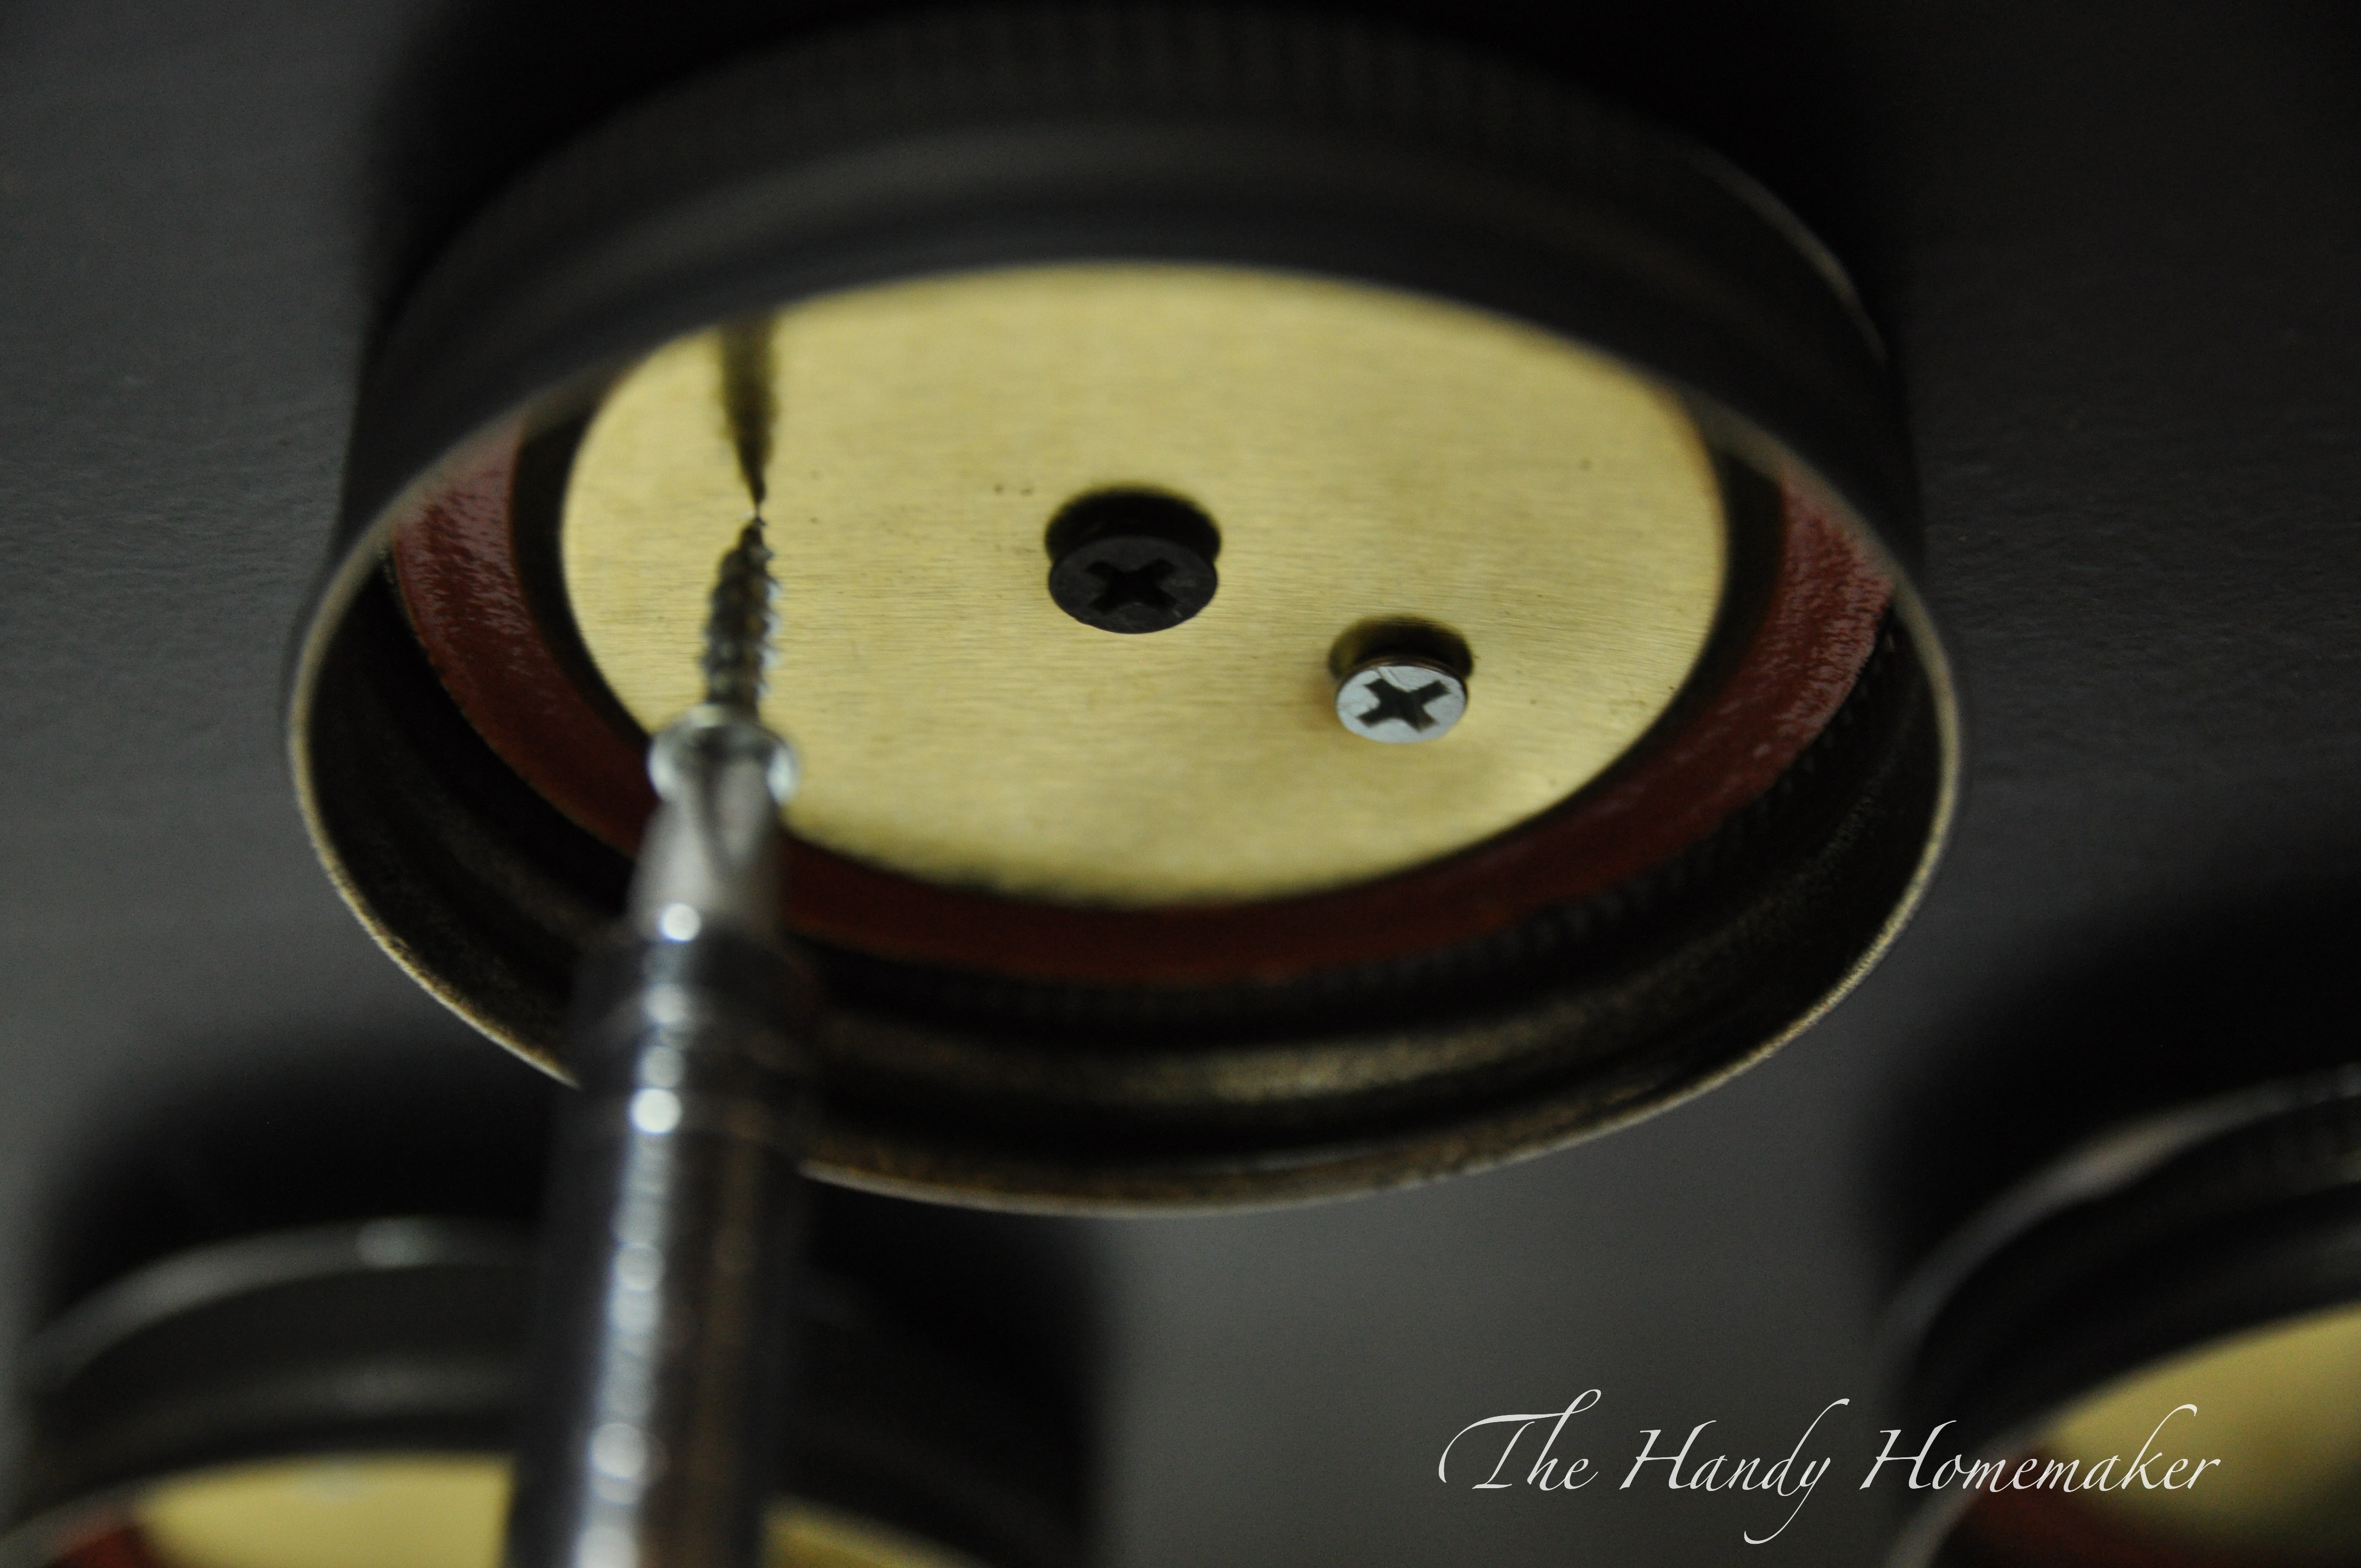 Add two small 5/8″ wood screws to each side of the center screw. These should screw in quite easily
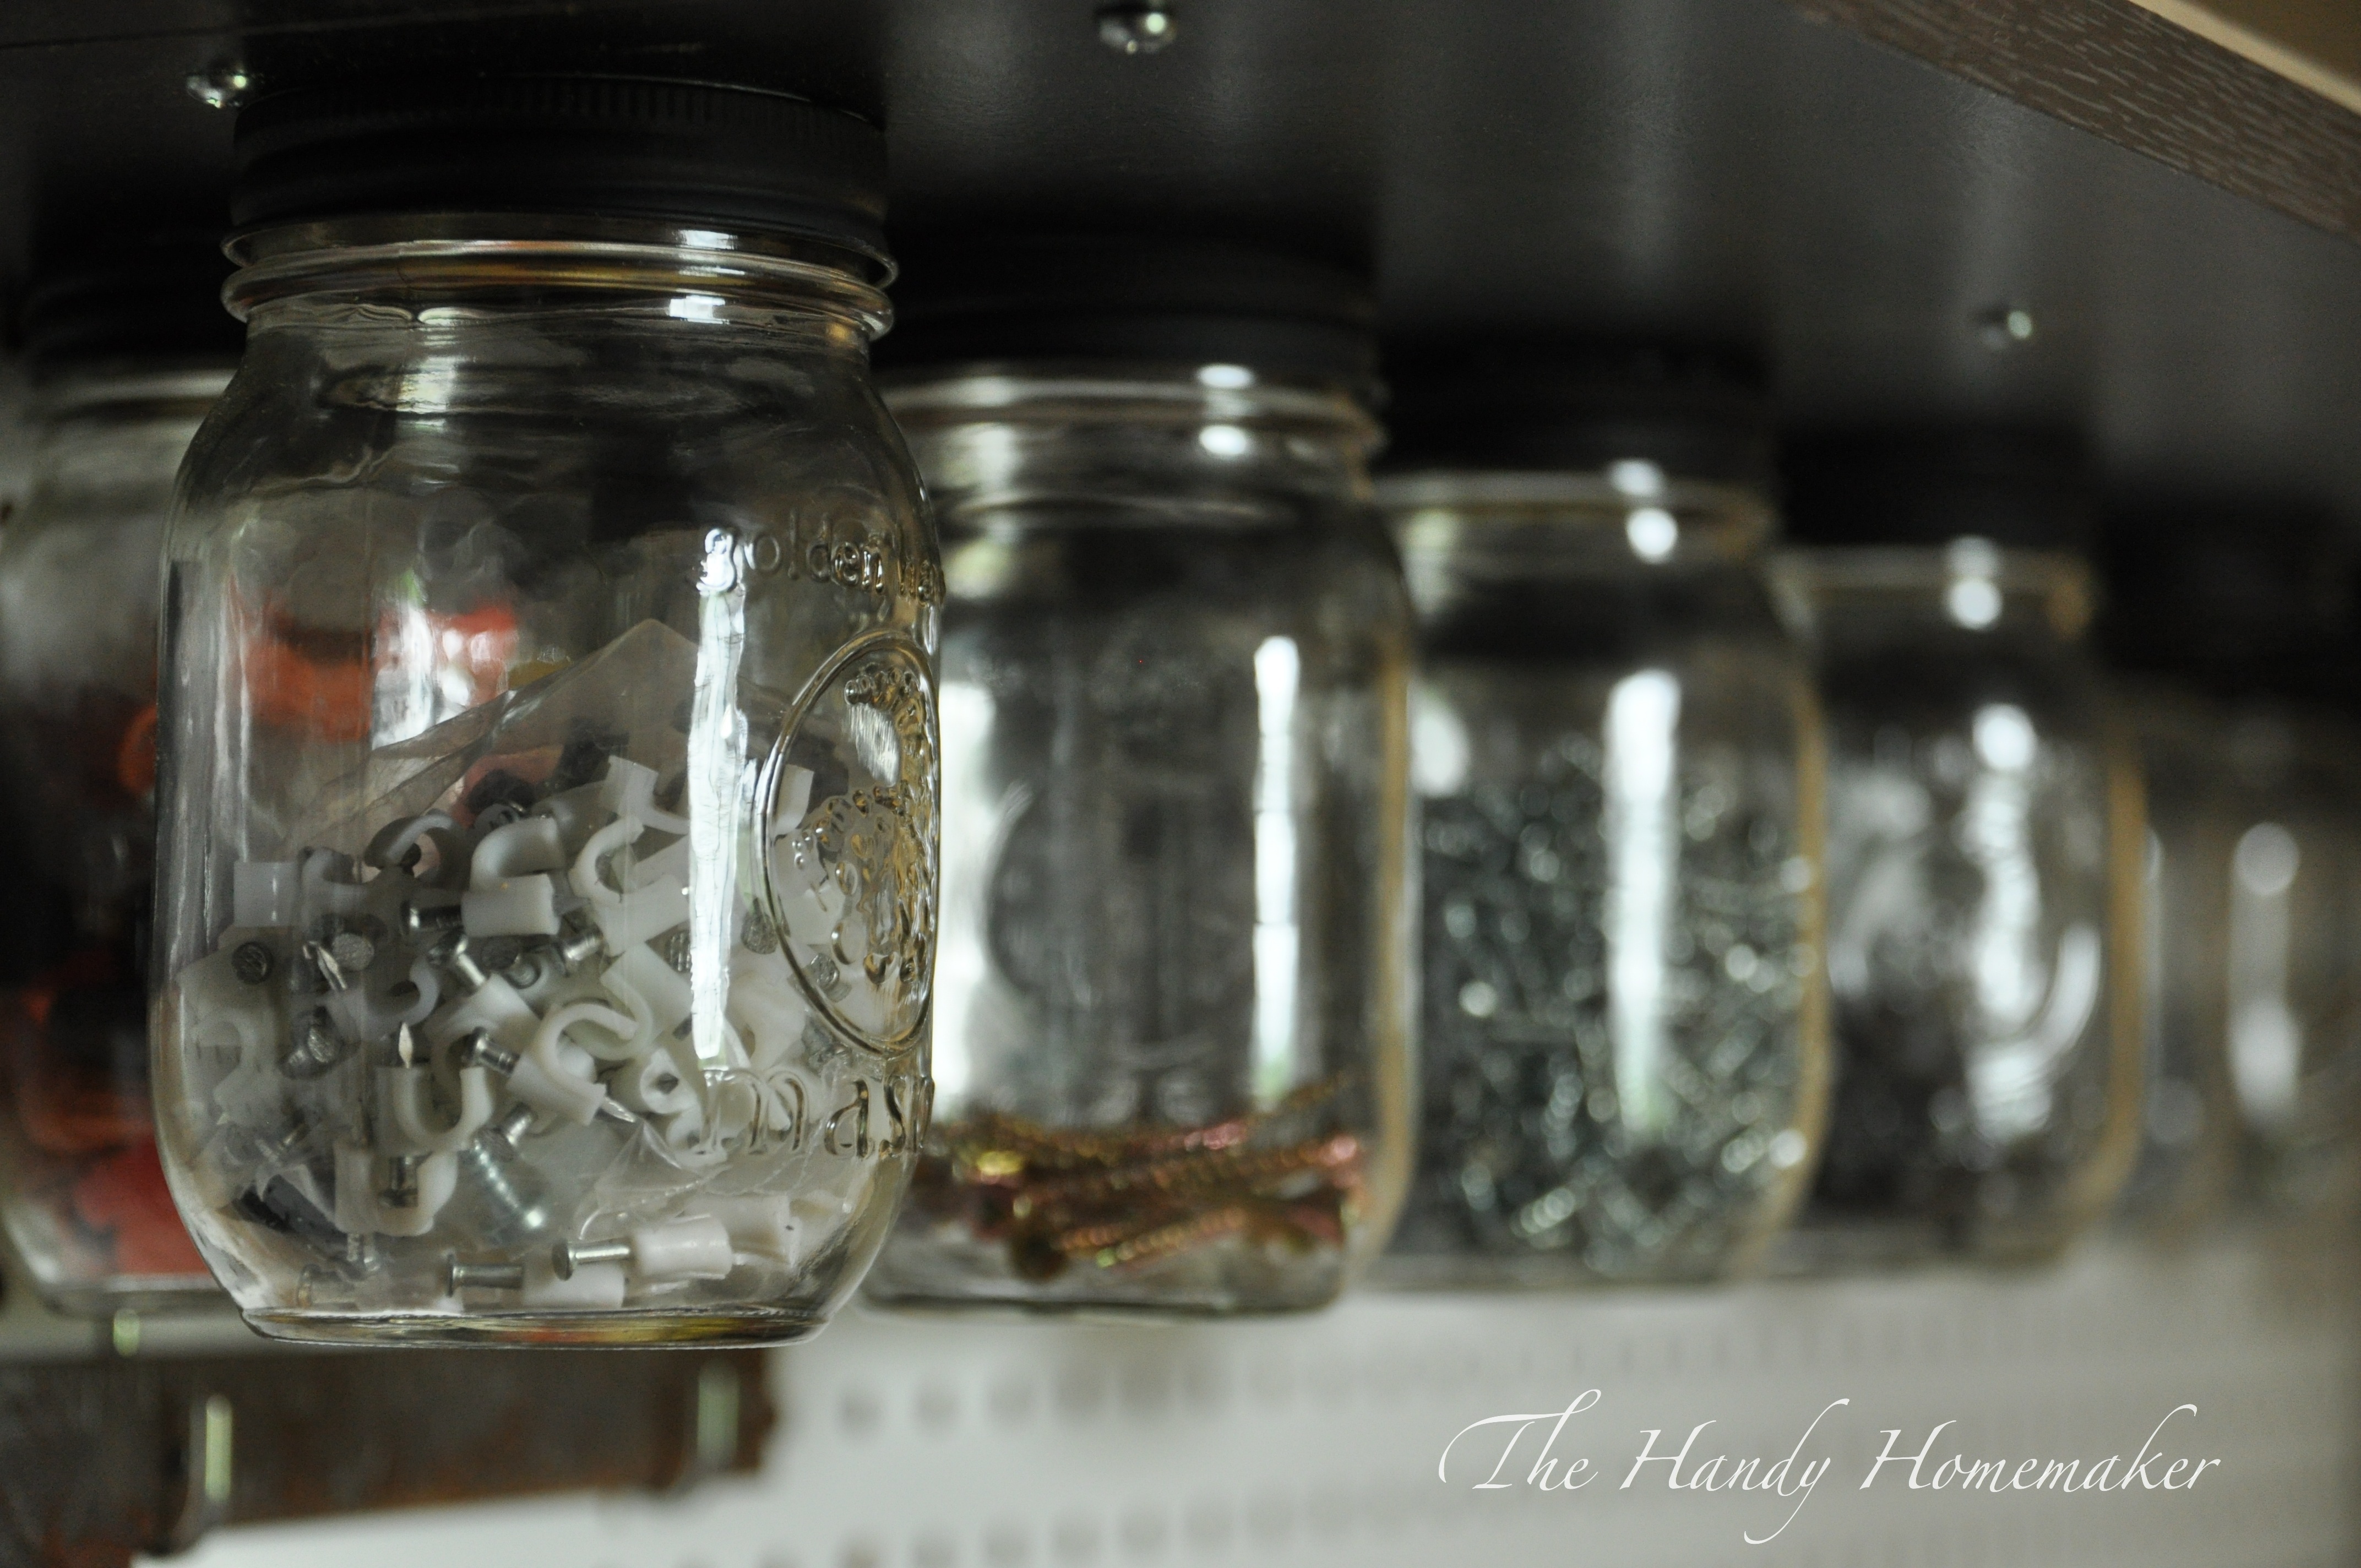 Let the glue set and then add the jars filled with all the little things you might want to have easy access to. I added a small amount of WD-40 lubricant to help the jar open and close smoothly as a little of the paint got on the inside of the lid band when I sprayed with paint. Not necessary, however I didn’t want the paint to seal the jars to the lids
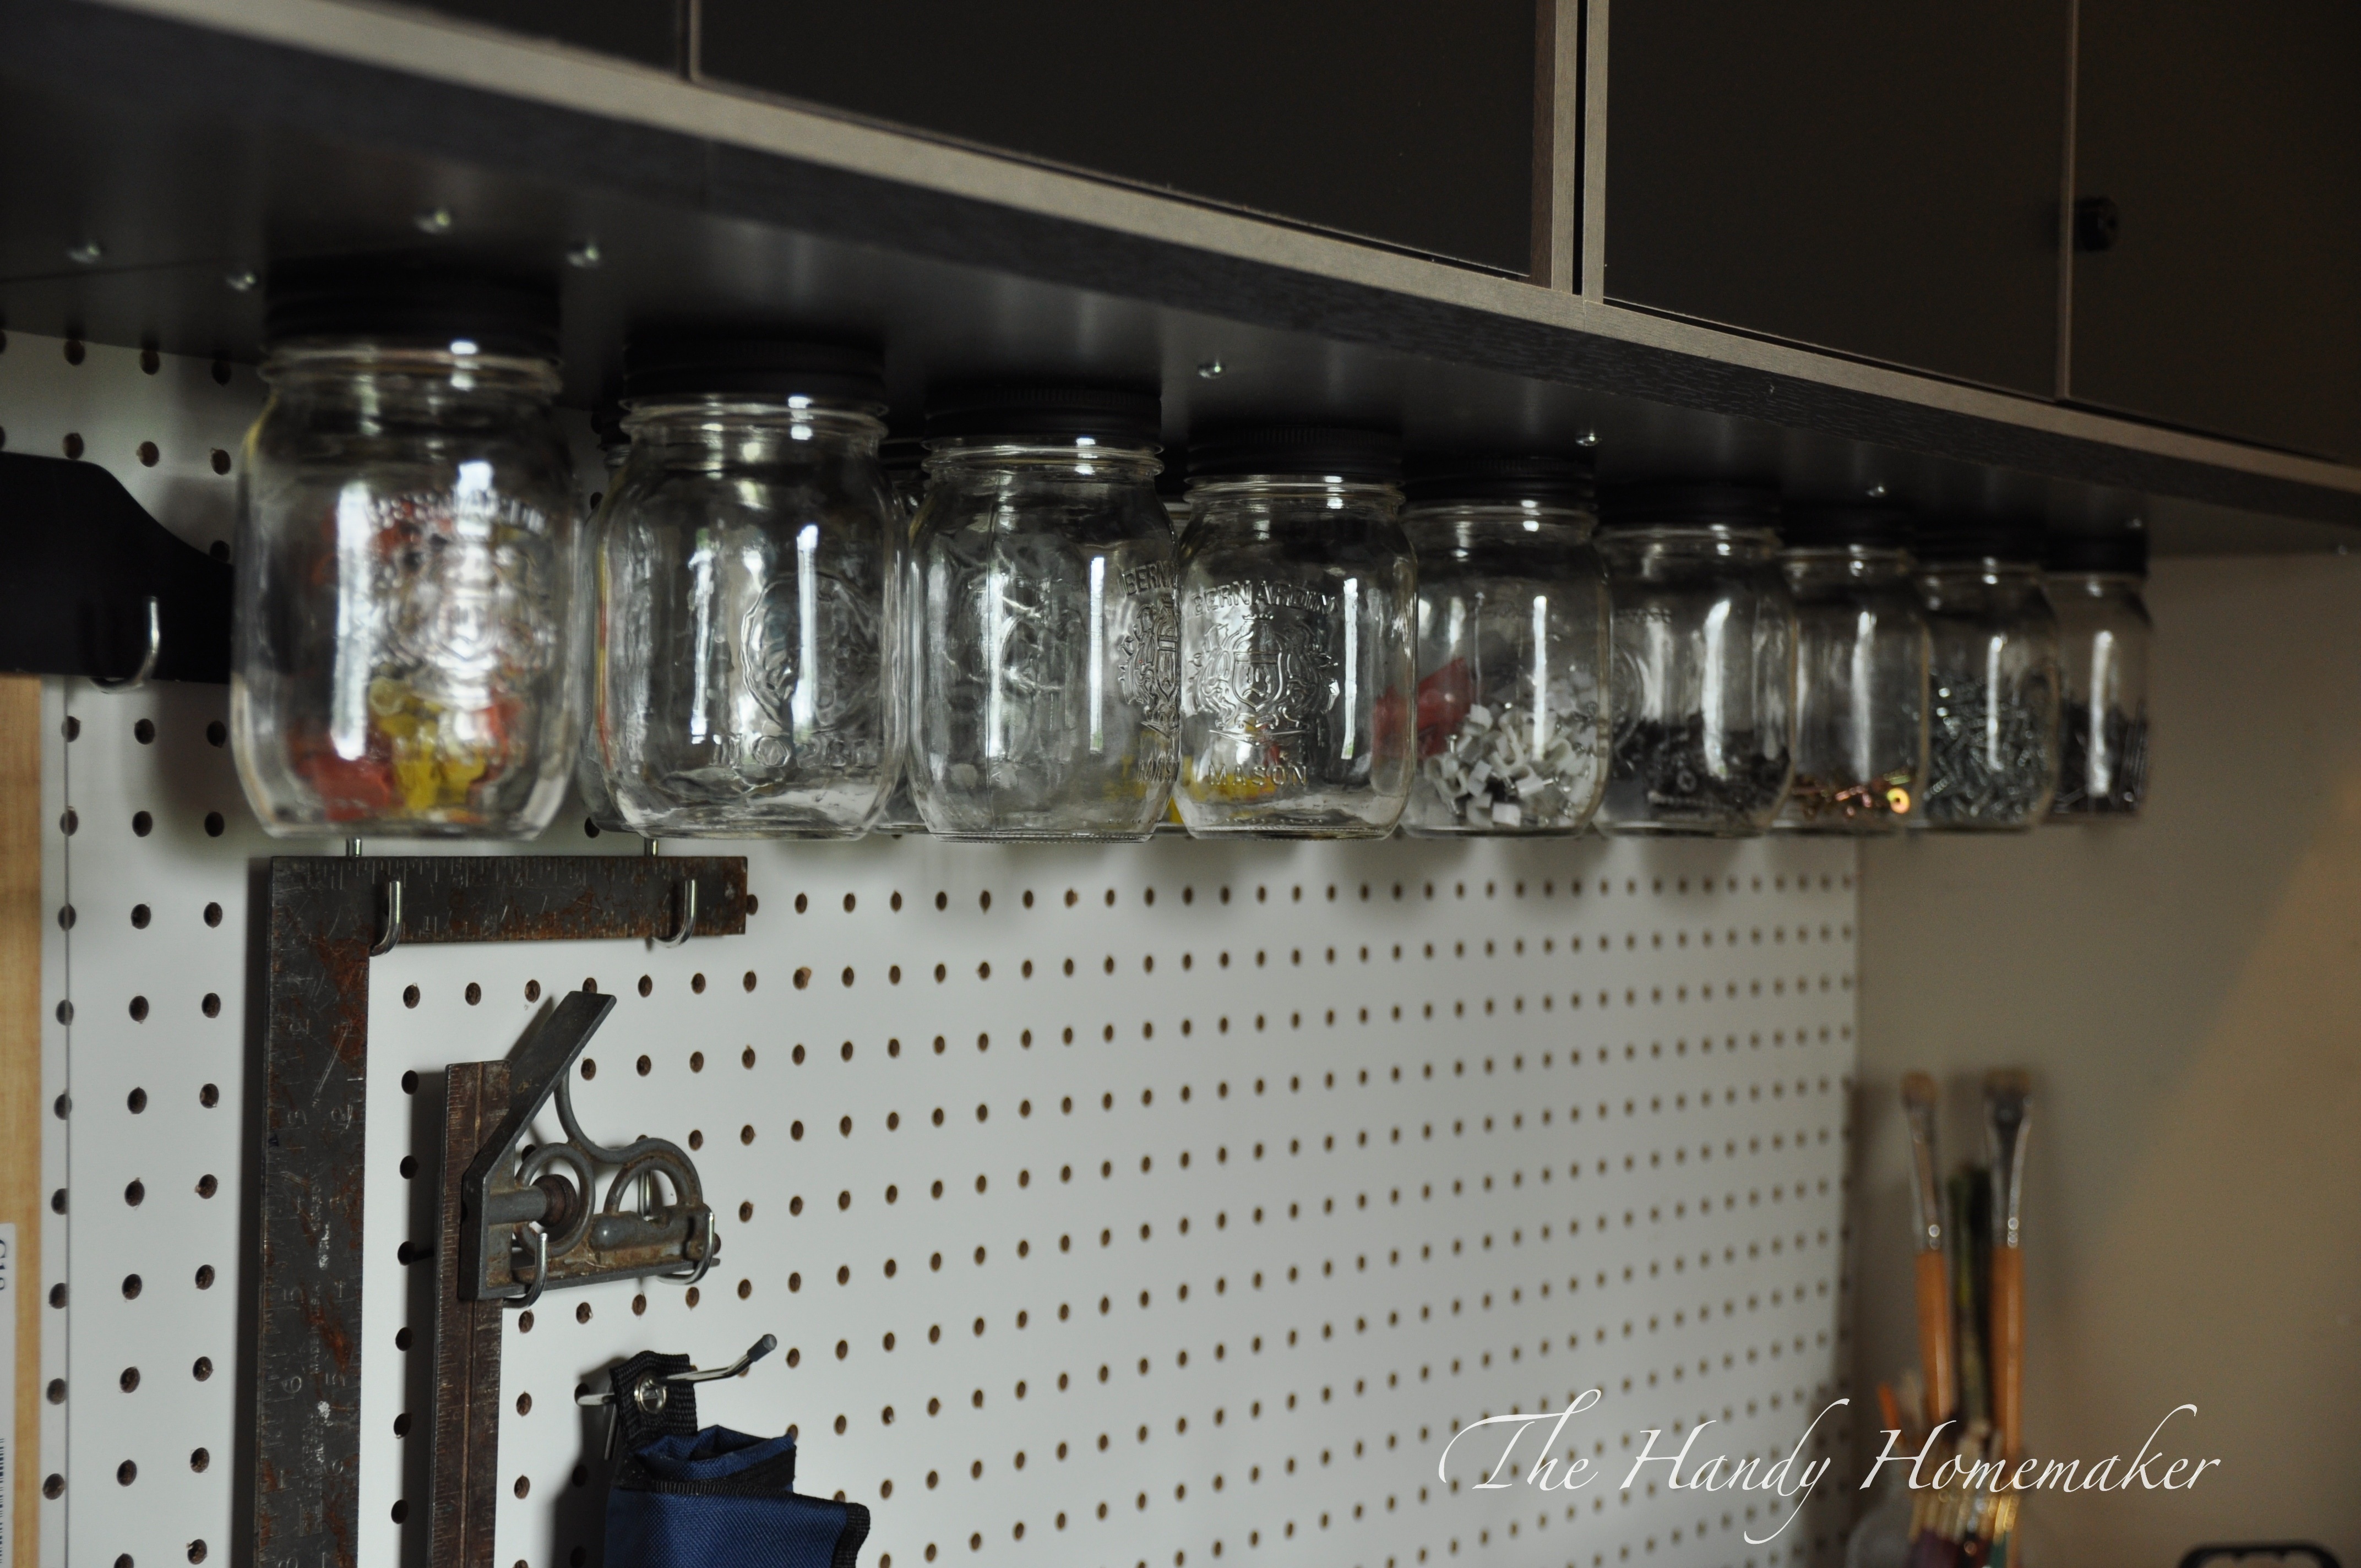 Finished!
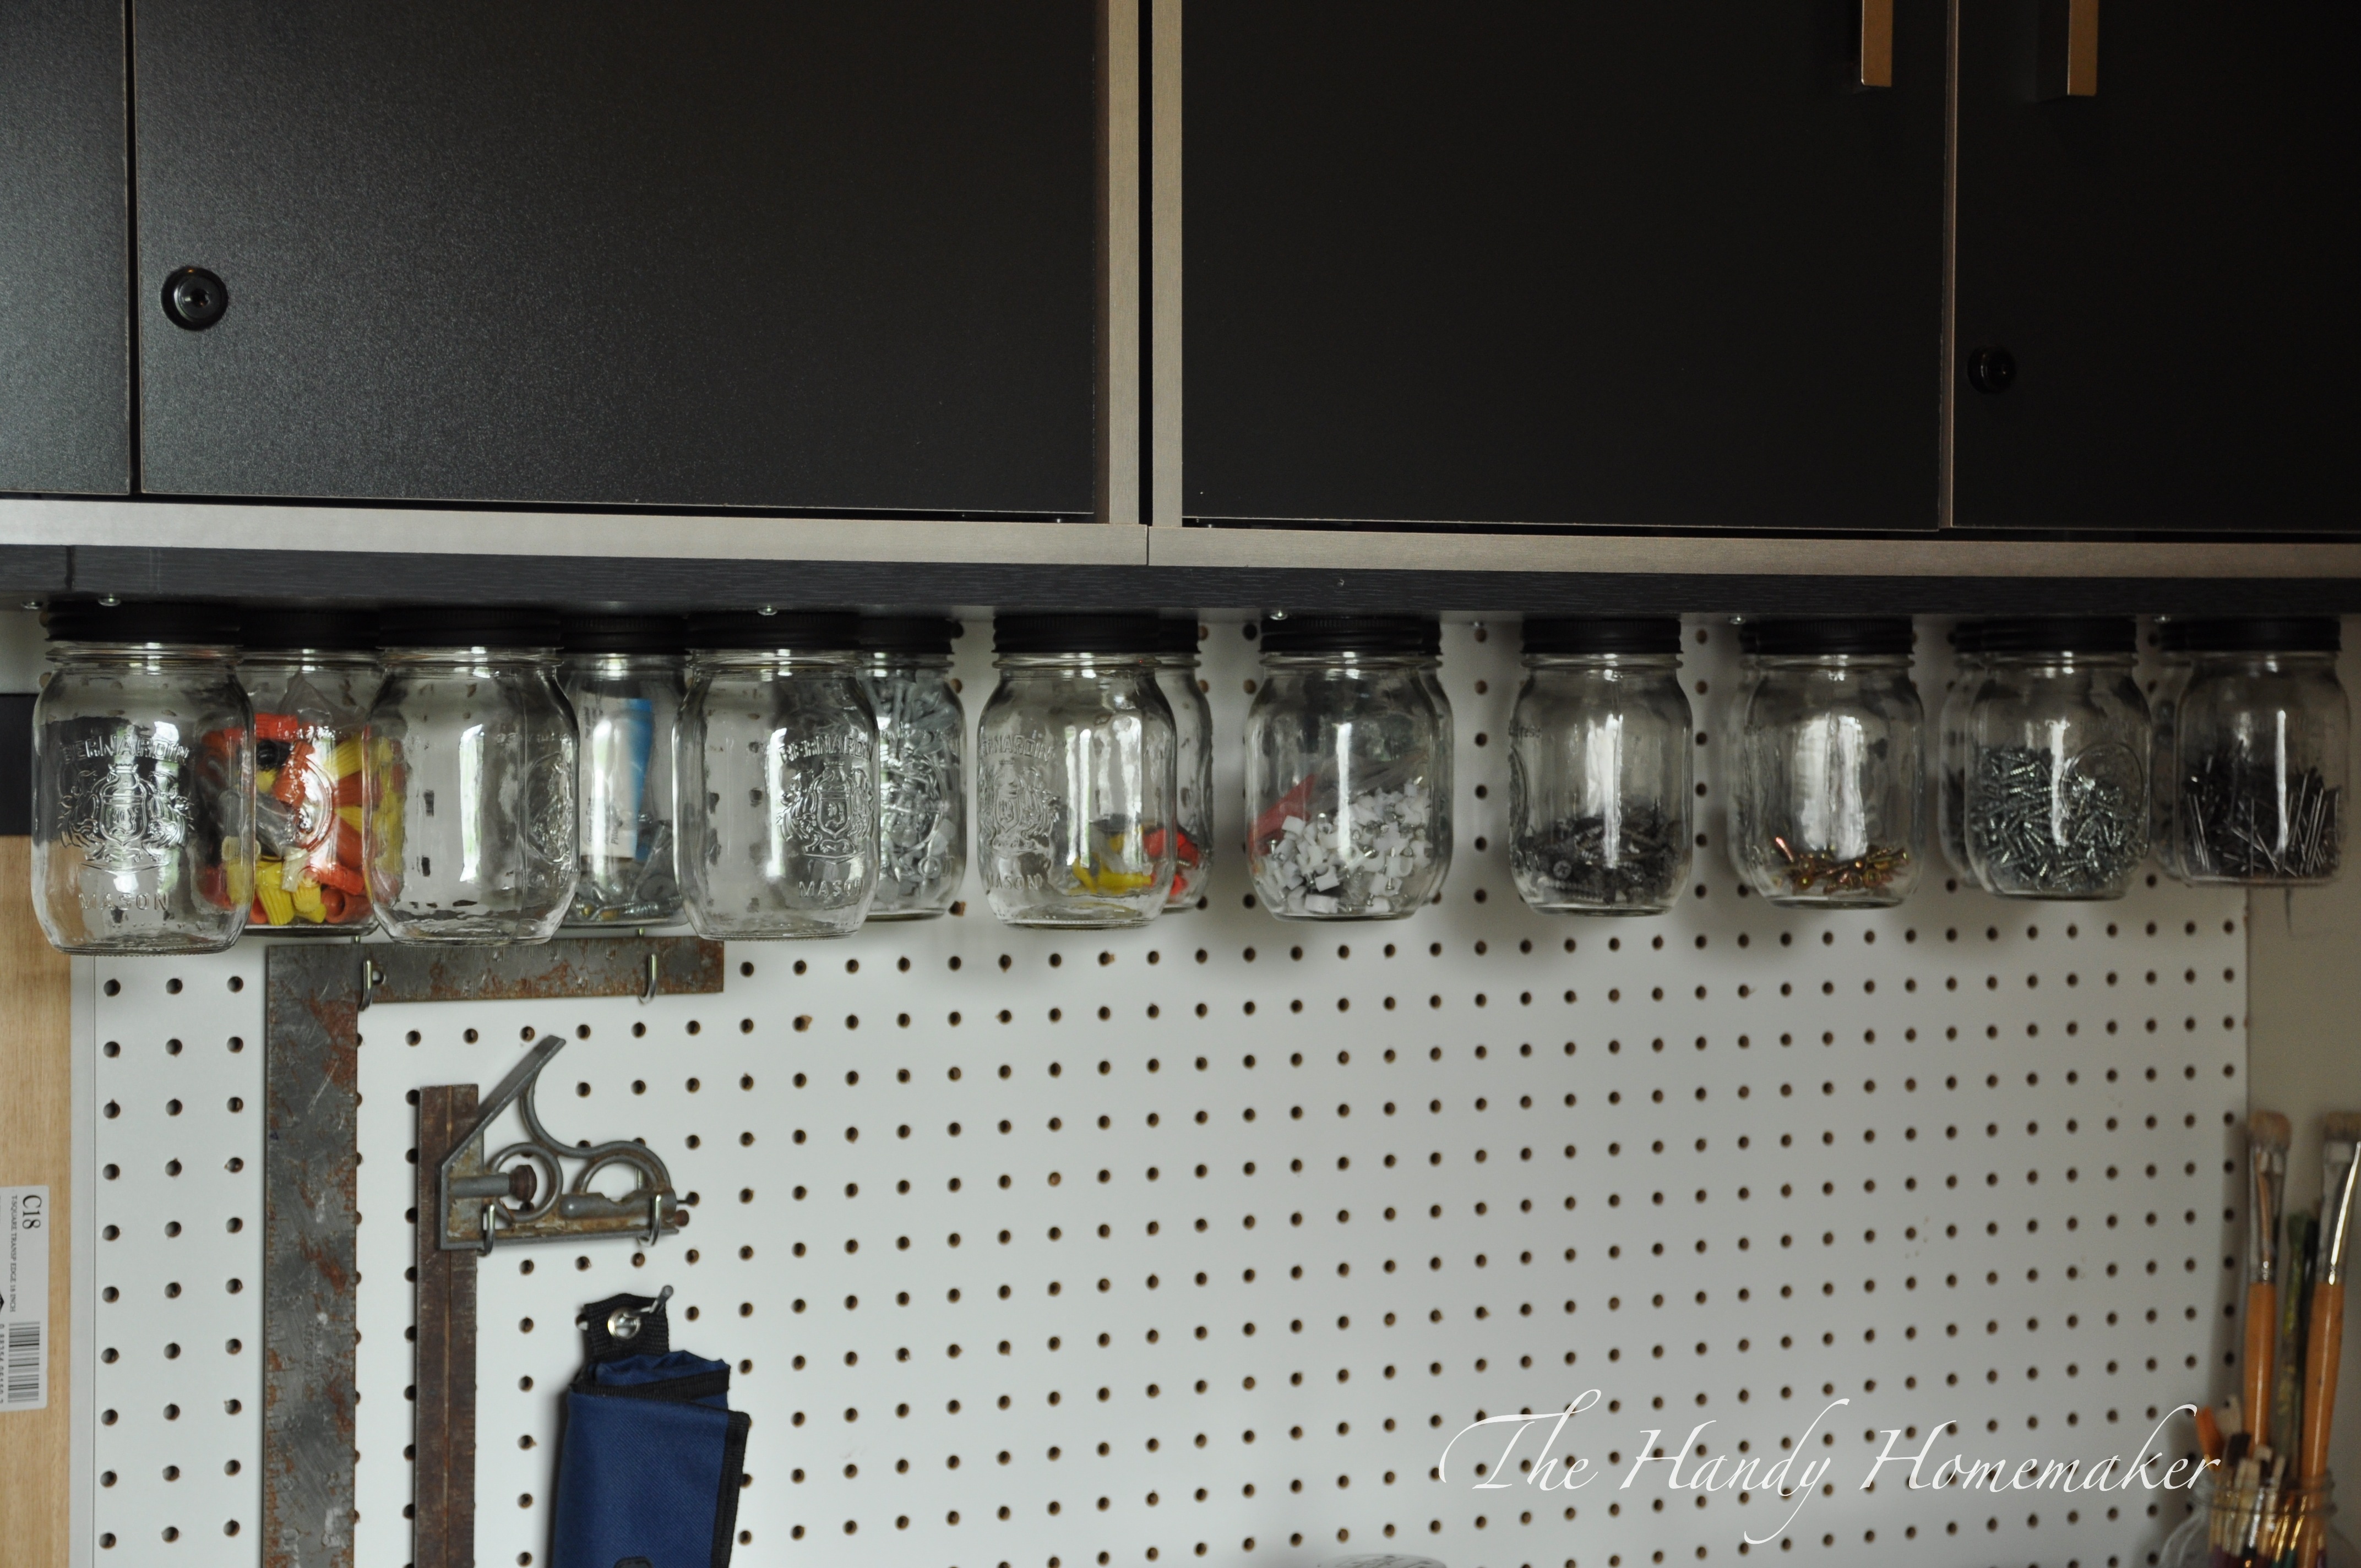
 This will make my life easier when working on projects


Leave a comment