
I am making these Holiday themed wine glasses as a ‘Thank you’ gift for an upcoming event. I am making 80 of them to give as a set of two. I purchased Bohemian Crystal glasses for this gift. This is my first etching glass project. I have decorated lots of glasses in the past with glass paints that need to be baked in the oven in order for the paint to be dishwasher safe. It is one of my favourite DIY crafts. I love to give ‘handmade with love’ gifts and I think these still fall into the category of handmade. I am going to show you two ways to do this stencil on glass, both ways are top rack dishwasher safe.
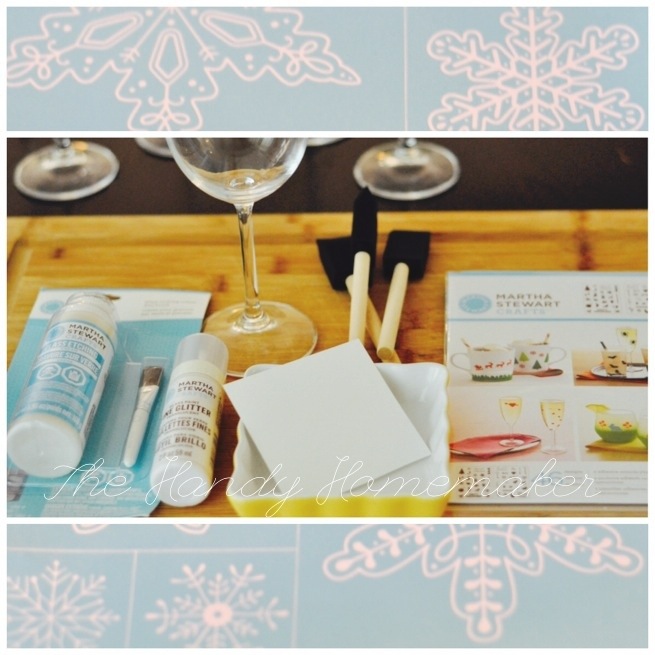
Materials needed:
- Etching Cream (I’m using Martha Stewart’s brand that I purchased at Michael’s Crafts- Don’t forget print out your 40% or 50% off coupon if you are shopping at Michael’s this cream is not cheap)
- Glasses
- Adhesive Stencils ( I used Martha Stewart brand) I tried out two types. The first was a snowflake silkscreen stencil that was washable and reusable. (I didn’t think these stuck to the rounded shape of the wine glass very well. Although if you were using on glass that was straight it would work better) These stencil’s needed to be taped on to stay) The second set were adhesive stencils that are washable, and reusable. This set was my favourite. And they really stuck well each time even after being washed over and over
- Painters tape to hold the silk screen on, as well if you have a tendency to be a sloppy painter.
- rubber gloves
- small dish to put the cream in. I used a glass dish so I put a piece of cardstock paper in the dish so protect it from getting etched.
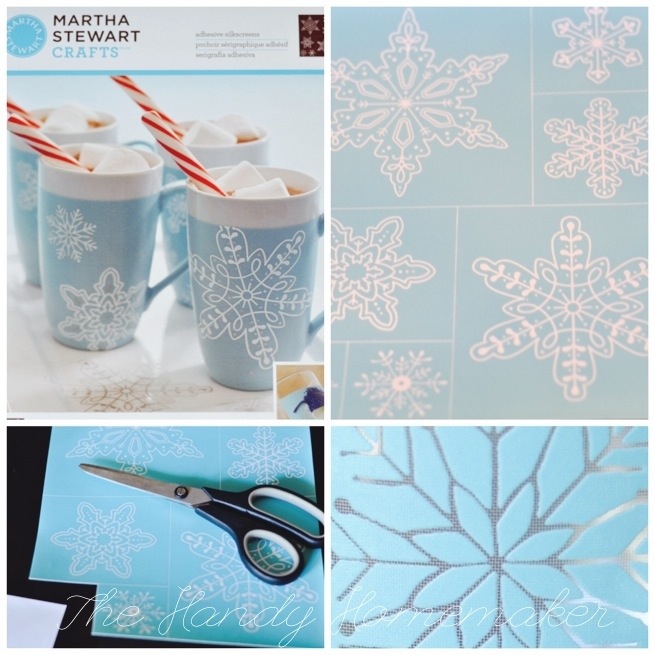
1. I first tried the silkscreen stencil. Cut out the pattern you want. You can see the screen in this enlarged photo. That is how the paint or etch gets on the glass

2. Clean the area on the glass with rubbing alcohol. Let dry
3. Remove the white backing from the stencil and place on the glass. Because of the curved shaped of the glass you will need to carefully press the stencil flat and tape down with the painters tape.
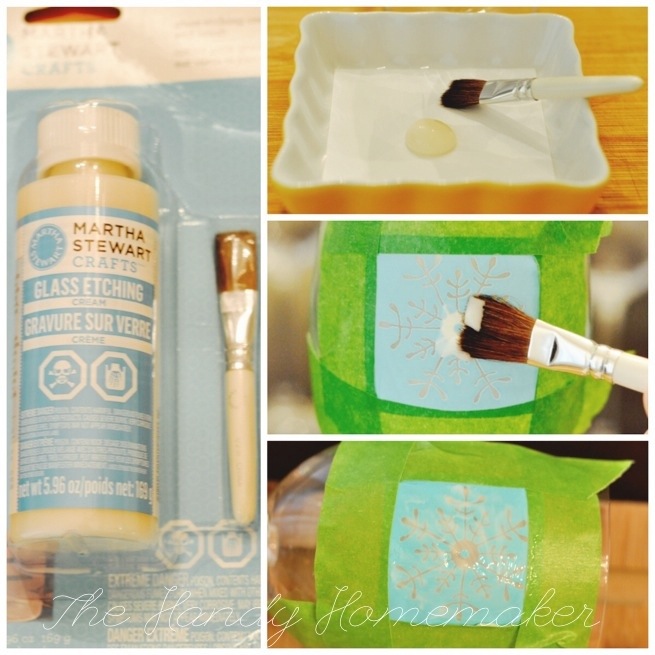
4. Pour a small amount of the etching cream into your dish. This cream goes along way, which is a good thing as this stuff is not cheap that’s why you need the coupon
5. Lightly blot the stencil with the etching cream and brush it came with. You don’t need to pile the cream on too heavy, but it needs to be heavier than if you were just applying paint.
6. Set timer for 15 minutes and wait. I layed this glass down but you do not need to, the cream is thick enough that it will not drip
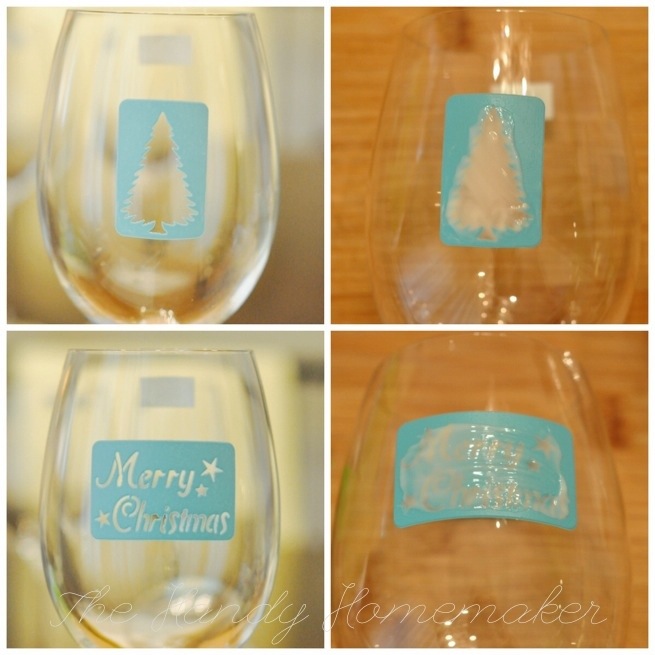
7. These are the adhesive stencils from the stencil package. I really liked these. They were like this silicone stencils and the sticky back never went away. After you wash them and dry they will stick back to the stencil plastic sheet for future use. These worked well with the curve of the glass. If you are worried you might get glass etching cream where you don’t want it to be etched, it’s best to tape around the stencil with painters tape.
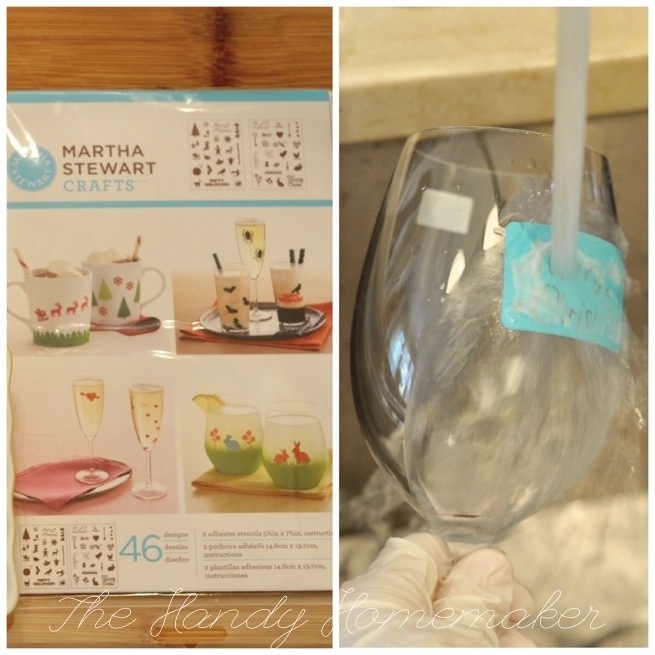
8. After 15 minutes, put gloves back on and then rinse off the etching cream from the glass. Carefully remove the stencil and dry both the glass and the stencil. The stencils are pretty sturdy, but they stick well to the glass, be gentle when removing it from the glass.
9. You are finished. The etching is permanent so it is dishwasher safe.
Wine Glass Painting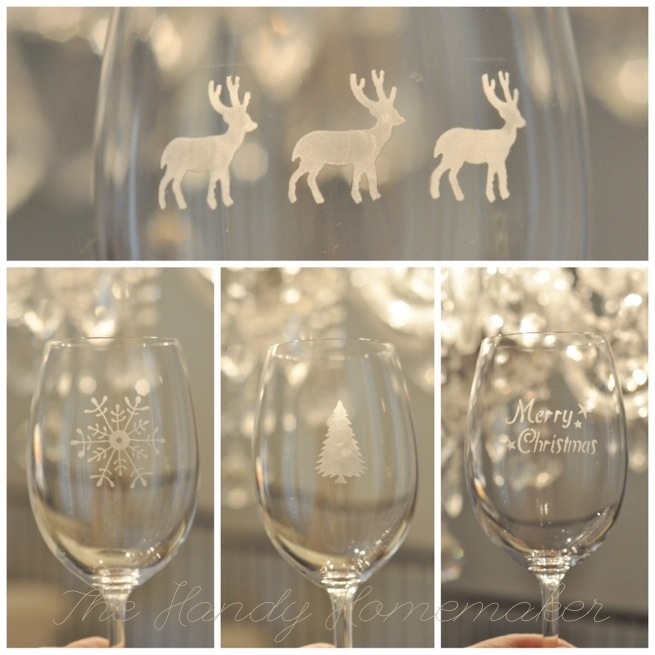
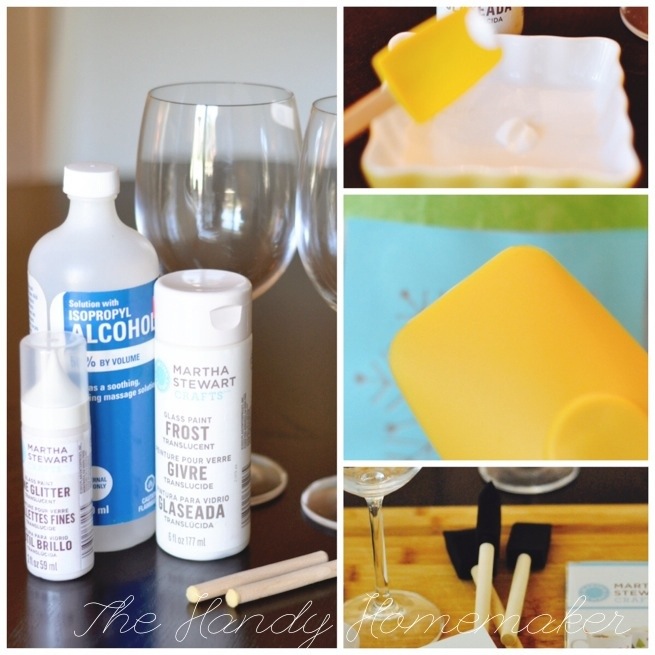
This is the second way to add a stencil to a glass using glass paints. Martha Stewart glass paints are dishwasher safe after 21 curing days, or after oven baking at 350° for 30 minutes. (Read the back to make sure you are purchasing the right kind) The glass glitter is not made to go in the oven, it is 21 days to cure only.
Materials needed:
- Glass paint (Martha Stewart brand) I used the Translucent frost glass paint to get that etched look
- Rubbing alcohol and swab for cleaning the glass
- Mini foam brushes or foam stamp brushes
- Glitter glass paint to add a little sparkle
- Adhesive stencils
1. Using the same concept as above clean the glass with alcohol
2. Position and place the stencil on the glass
3. I am showing that you can use a mini rubber spatula, but I preferred the foam stamp stick application method, using the silk screen stencil.
4. When using the Adhesive stencils both the foam brush and the foam stamp worked great to add the paint.
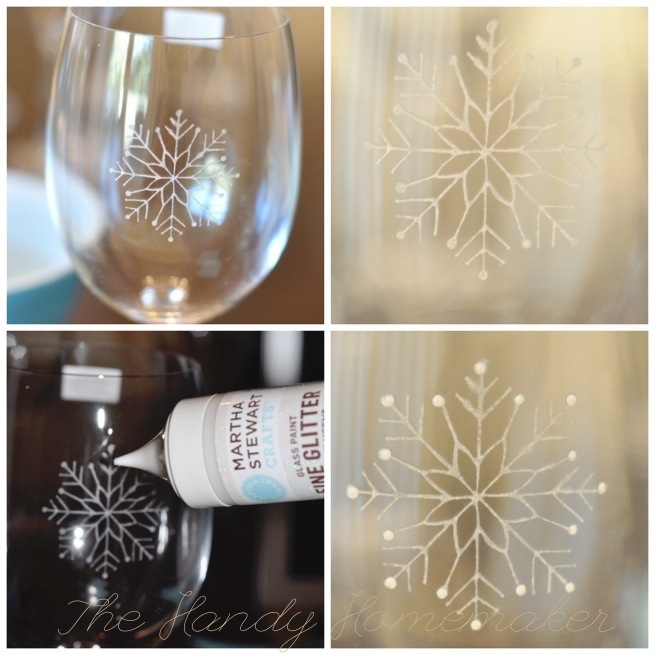
5. I removed the stencil almost immediately taking care not to smudge the stencil. The frost paint dries rather quickly so you will need to wash your stencil immediately after removing.
6. Let glass paint dry on the glass for 21 days, or place glasses in oven and then set the temperature to 350° and bake for 30 minutes. Turn off oven and let glasses cool in the oven. Your glass is now top rack dishwasher safe.
7. If you decide to use one of the many glass glitter paints. These paints will need to 21 day cure only.
8. Sit back and enjoy your handy work.


Leave a comment