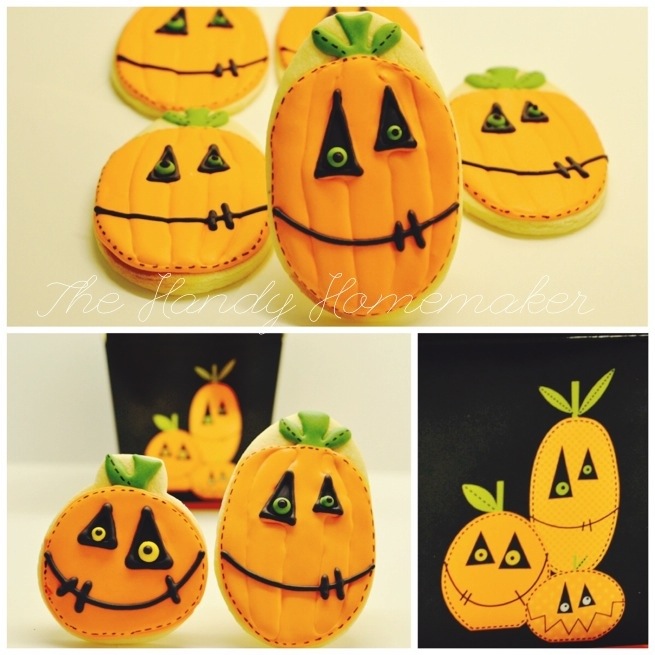
I purchased these little Halloween boxes last fall on clearance at Michael’s crafts. I love cute Halloween things, not scary. I’m kind of a chicken that way. So these cookies are about as scary as I get. I thought it would be cute to copy the design on the box and make a matching cookie. I did not have the matching cookie cutters. For the small pumpkin I used a Christmas ornament cutter and for the taller pumpkin an easter egg cutter.

1. Using a sugar cookie recipe. Cut out, chill, then bake the cookies as per the recipe directions.
2. Once cool prepare my royal icing colors as per my royal icing recipe and instructions. Then fill an icing bags (piping consistency) with tip #2 attached and a squeeze bottles (flooding consistency) one set for each color of frosting.
3. Pipe the edge of the cookies with piping icing then outline the eyes of the cookies with black piping icing and fill in with black flood icing. Outline the stem and leaf shapes and fill in with the same green icing. Do this to each cookie then go back to the first cookie I started with. Carefully outline the eyes, and make 4 lines from top to bottom of the pumpkin with the thicker piping icing to make pumpkin style grooves. Fill in three grooves of the pumpkin and let dry for 20 min or until you’ve completed the same on each pumpkin. Flood in the two remaining sections of the pumpkin with the orange flood icing. Place on cookie sheet and let dry. I alway place in front of a fan and let dry for 6-8 hours or overnight.
4. To make the eyes: You can pipe these directly on the cookie or on a sheet of waxed paper or parchment. Make small dots of icing in yellow and green add another small dot of black icing to the middle of the first icing dot with black icing. Let dry overnight and attach with a tiny dot of icing. I like this method instead of piping directly on the cookie for dimension.
4. Using a black food color pen I made little lines on the outside of the cookie to match the stitching design on the box. Then take your black piping icing and pipe around the outside of the pumpkin eyes and make a mouth. Tout fini! Let dry! I started these in the morning, let dry for the afternoon did my finish work in the evening and they dried overnight and were ready to be but in a bag for sealing.
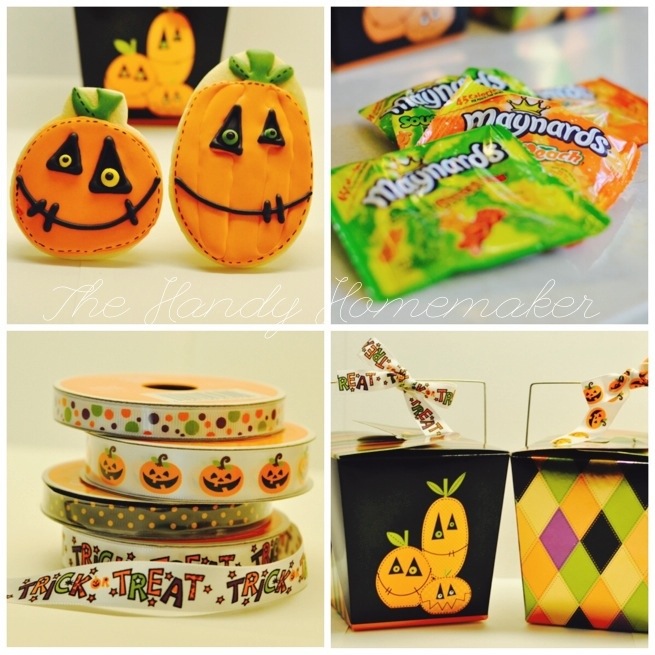
Added them to the gift box with a few extra treats and add some decorative ribbon. You have a treat bag that no kid will appreciate. lol
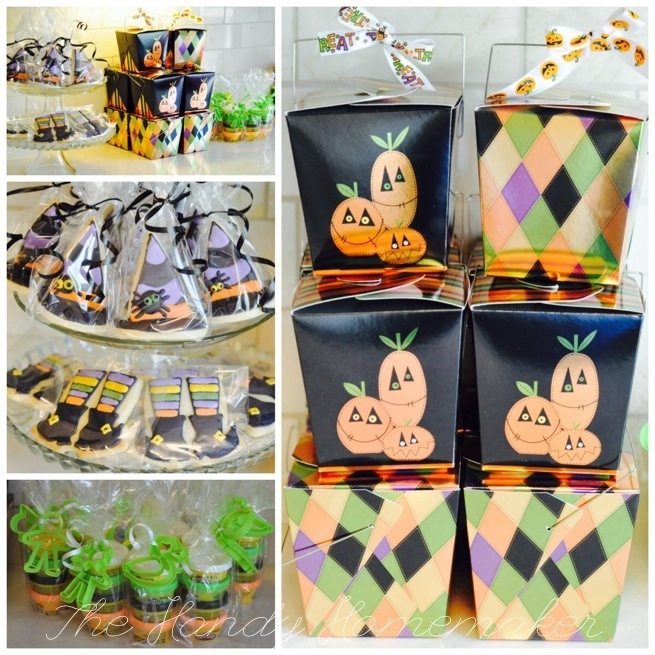
Finished! Of course I made these early and placed the wrapped, decorated cookies in a sealed container and froze until next week when I will give out to my special little visitors.


Leave a comment