Here are two painting updates I did with two odd types of frames. Hopefully these ideas can help you turn something old, outdated, or just the wrong color into something that is new, in-style, and in the colors of your decor.
How to update a frame #1

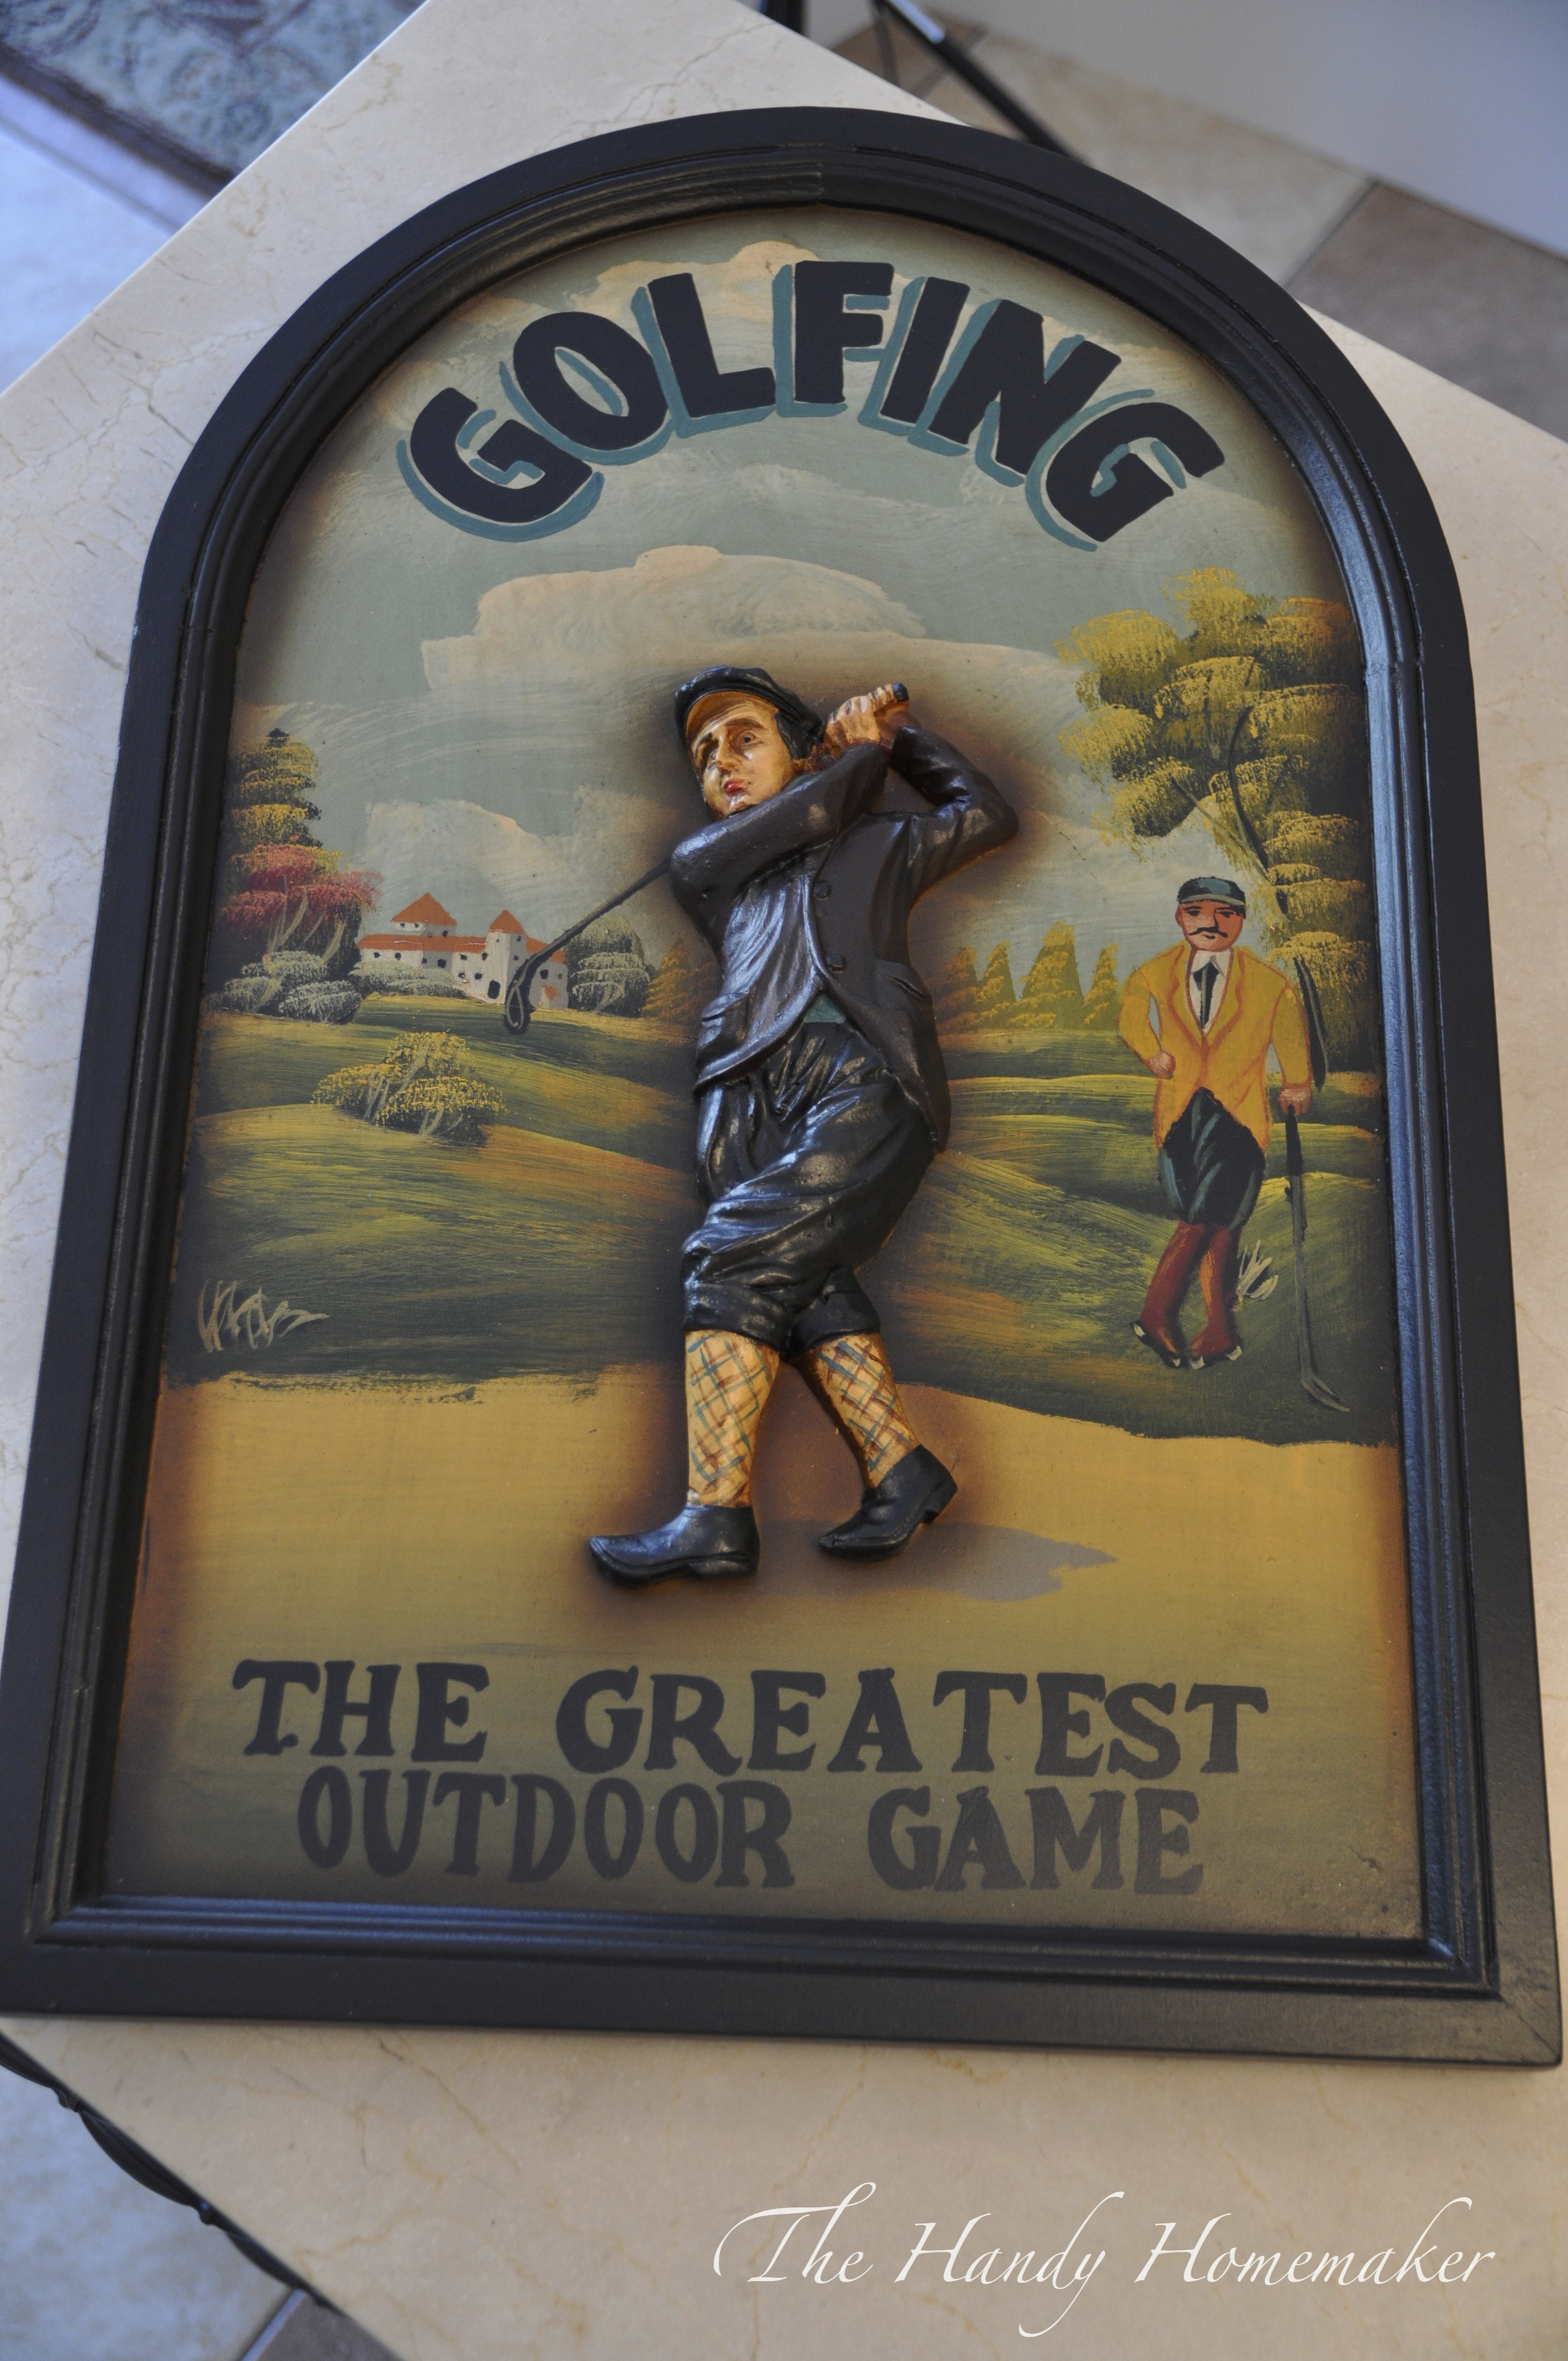
My husband loves this 3D picture he was given a few years ago. I liked it too…. in storage. A few weeks, I was looking for something in the storage room and this caught my eye. I knew exactly why I didn’t put his up, the orange-red color didn’t go with our decor. I decided could easily remedy this problem. Paint! I took it a step further and painted not only the frame but the golfer and wording colors. I now like the 3D Golf painting, and see it going up on a wall…. in his office 😉
Heres how I did it.
Materials:
- Acrylic paint
- Small artist paint brushes
- water for cleaning brushes
- paper towel
- Water based Sealer (Varathane -satin)
- 220 grit sand paper. (if your frame in glossy just rough it up a bit with a fine sandpaper)
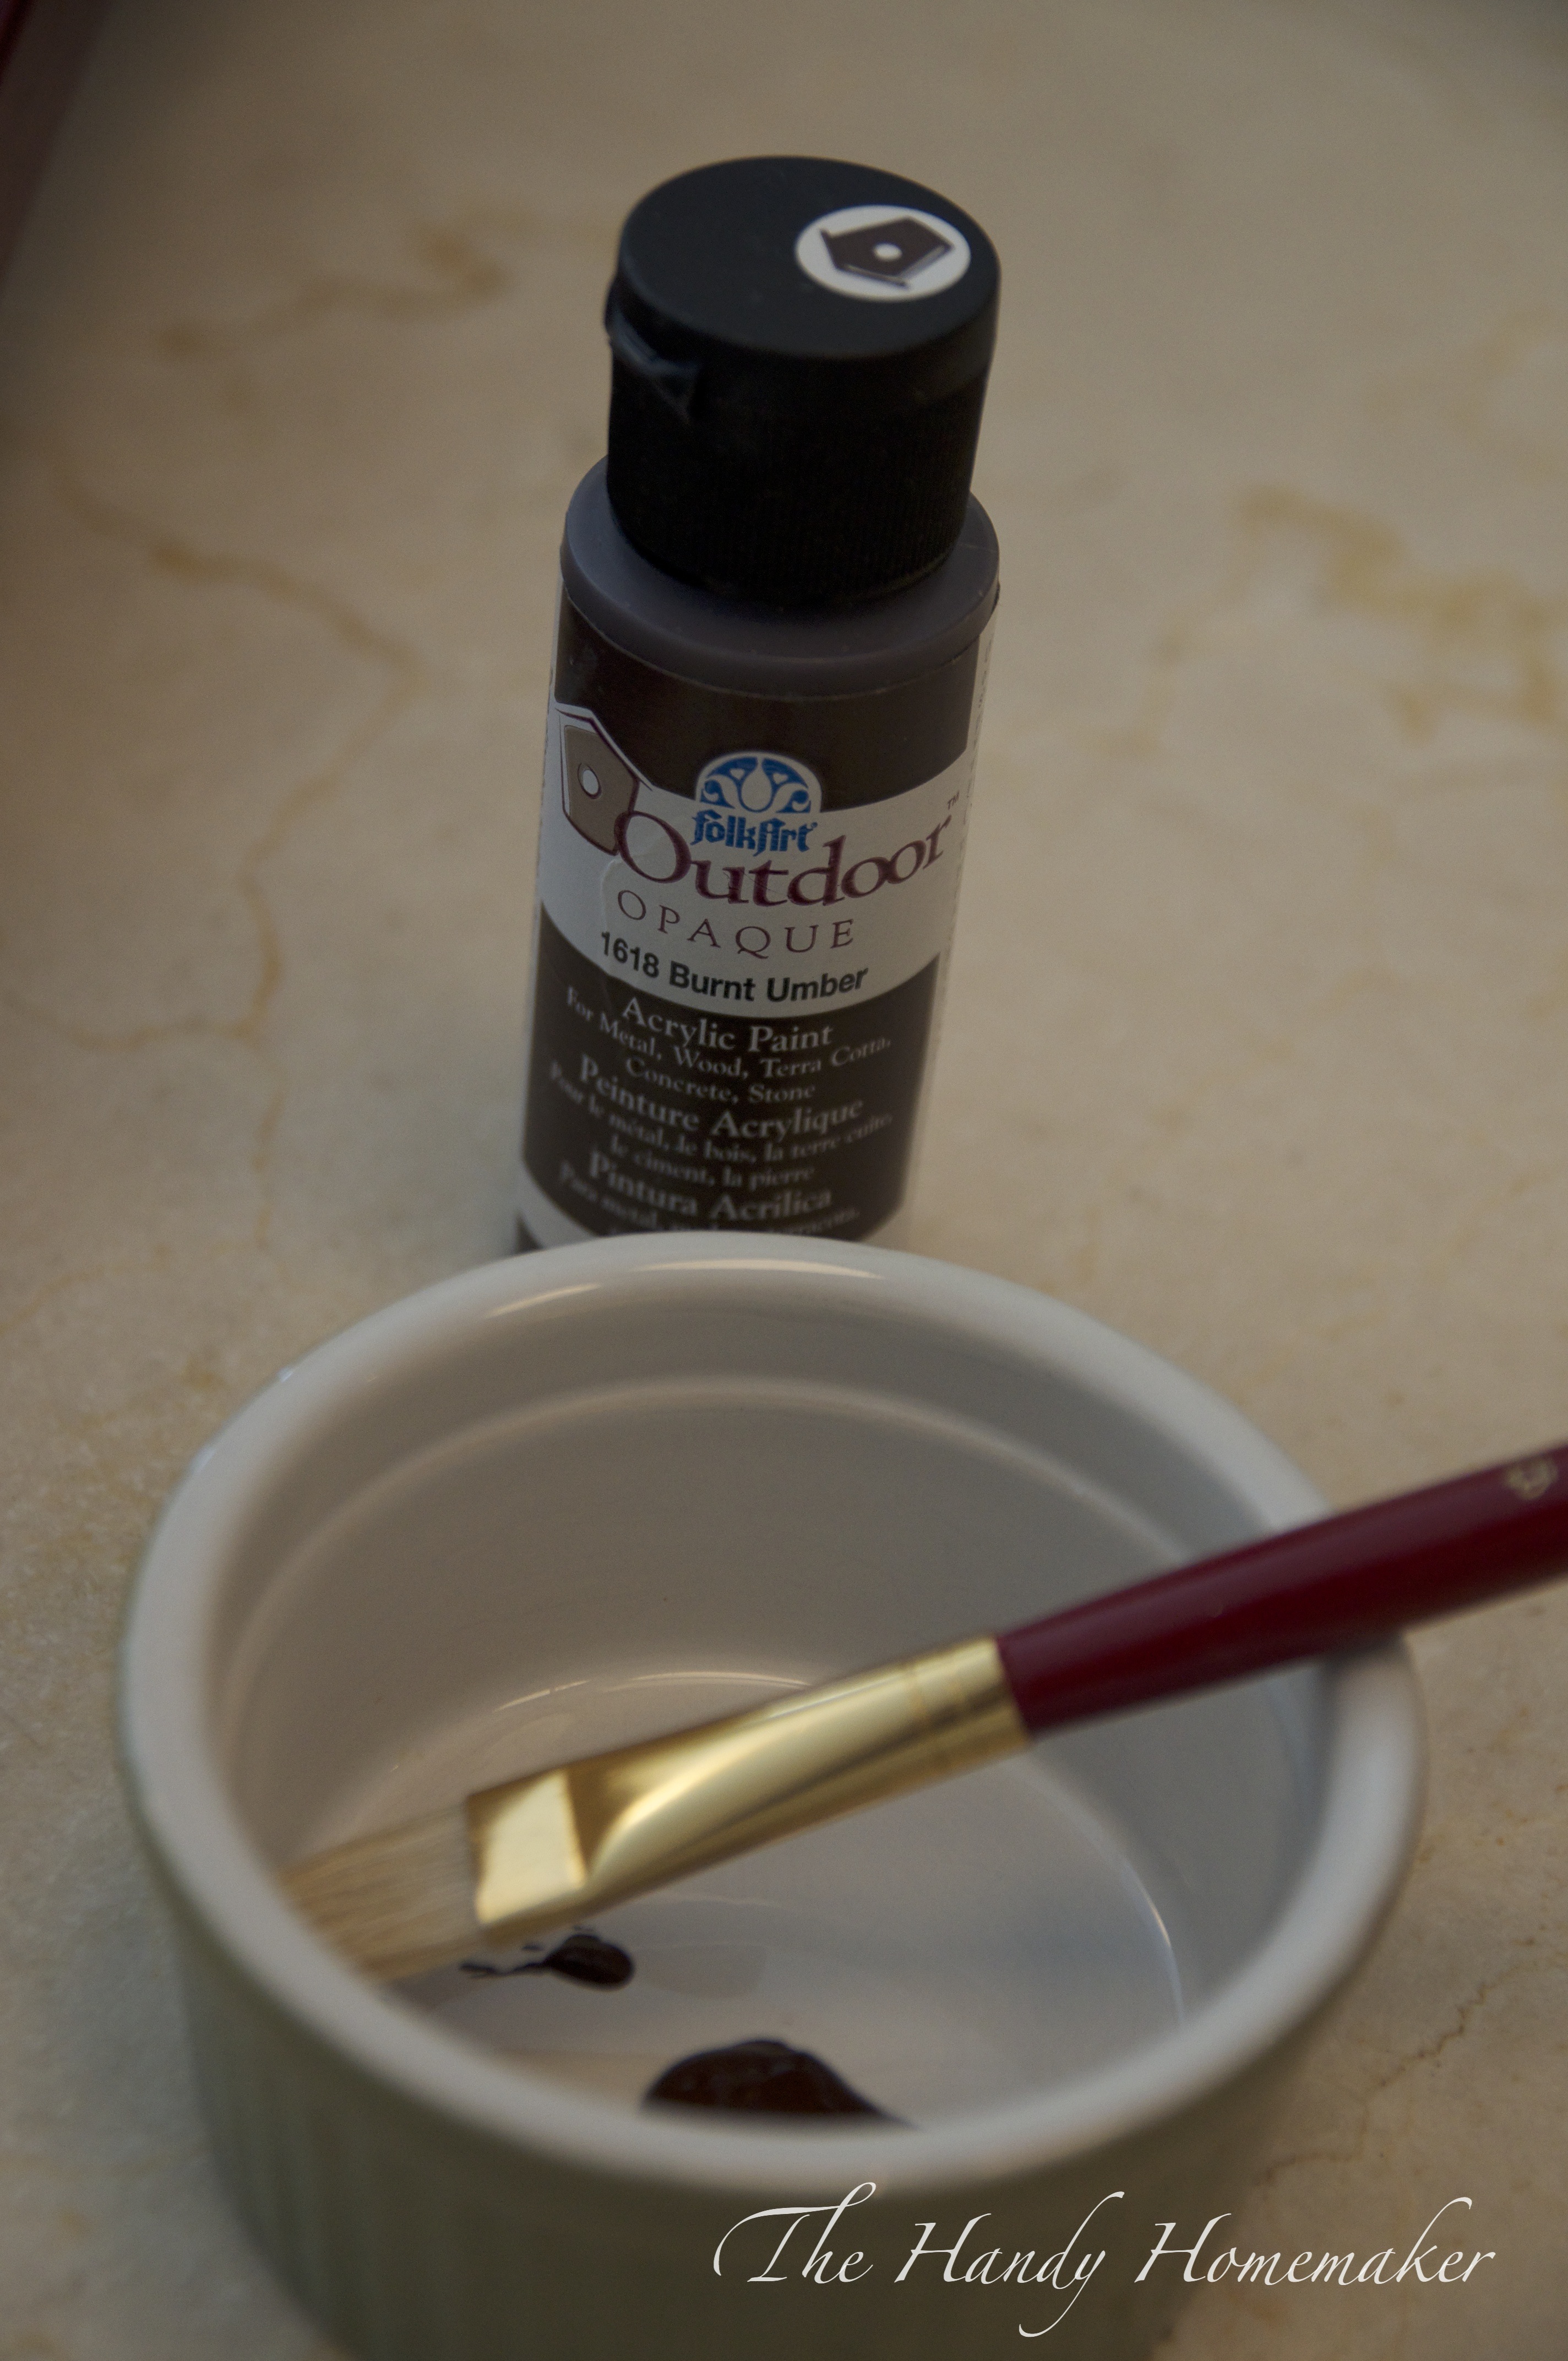
Add a small amount of the acrylic paint in the color desired to a small dish. Place a small amount on your brush.
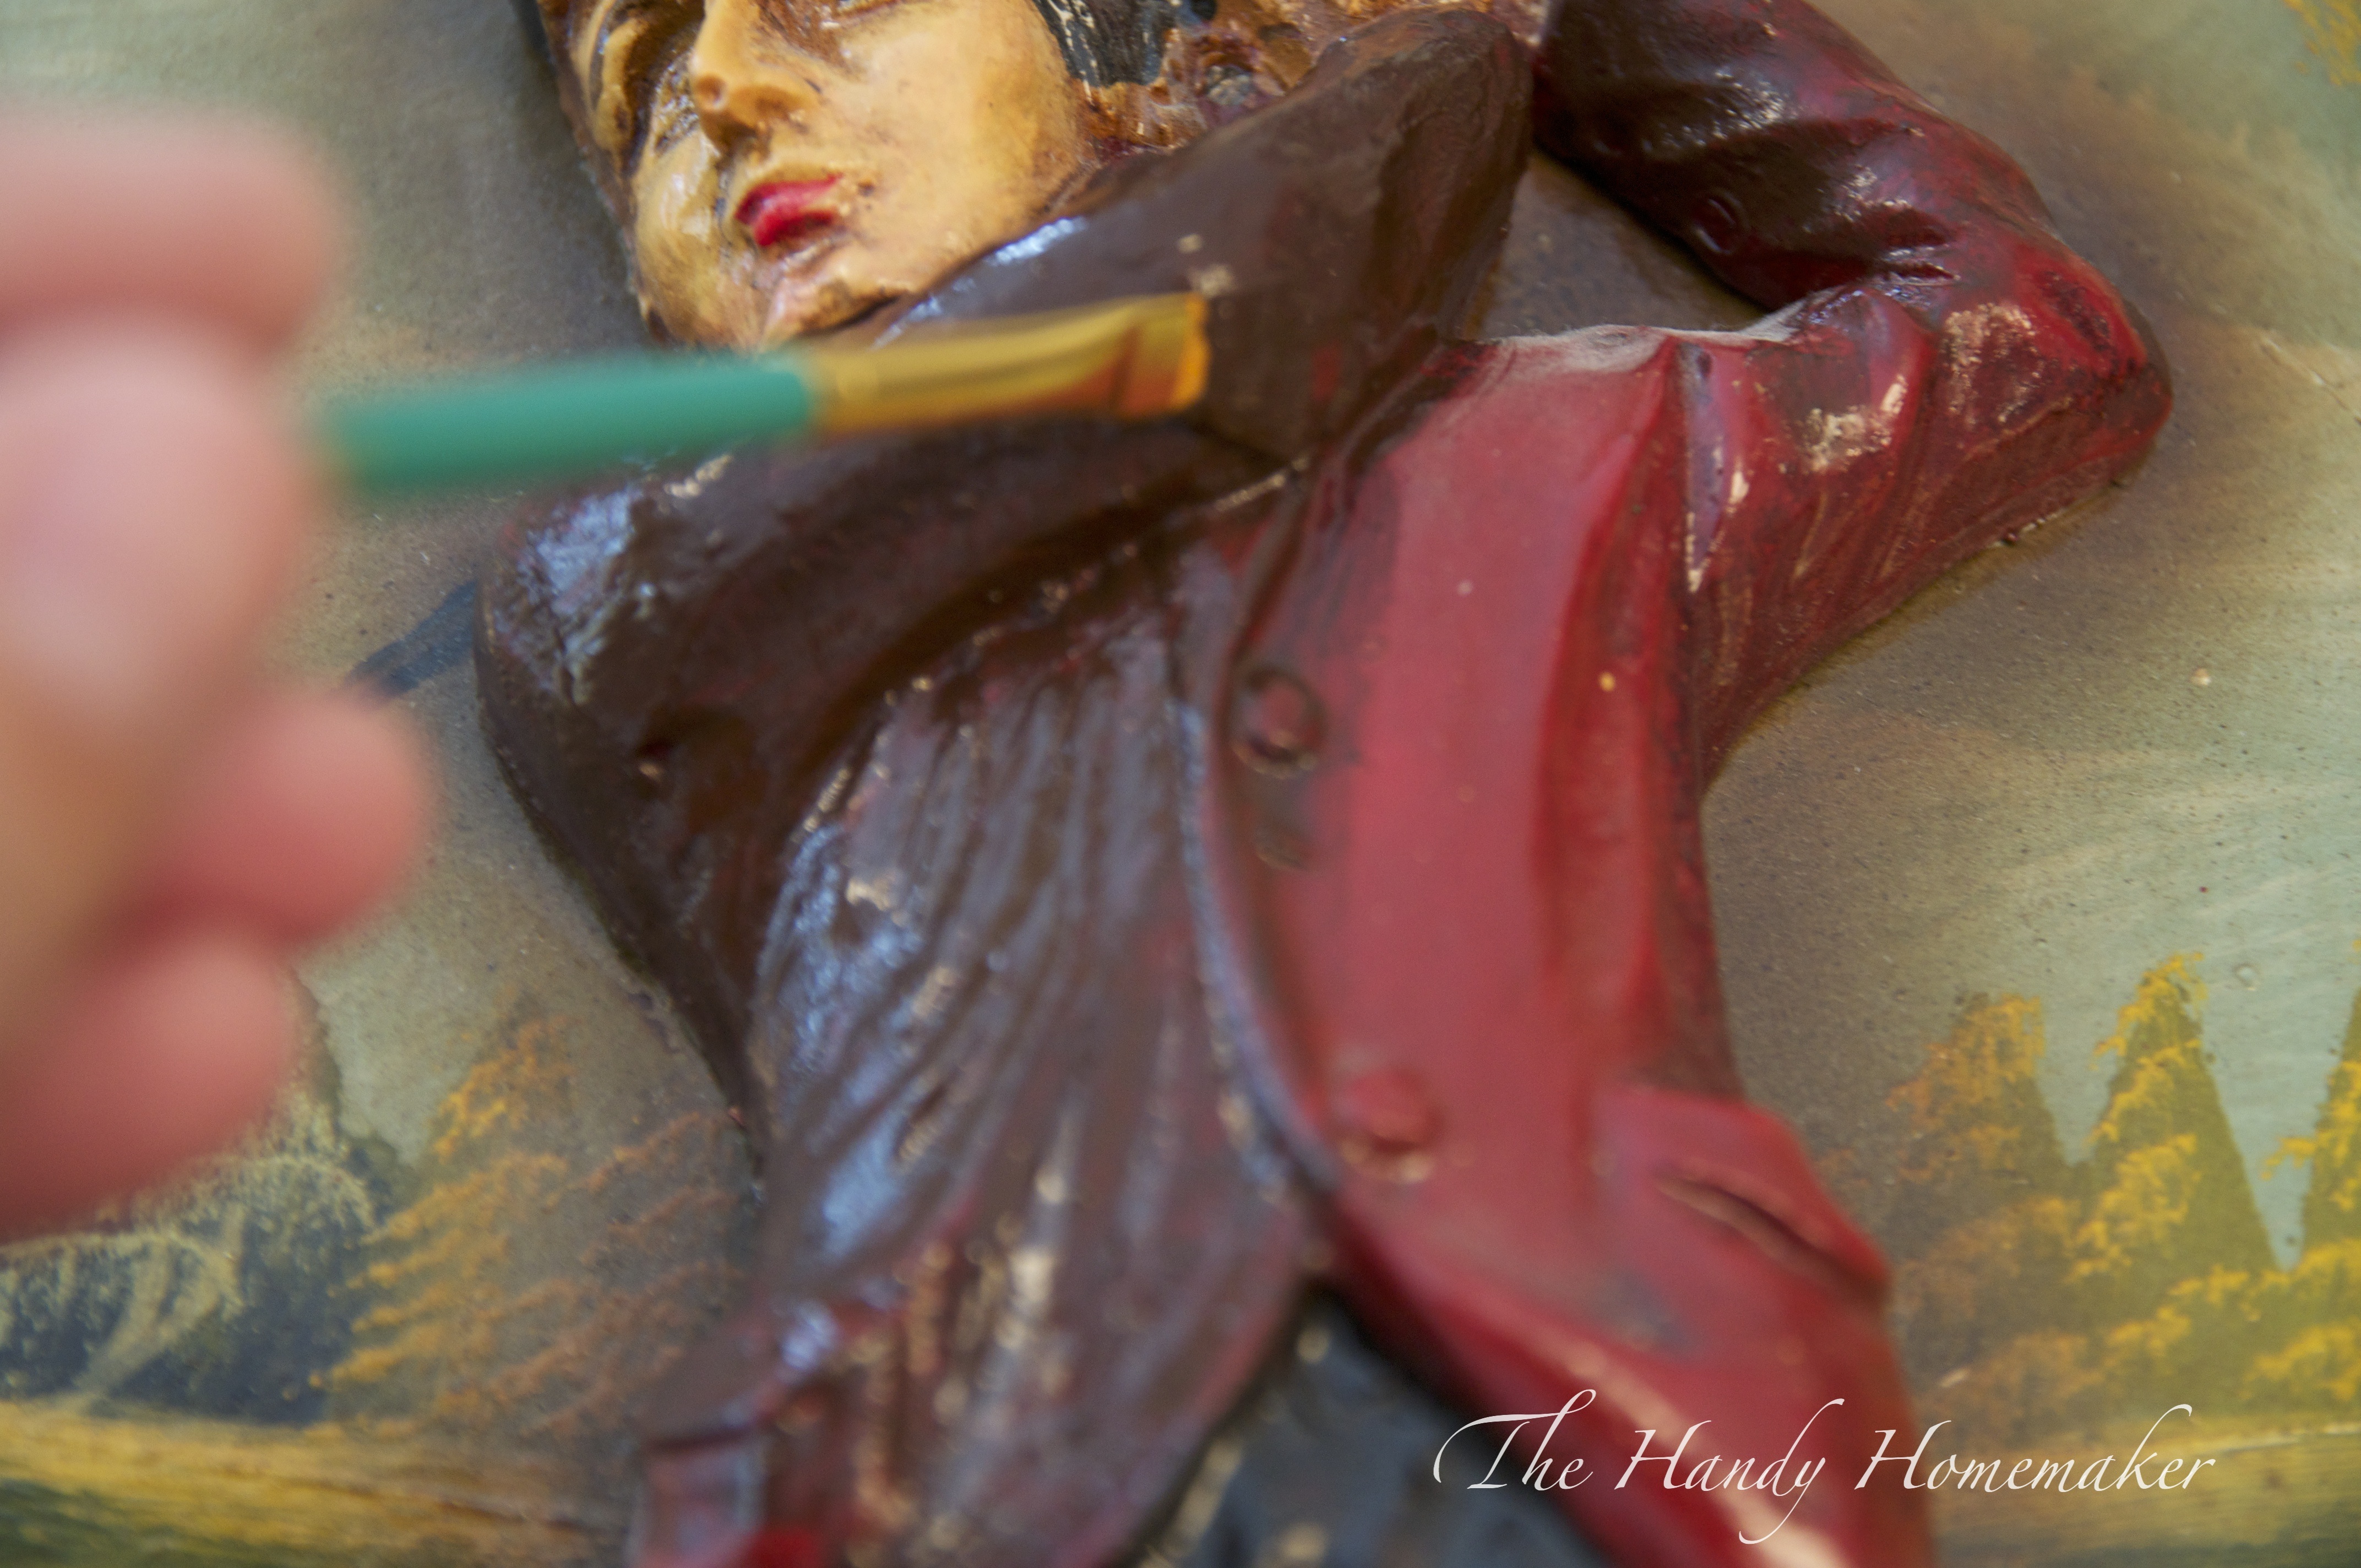
Apply a thin coat over the part of the painting you want to cover. It will most likely take more than 1 coat of paint.
Let dry for 20-25 minutes in between coats of paint
Two to three thin layers are better than one thick one.
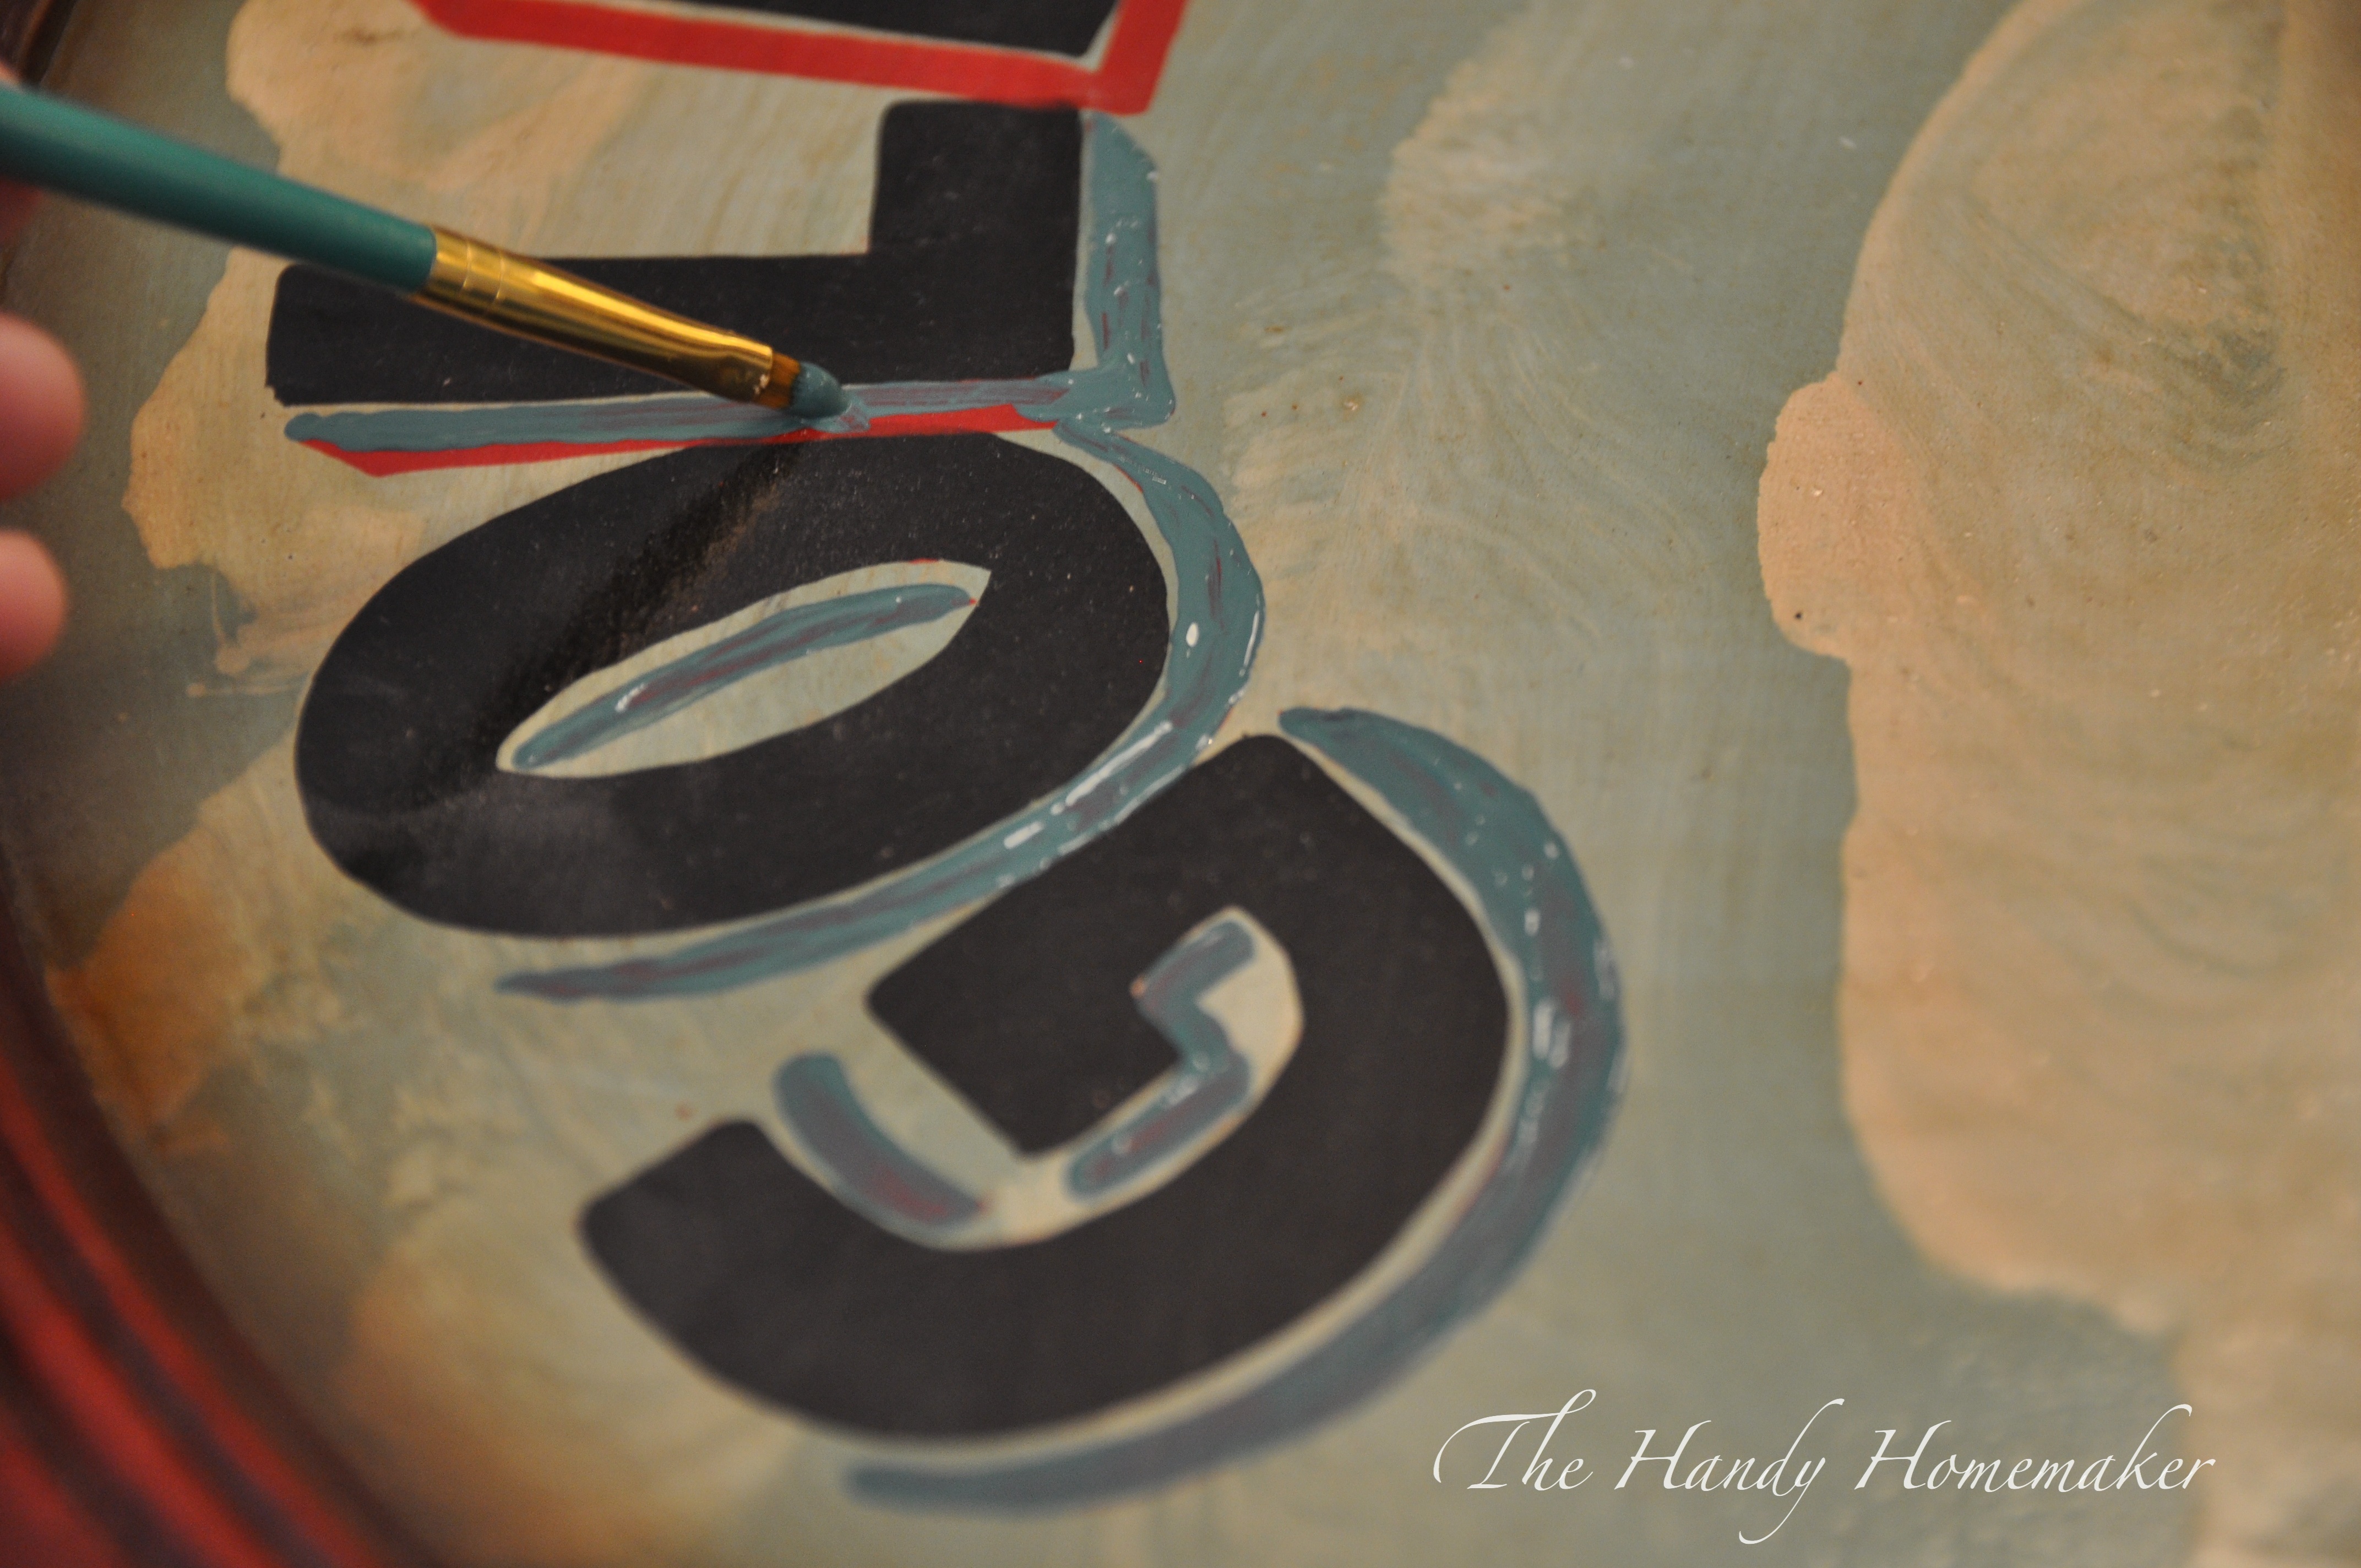
Paint the frame with two coats of acrylic paint and let dry for a few hours.
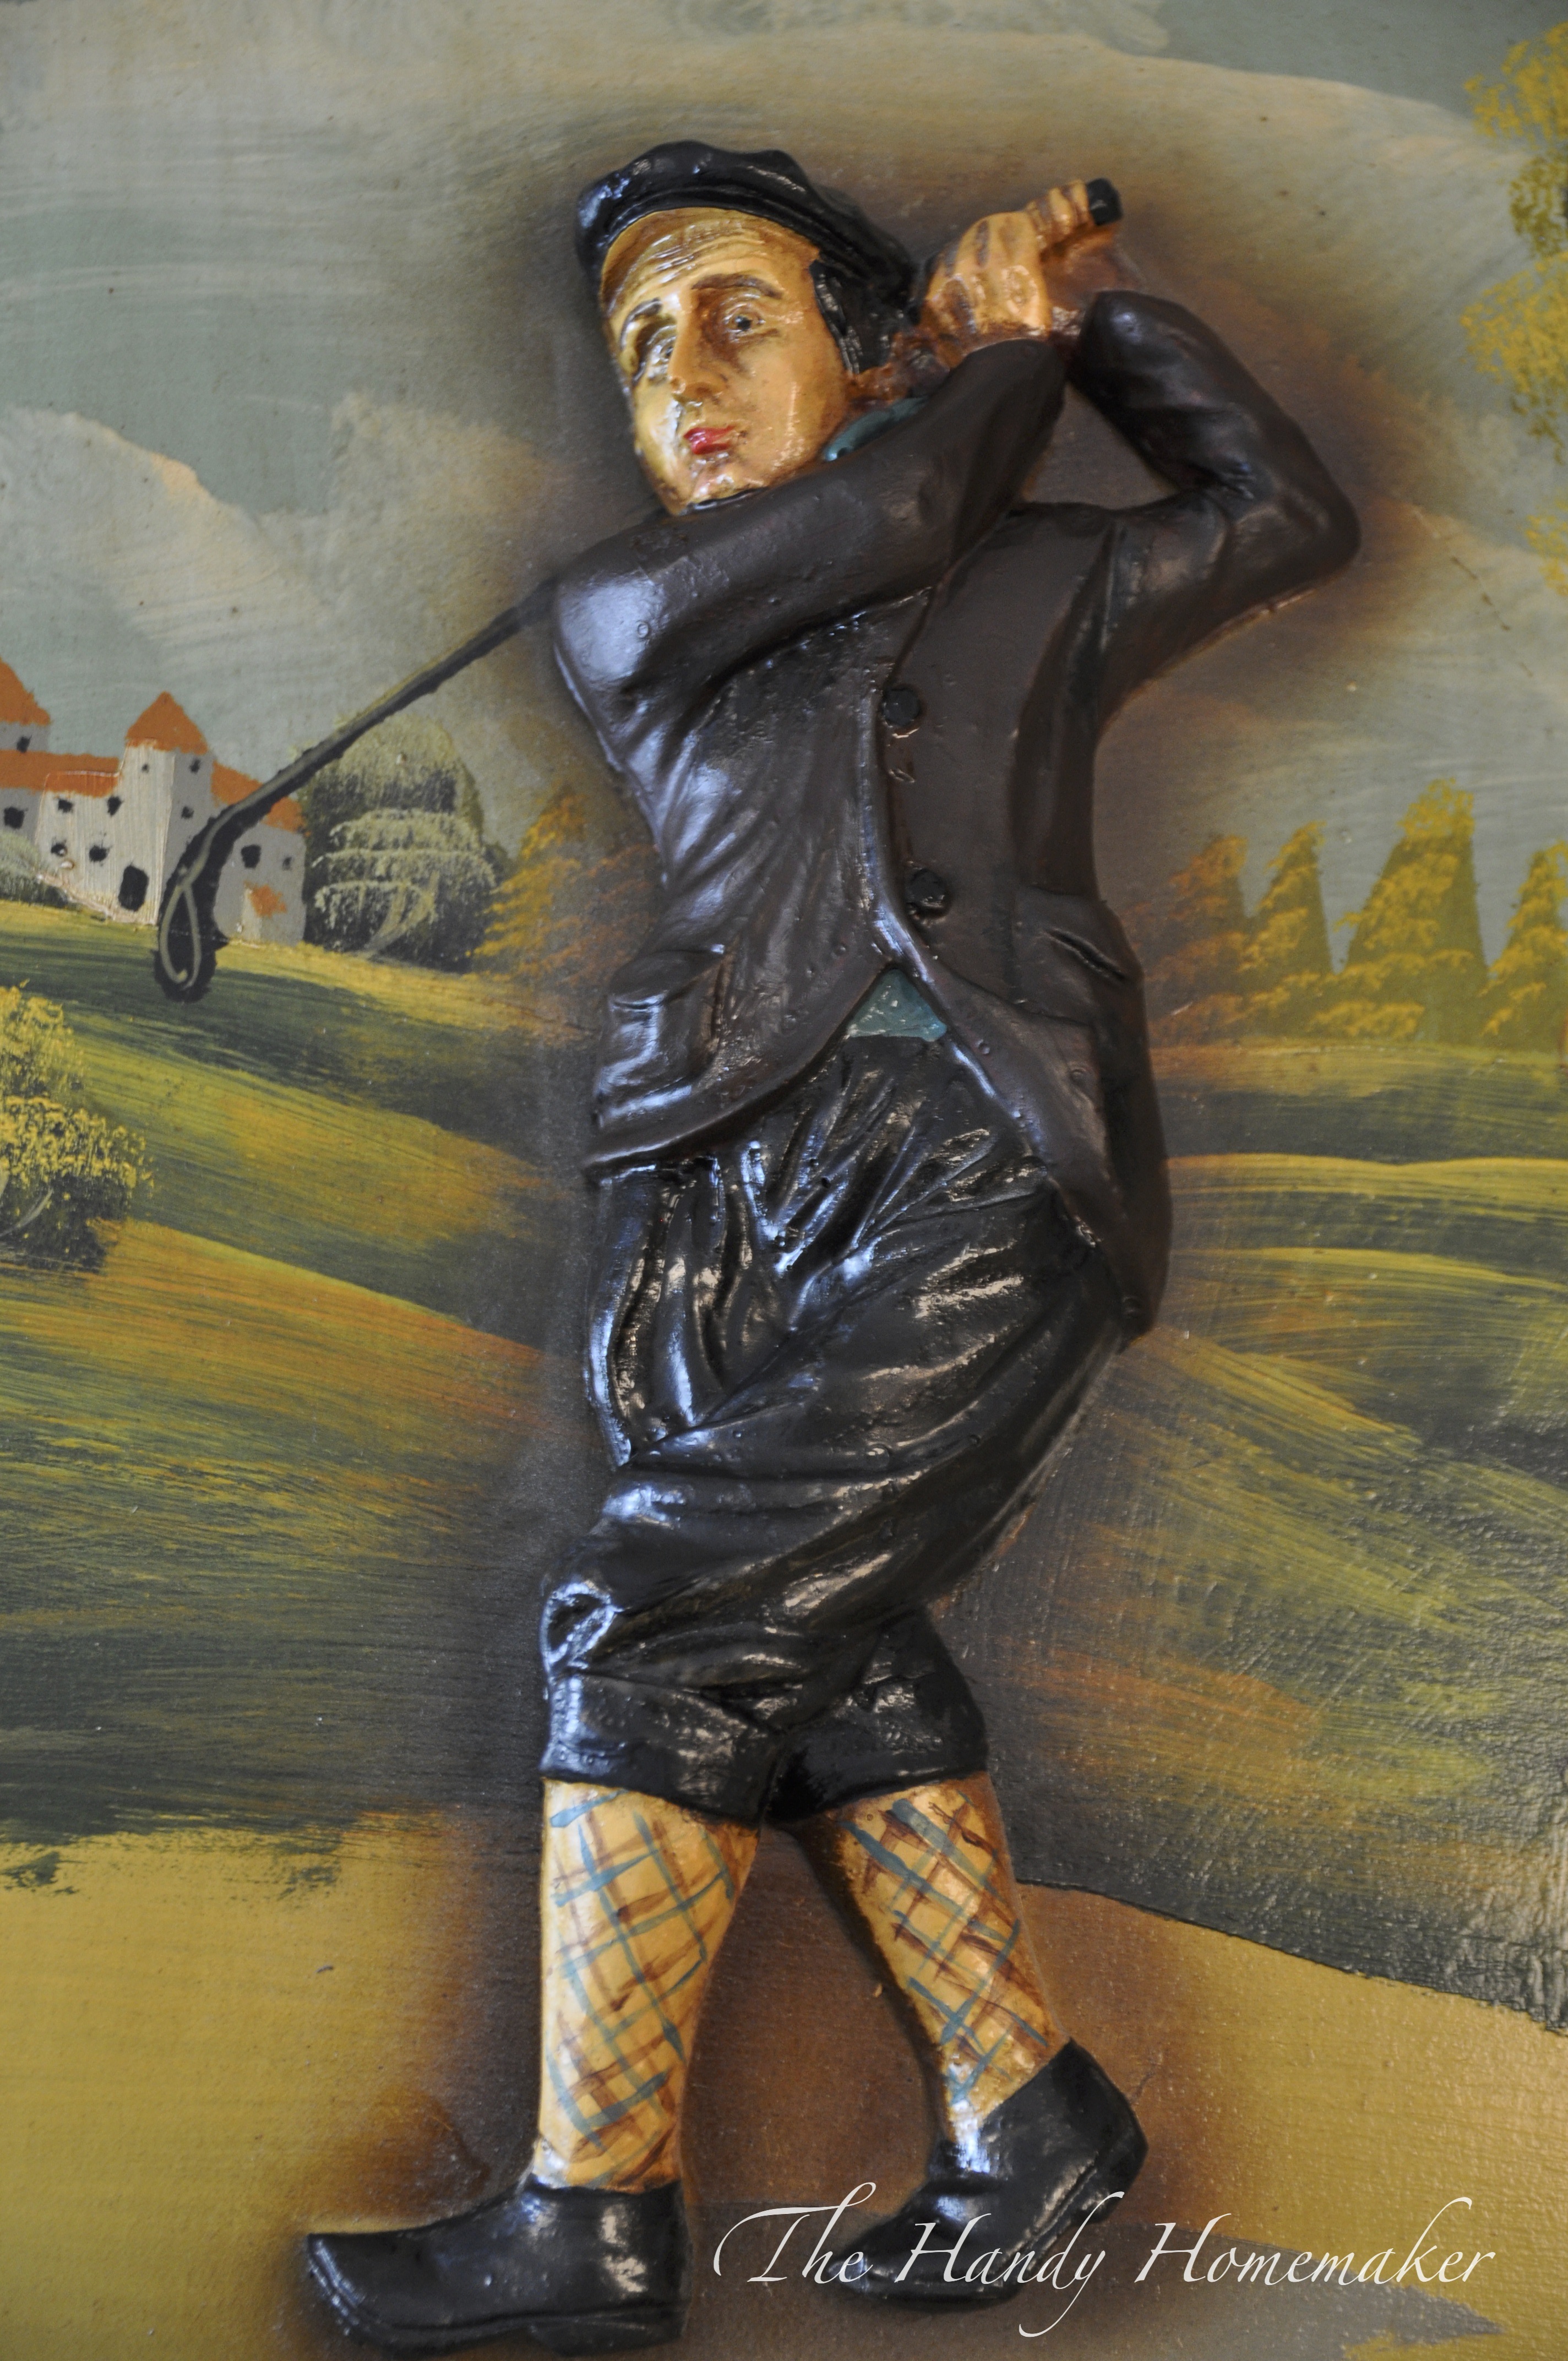
For fun, I painted pattern on the socks..
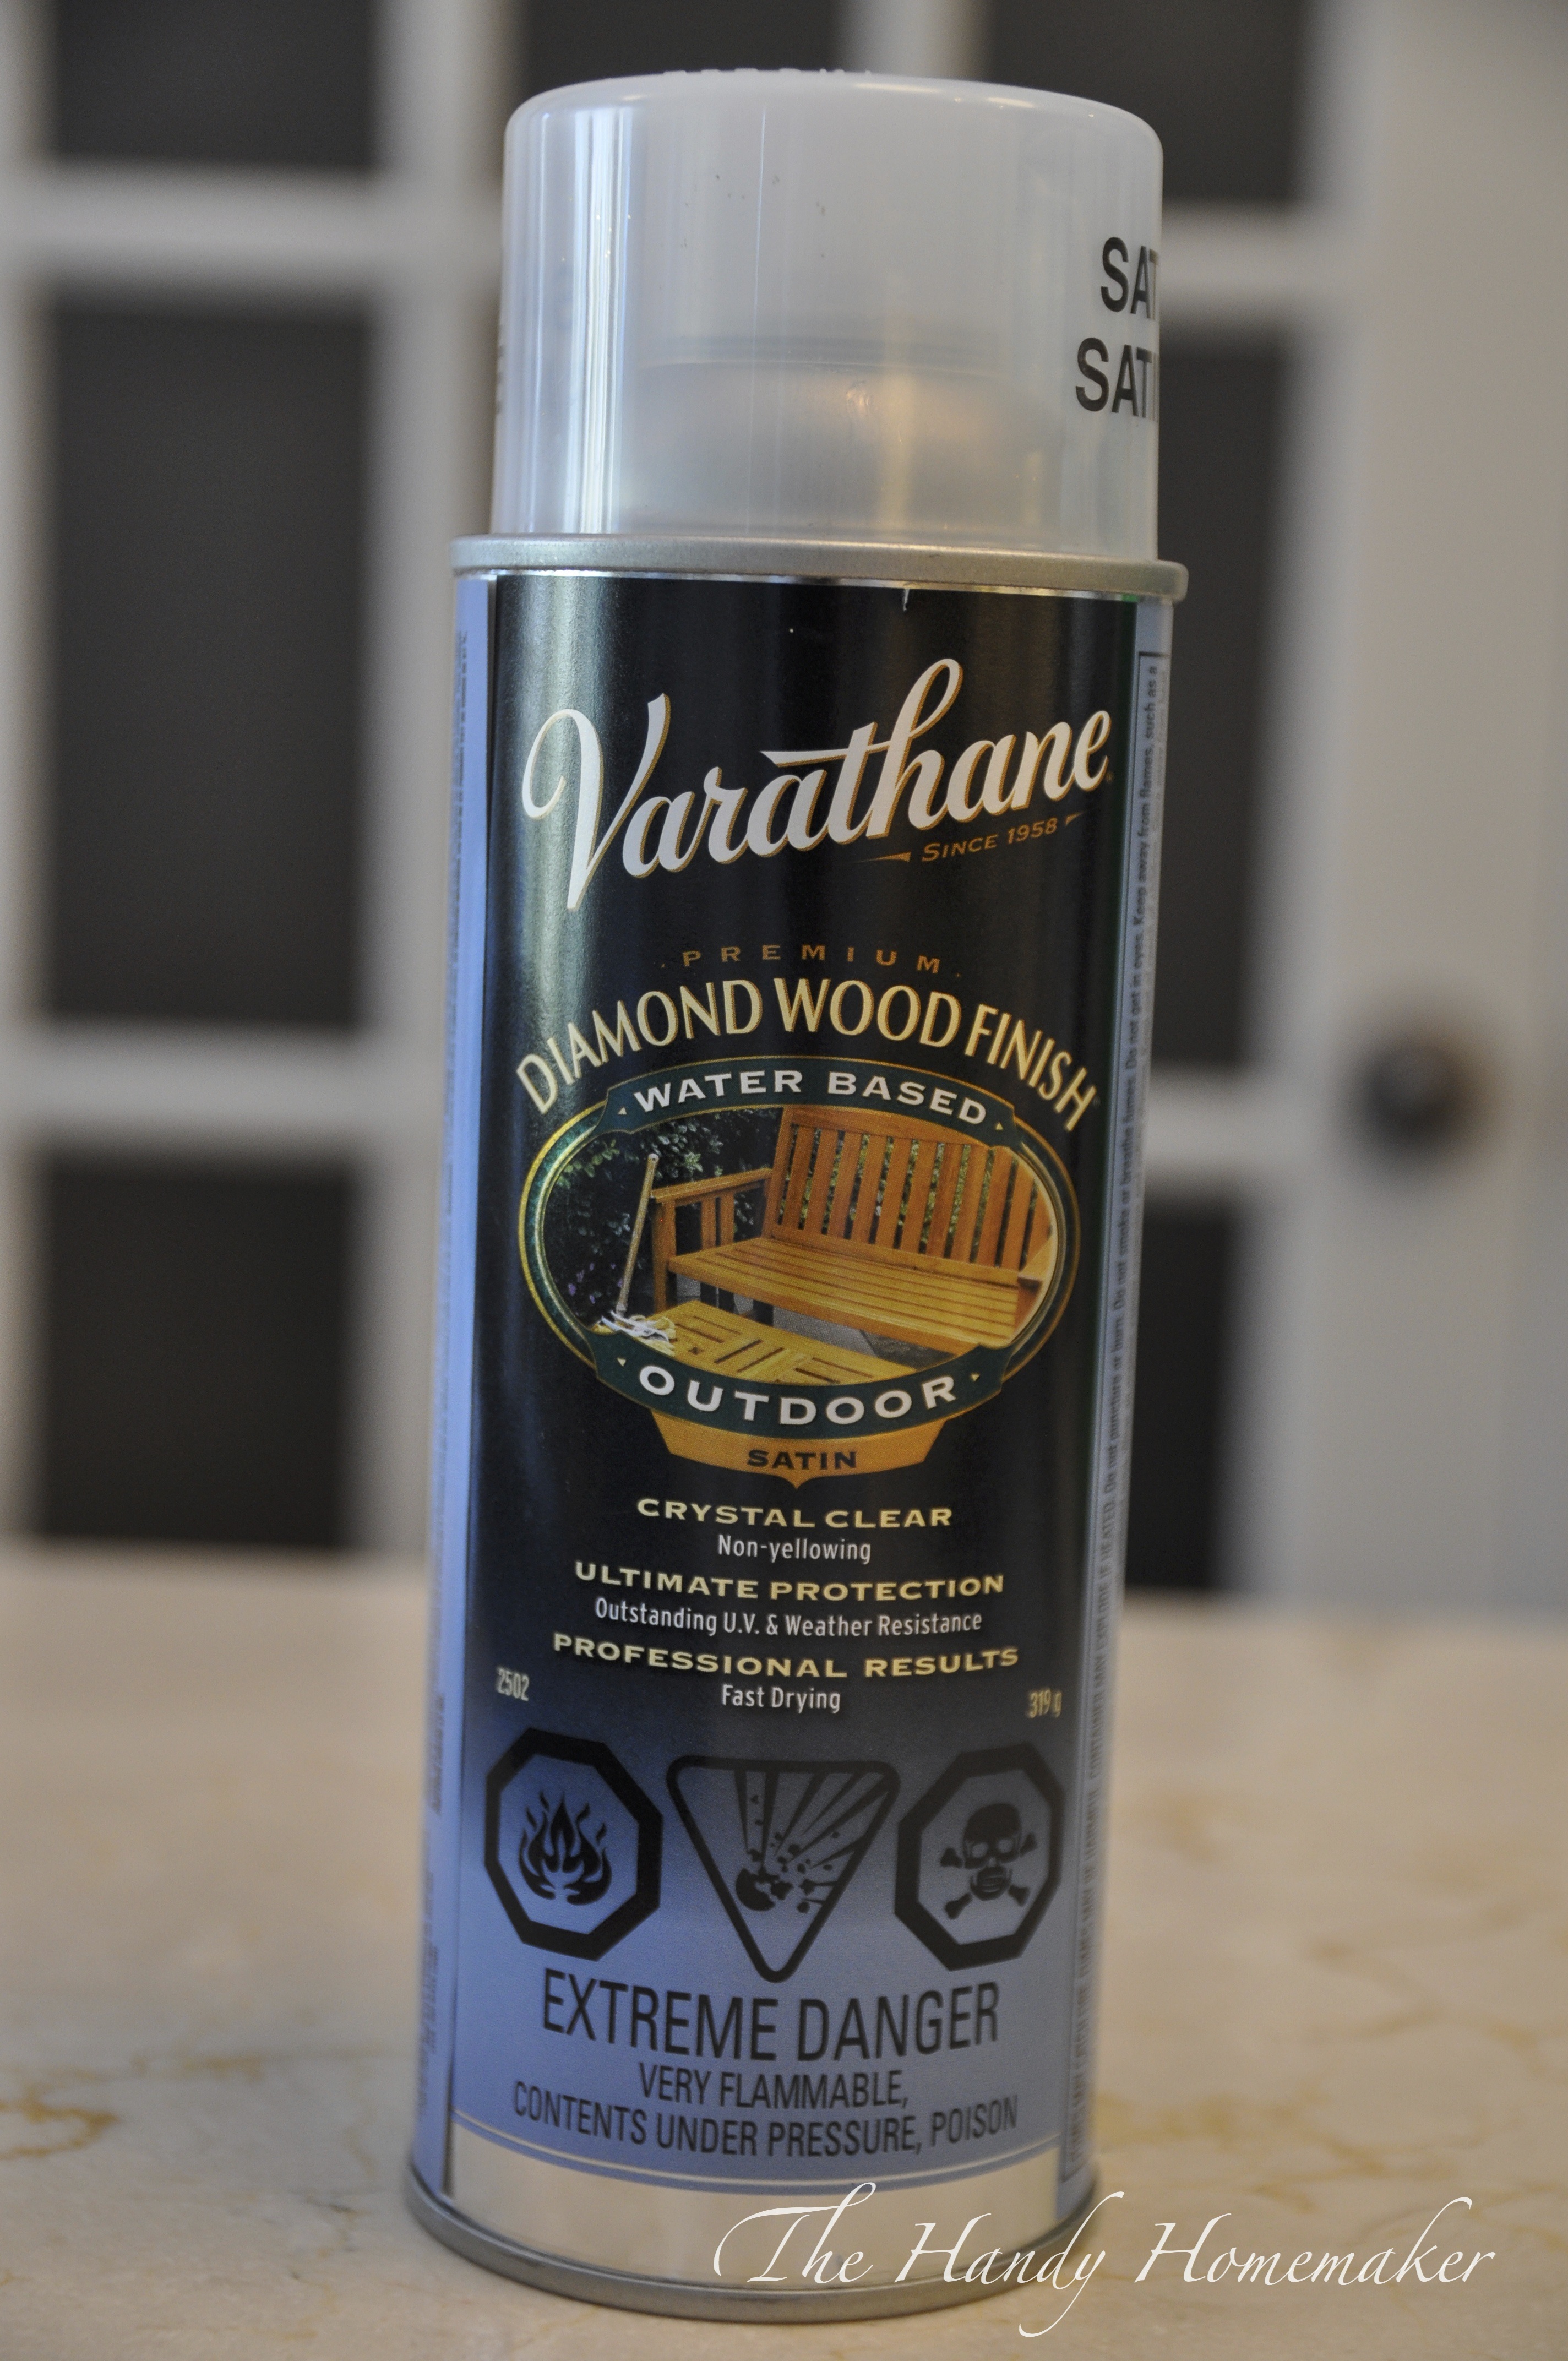
Once dry, in a well ventilated area spray with two thin coats of water based varathane. Let dry overnight.
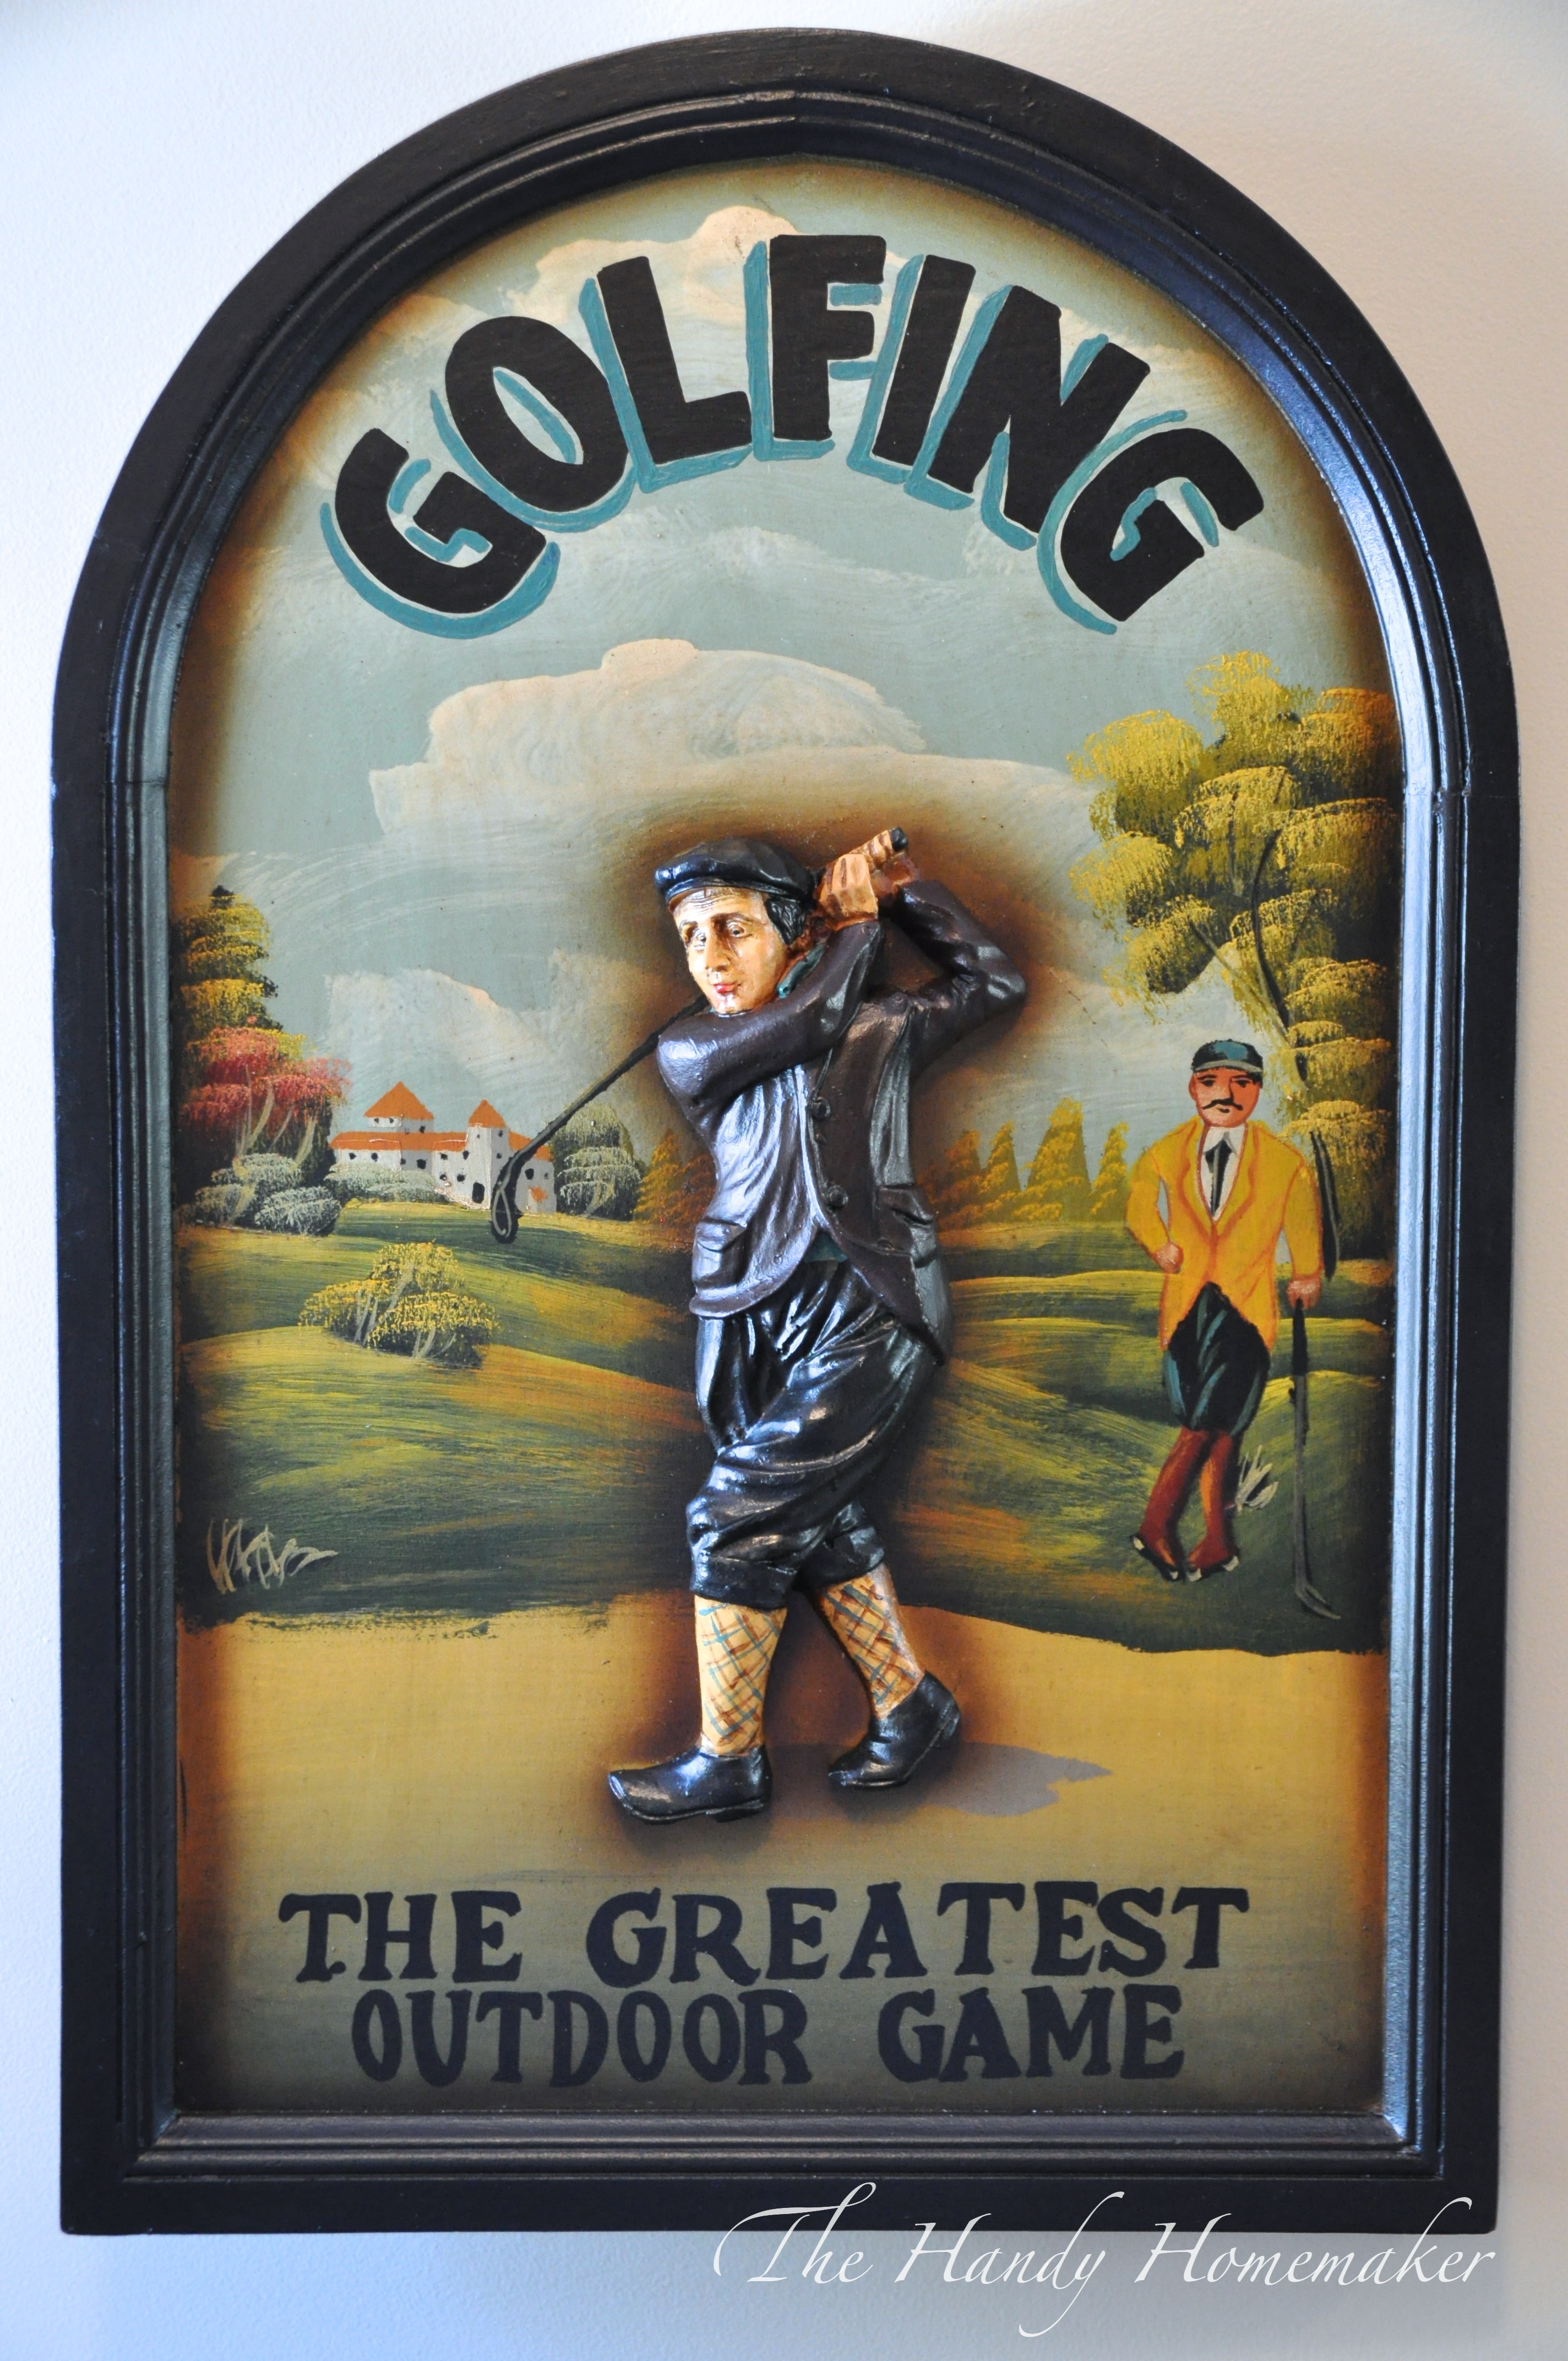
Hang and Enjoy!
How to update a frame #2
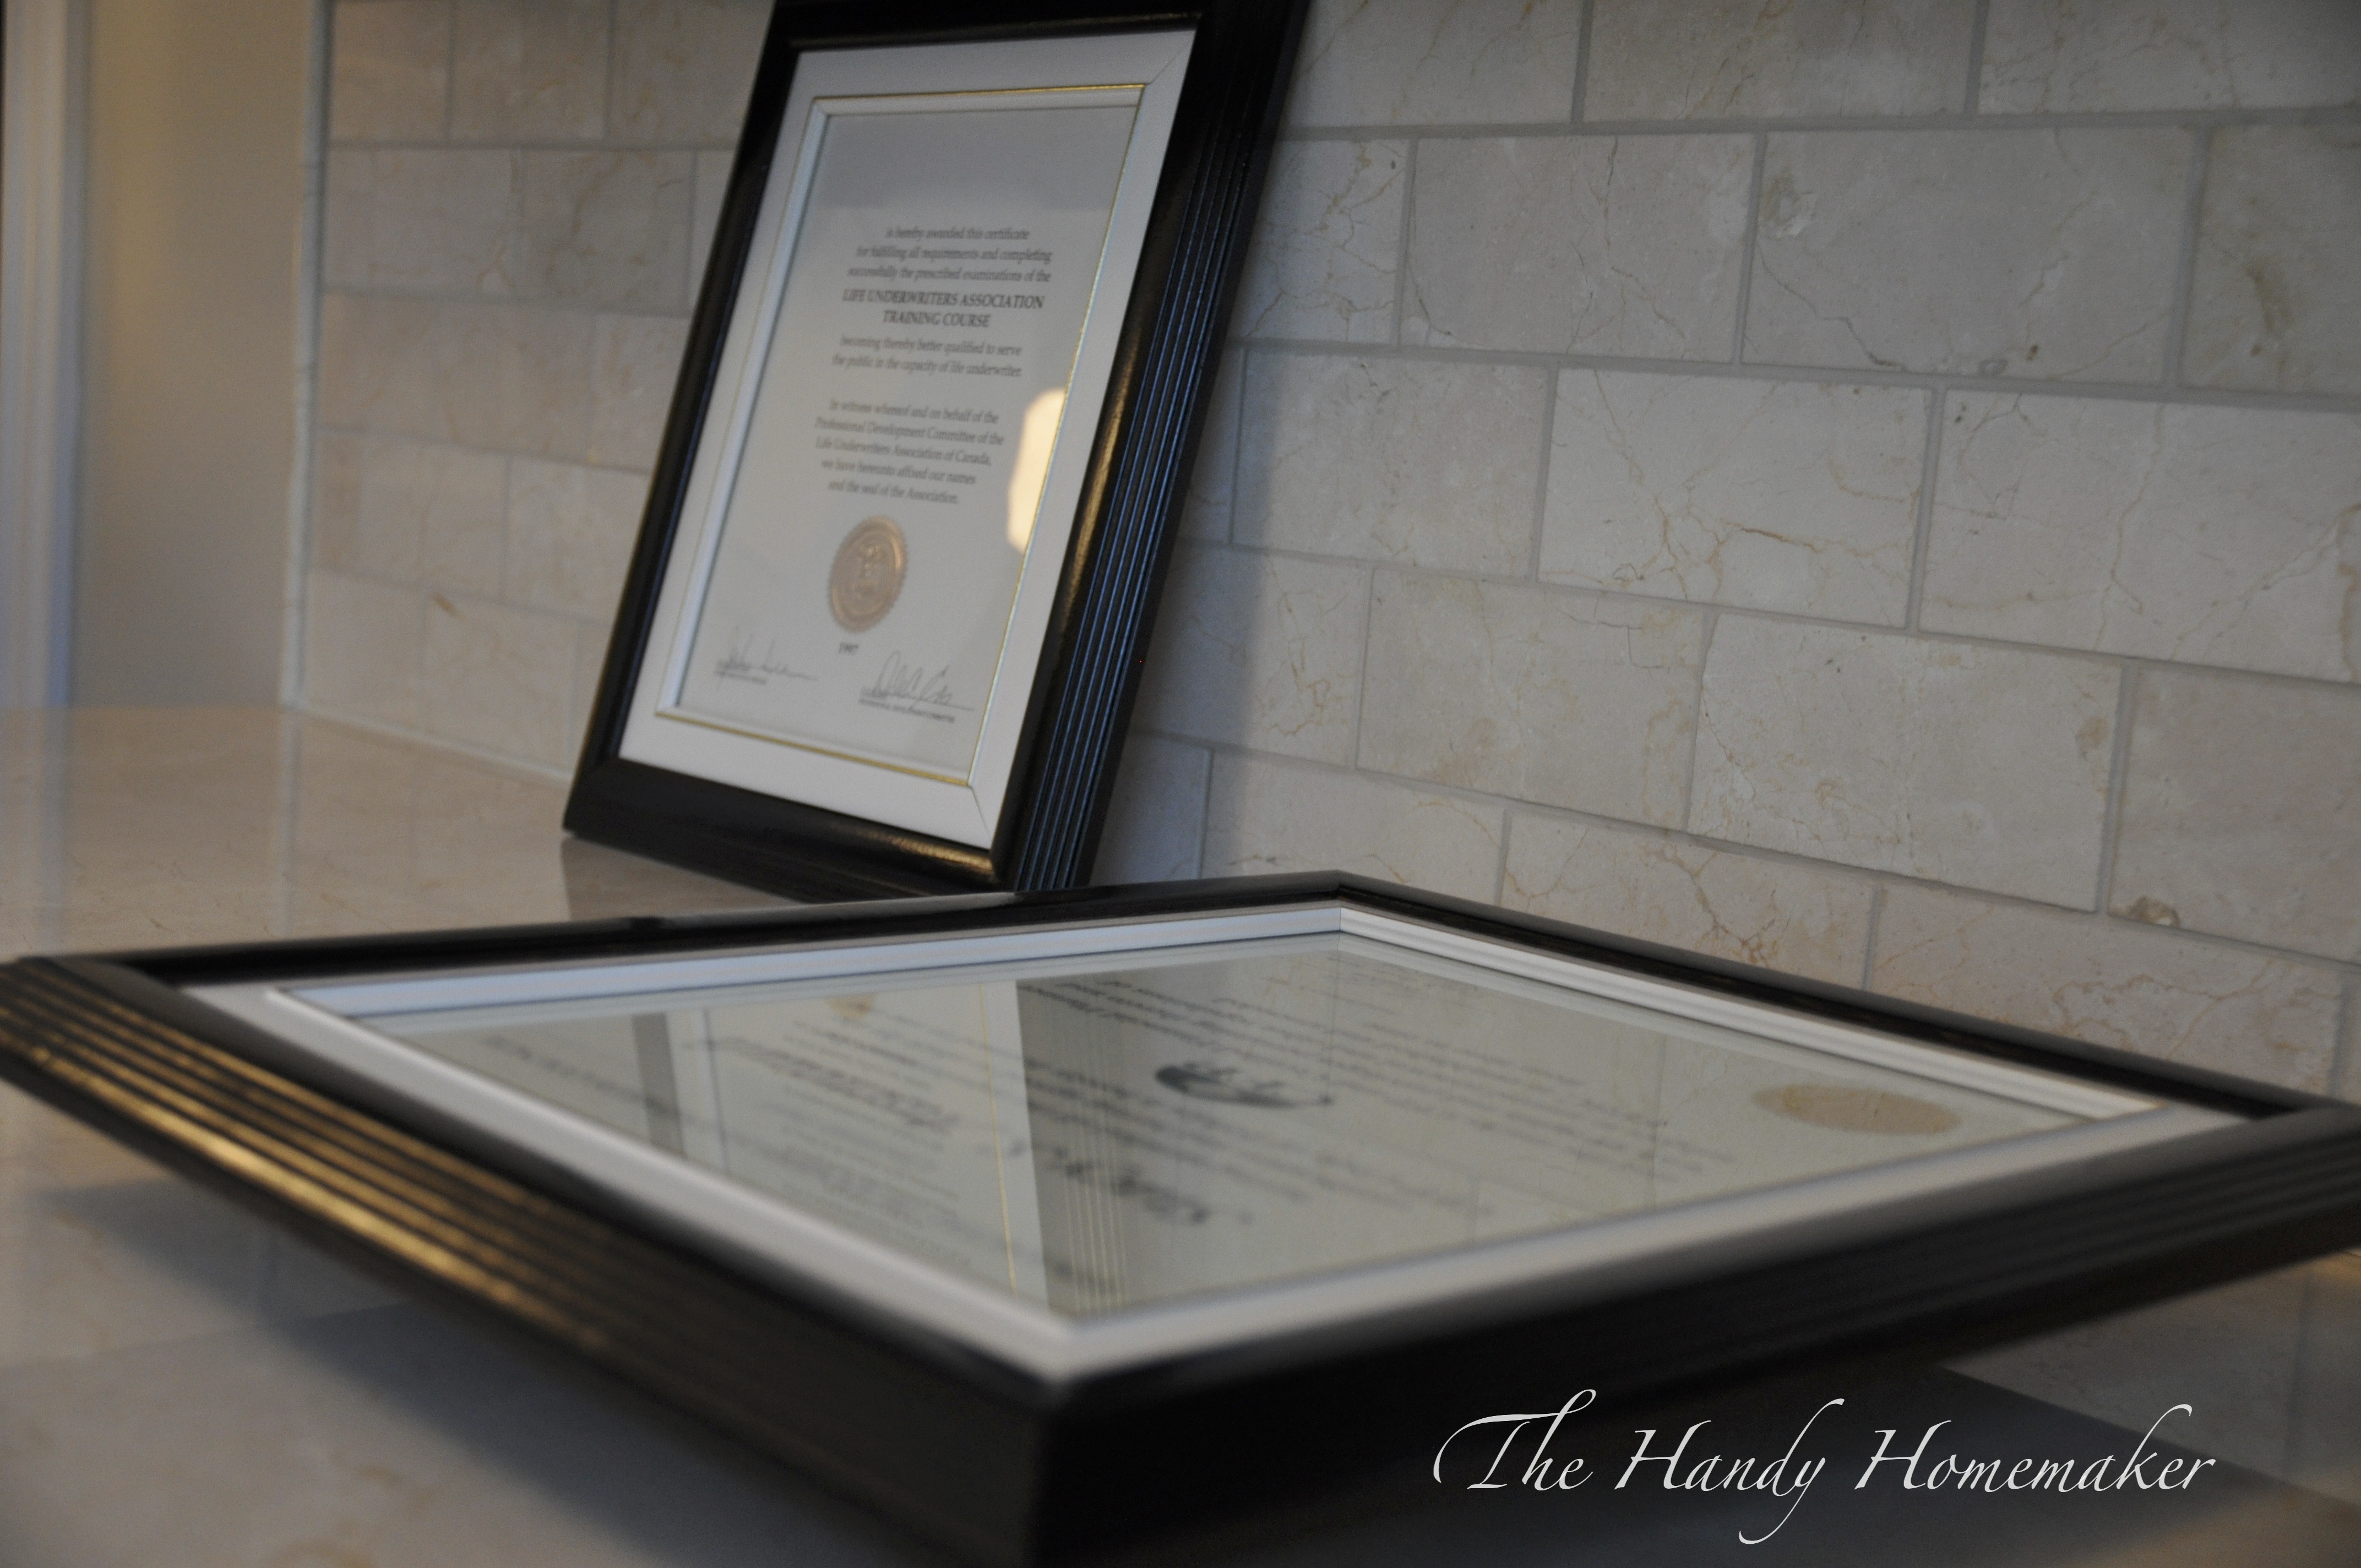
Updating my husbands office walls starting with getting his courses, licences, and award certificate frames to match. It is a very costly thing to change out all of the frames. I decided that I would need to replace a few, update the mats on a couple and the last few I would paint the frames.
Materials needed:
- Tremclad semi-gloss paint – oil based paint
- Small artist brush
- Newspaper to protect the work surface
Optional materials
- *Painter’s tape – I did not use as I have a pretty steady hand, but I suggest you use it if you have a frame like this one that has the mat on the outside of the glass attached to the frame. If you touch too close to the paper there is a huge chance it will bleed onto the white mat.
- *Extra fine sand paper to lightly rough up surface (I skipped this step as these frames were matte not glossy)
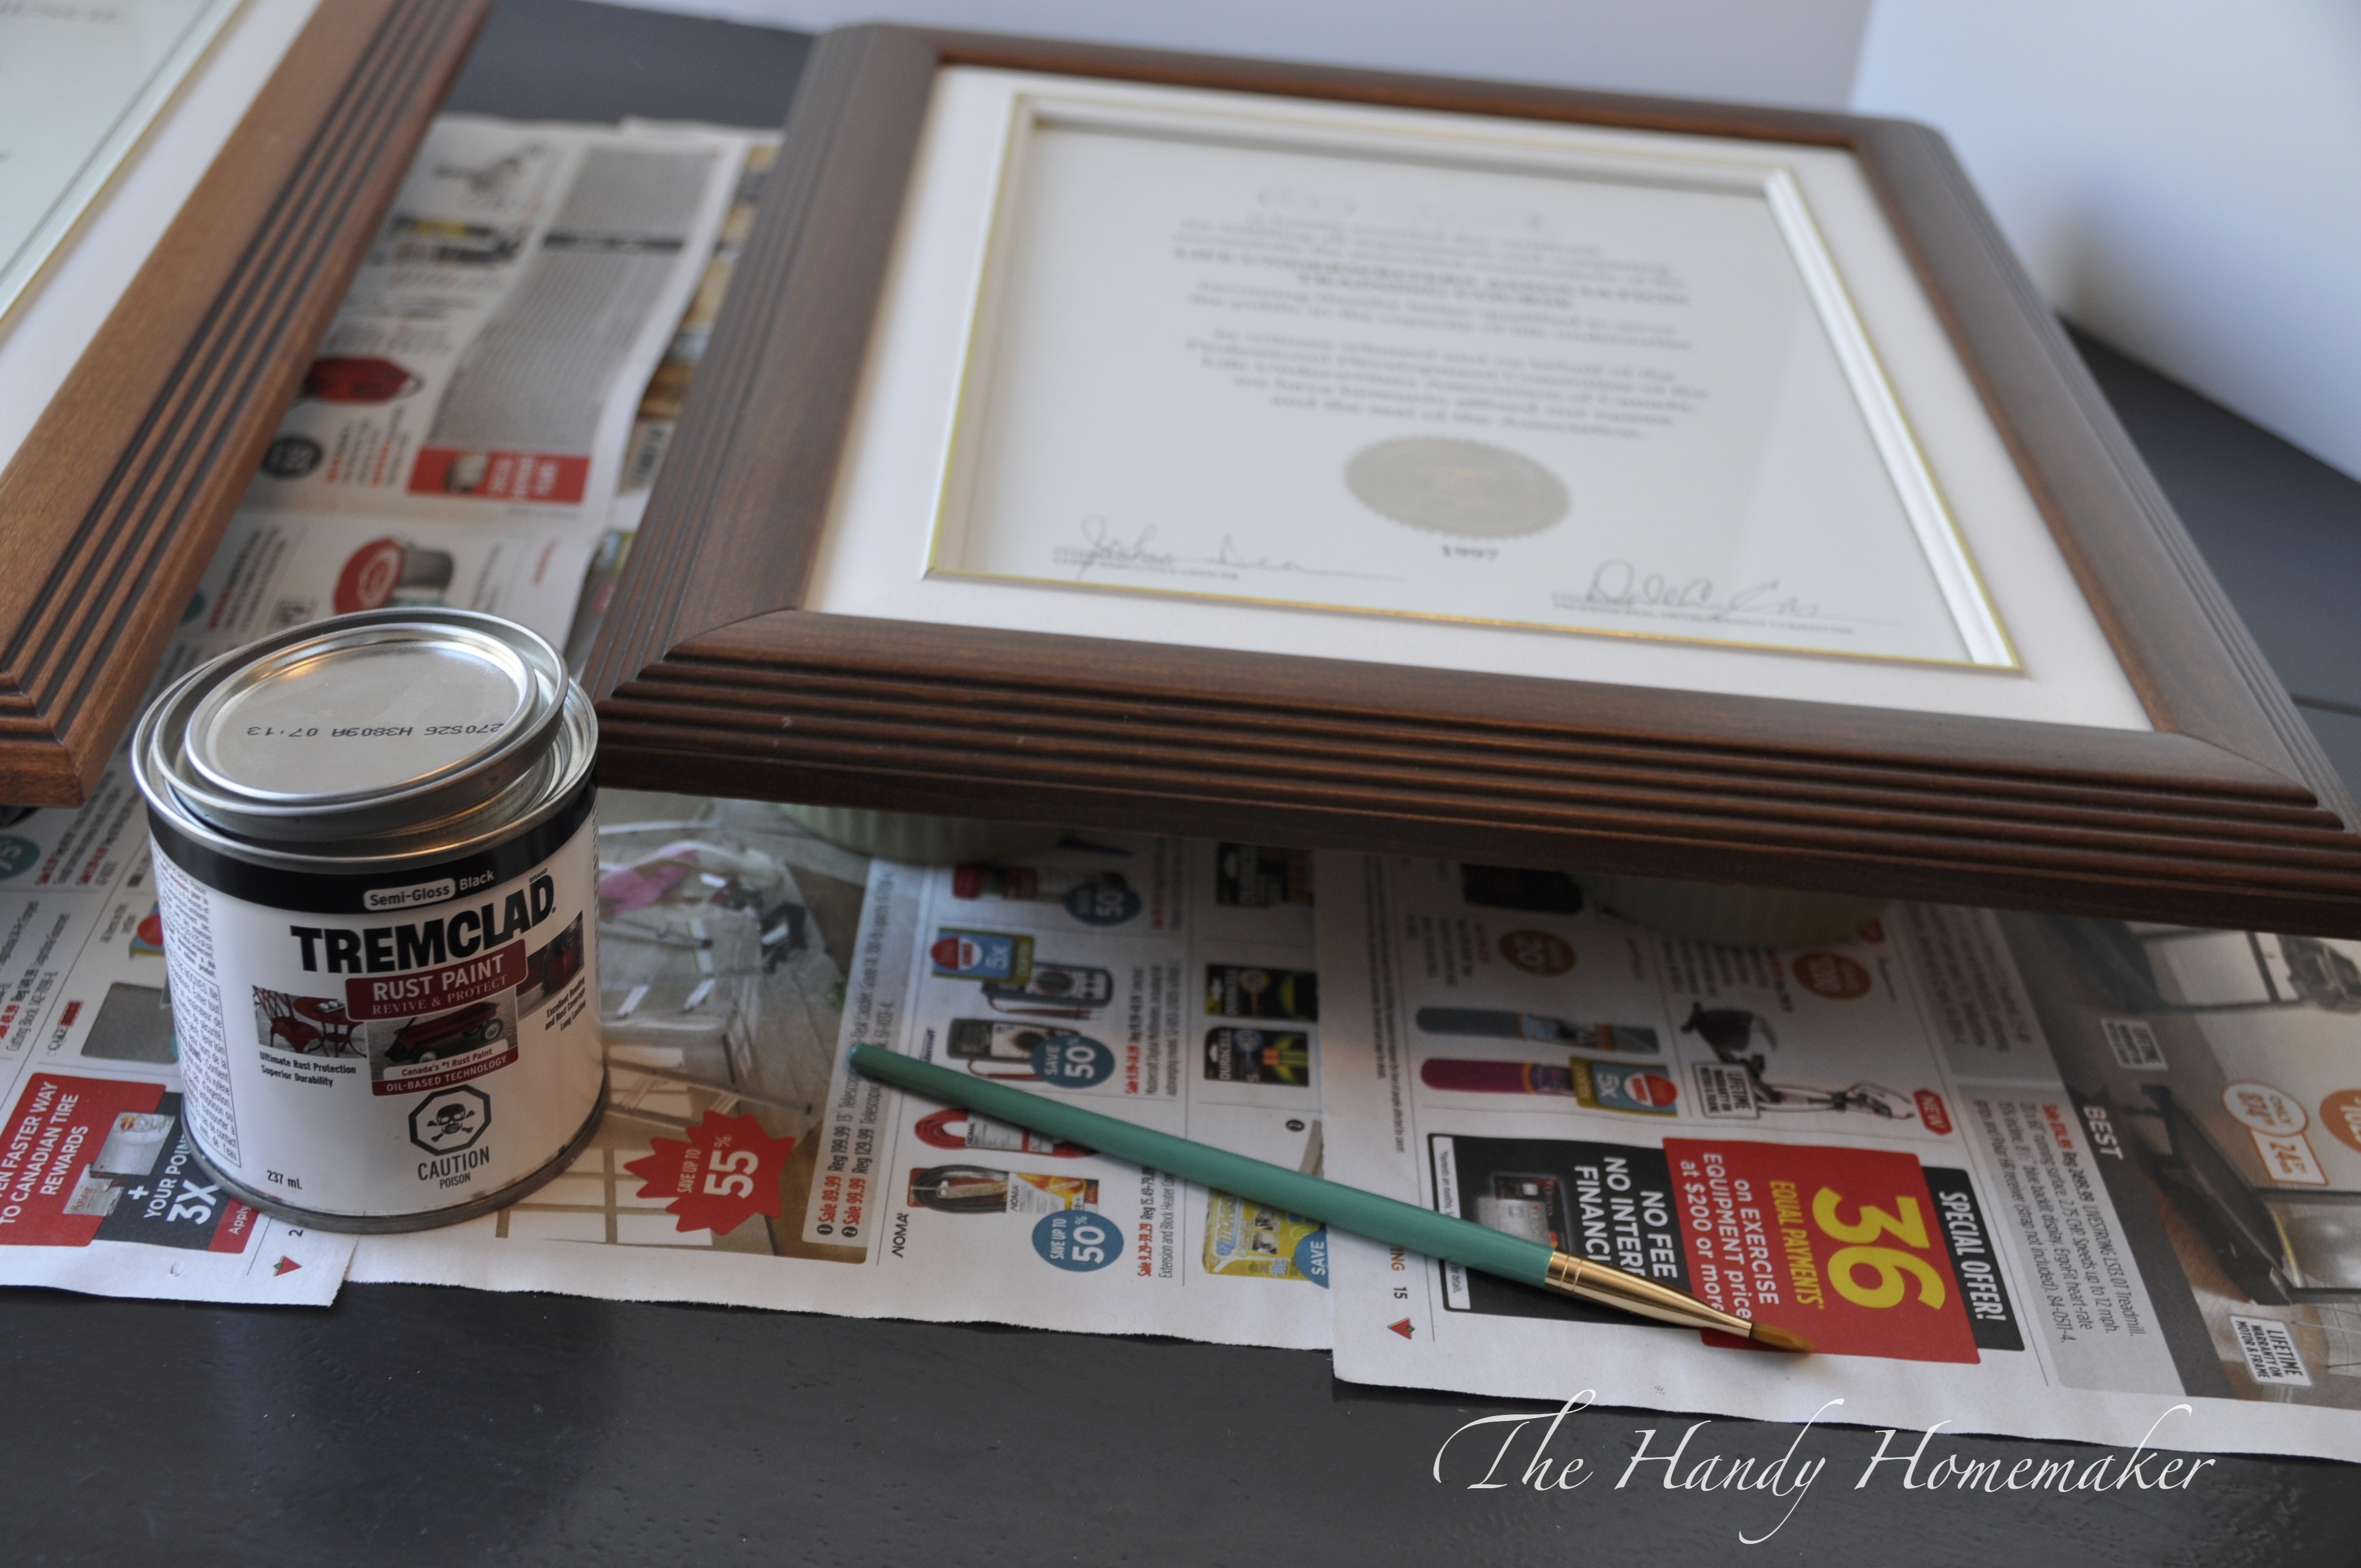
Prepare your work surface

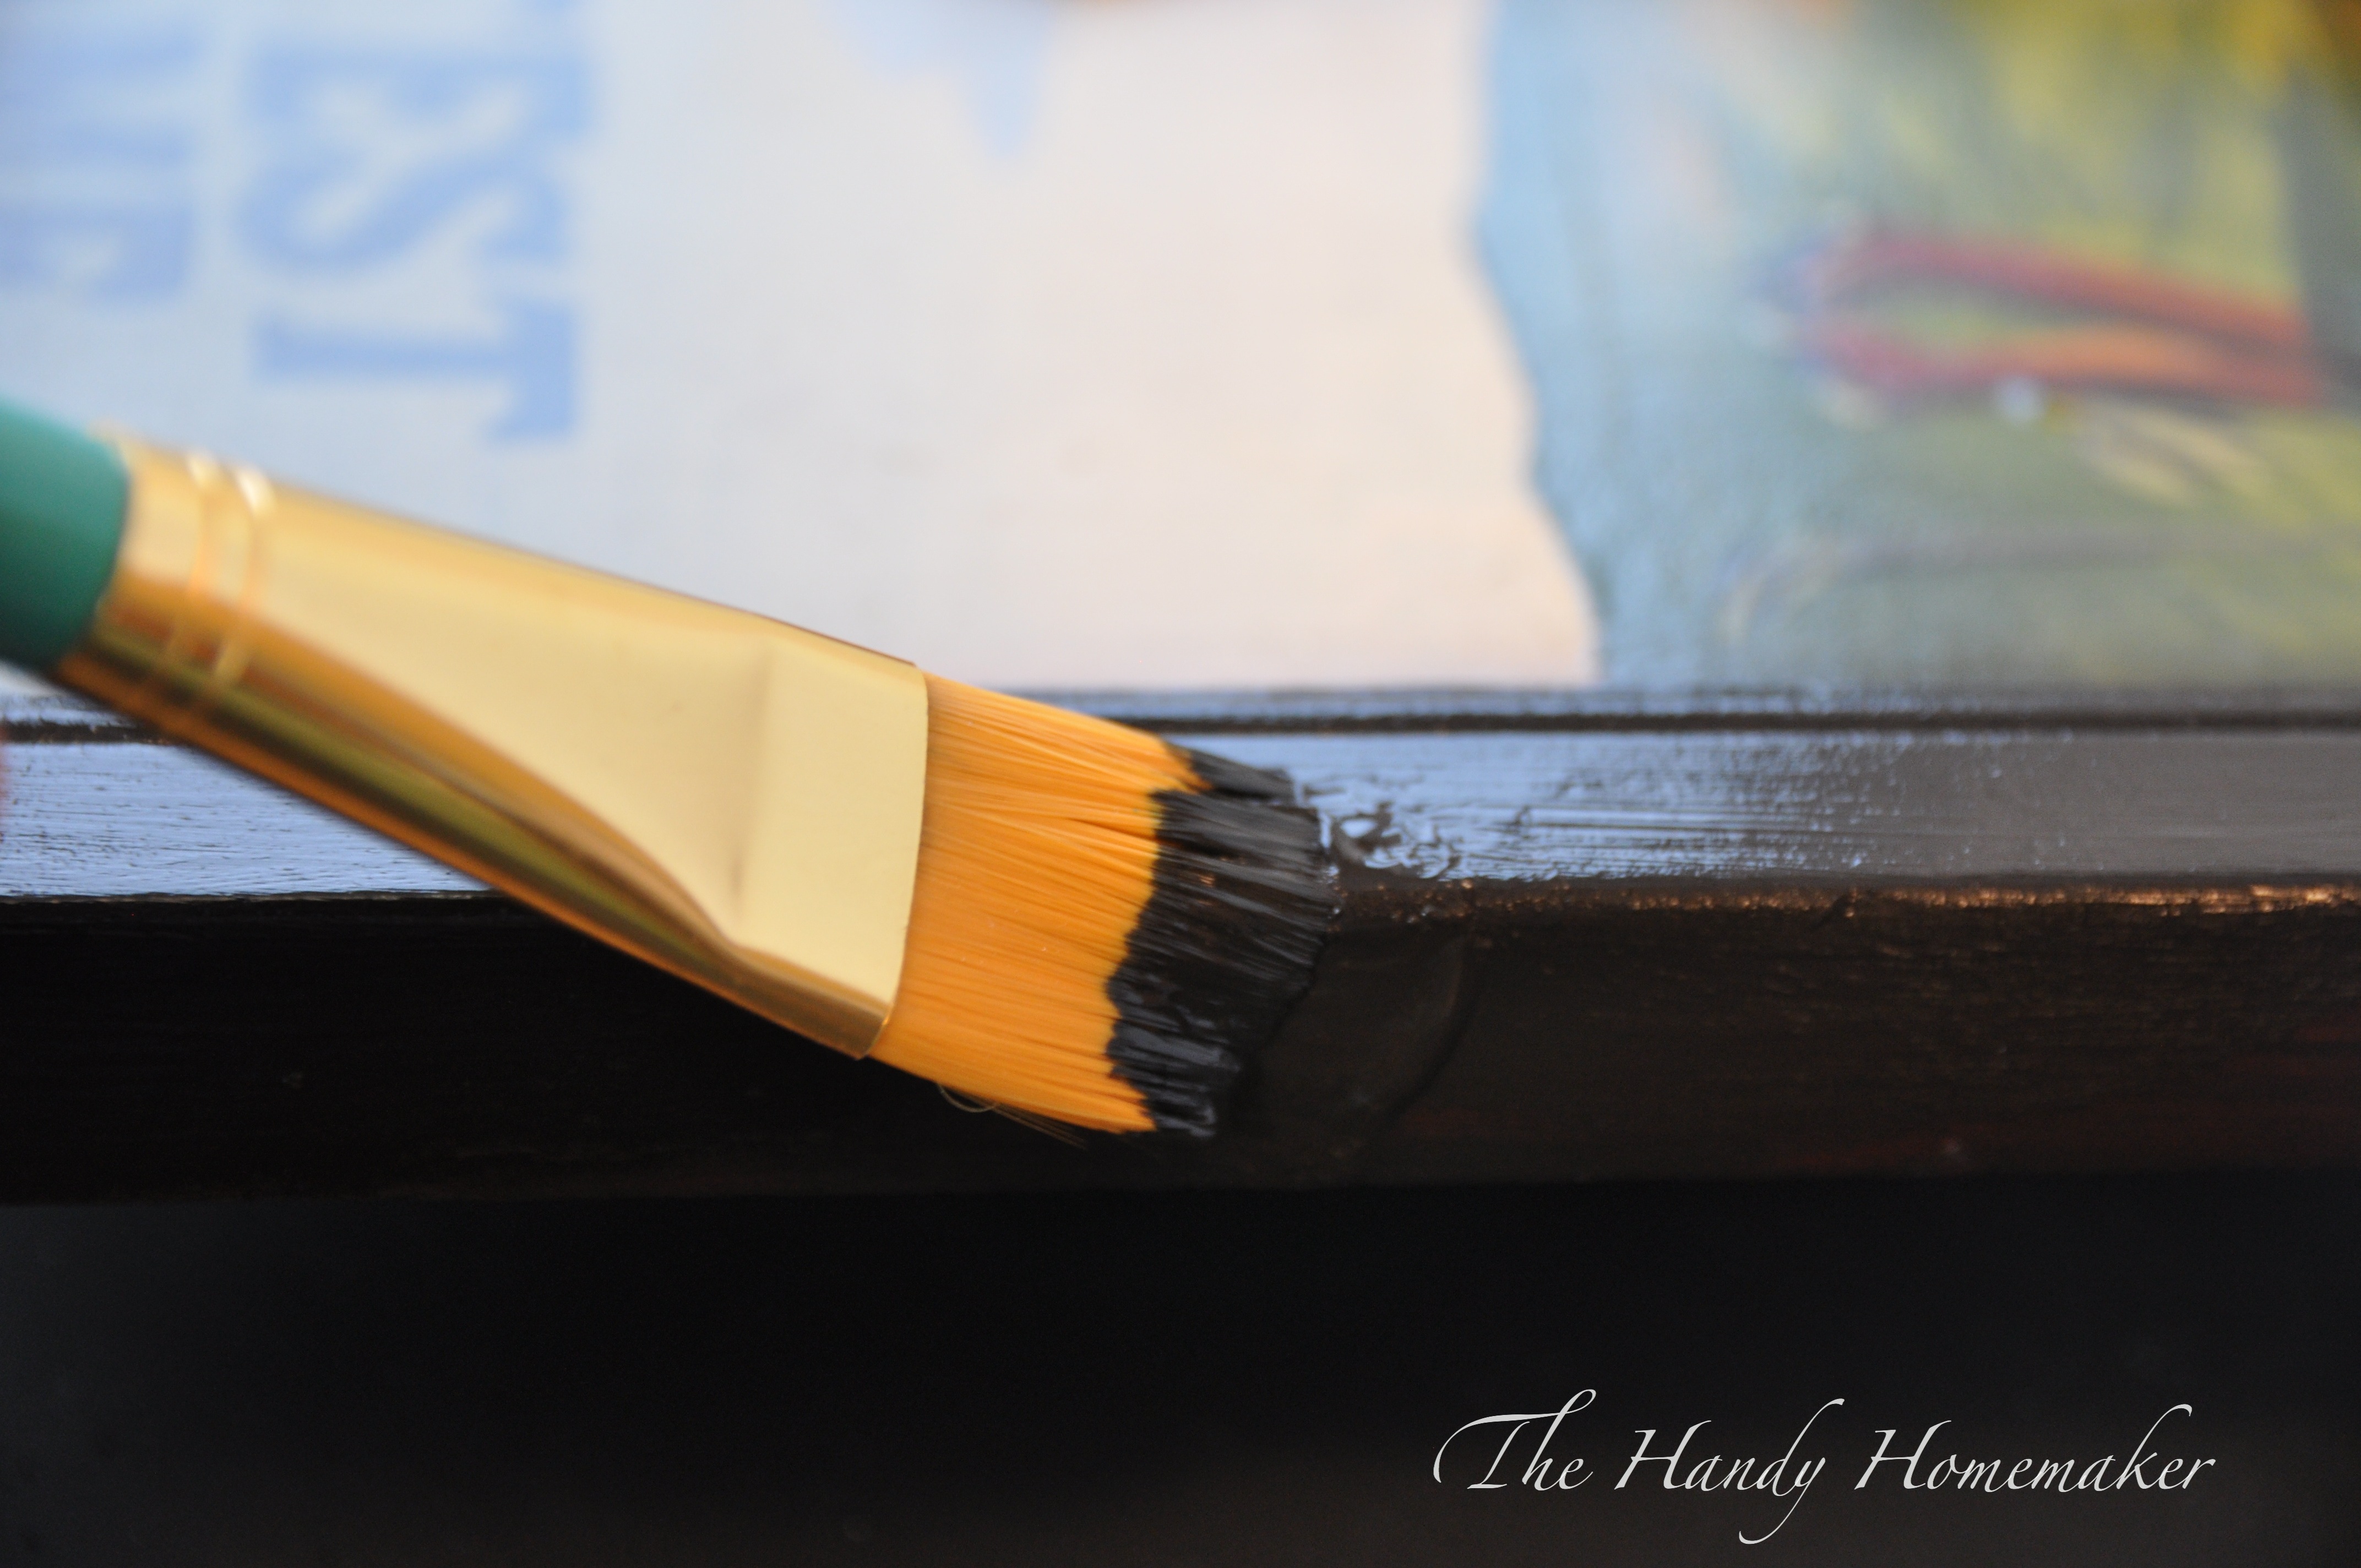
Carefully shake your can of paint as instructed on the instructions. Open gently and set lid aside.
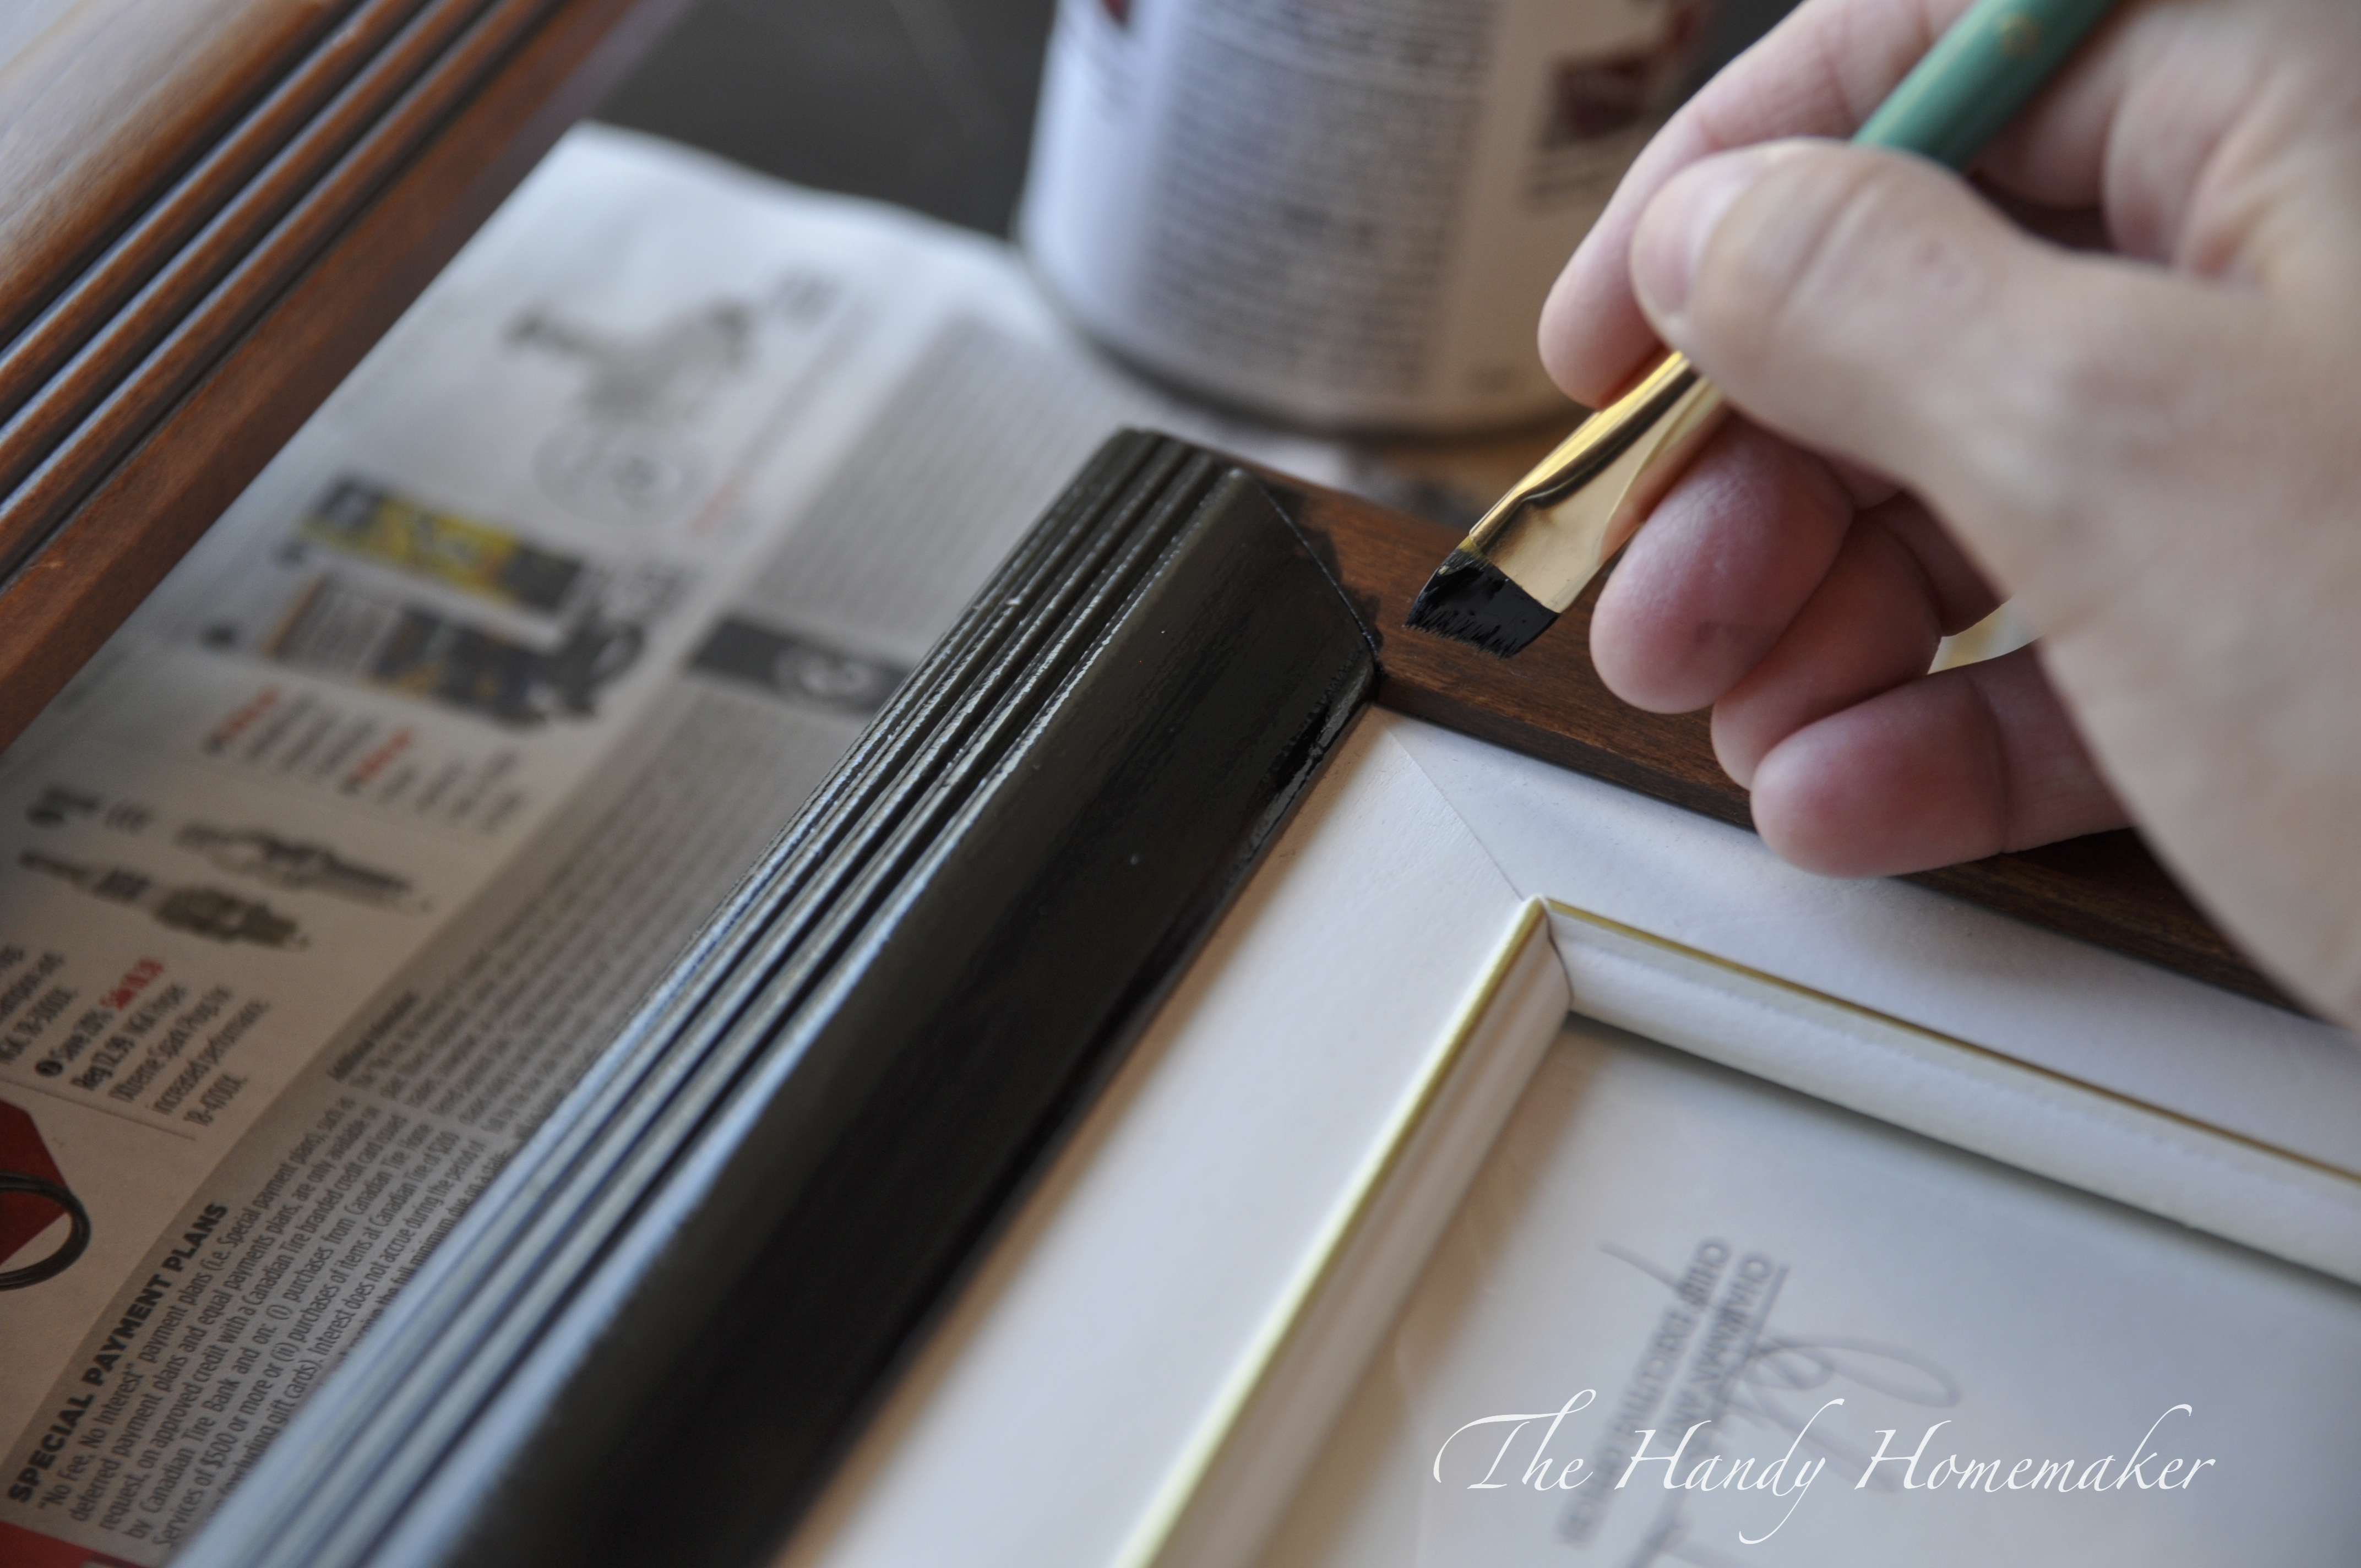
Using your angled artist brush paint long thin brush strokes. With very little paint on the brush I painted the inside edge of the frame, being careful not to use too much paint or go too close to the white part of the frame. (Hopefully your frame is not like mine)

Let the first coat dry overnight. Top with another thin coat of paint. Let dry overnight.
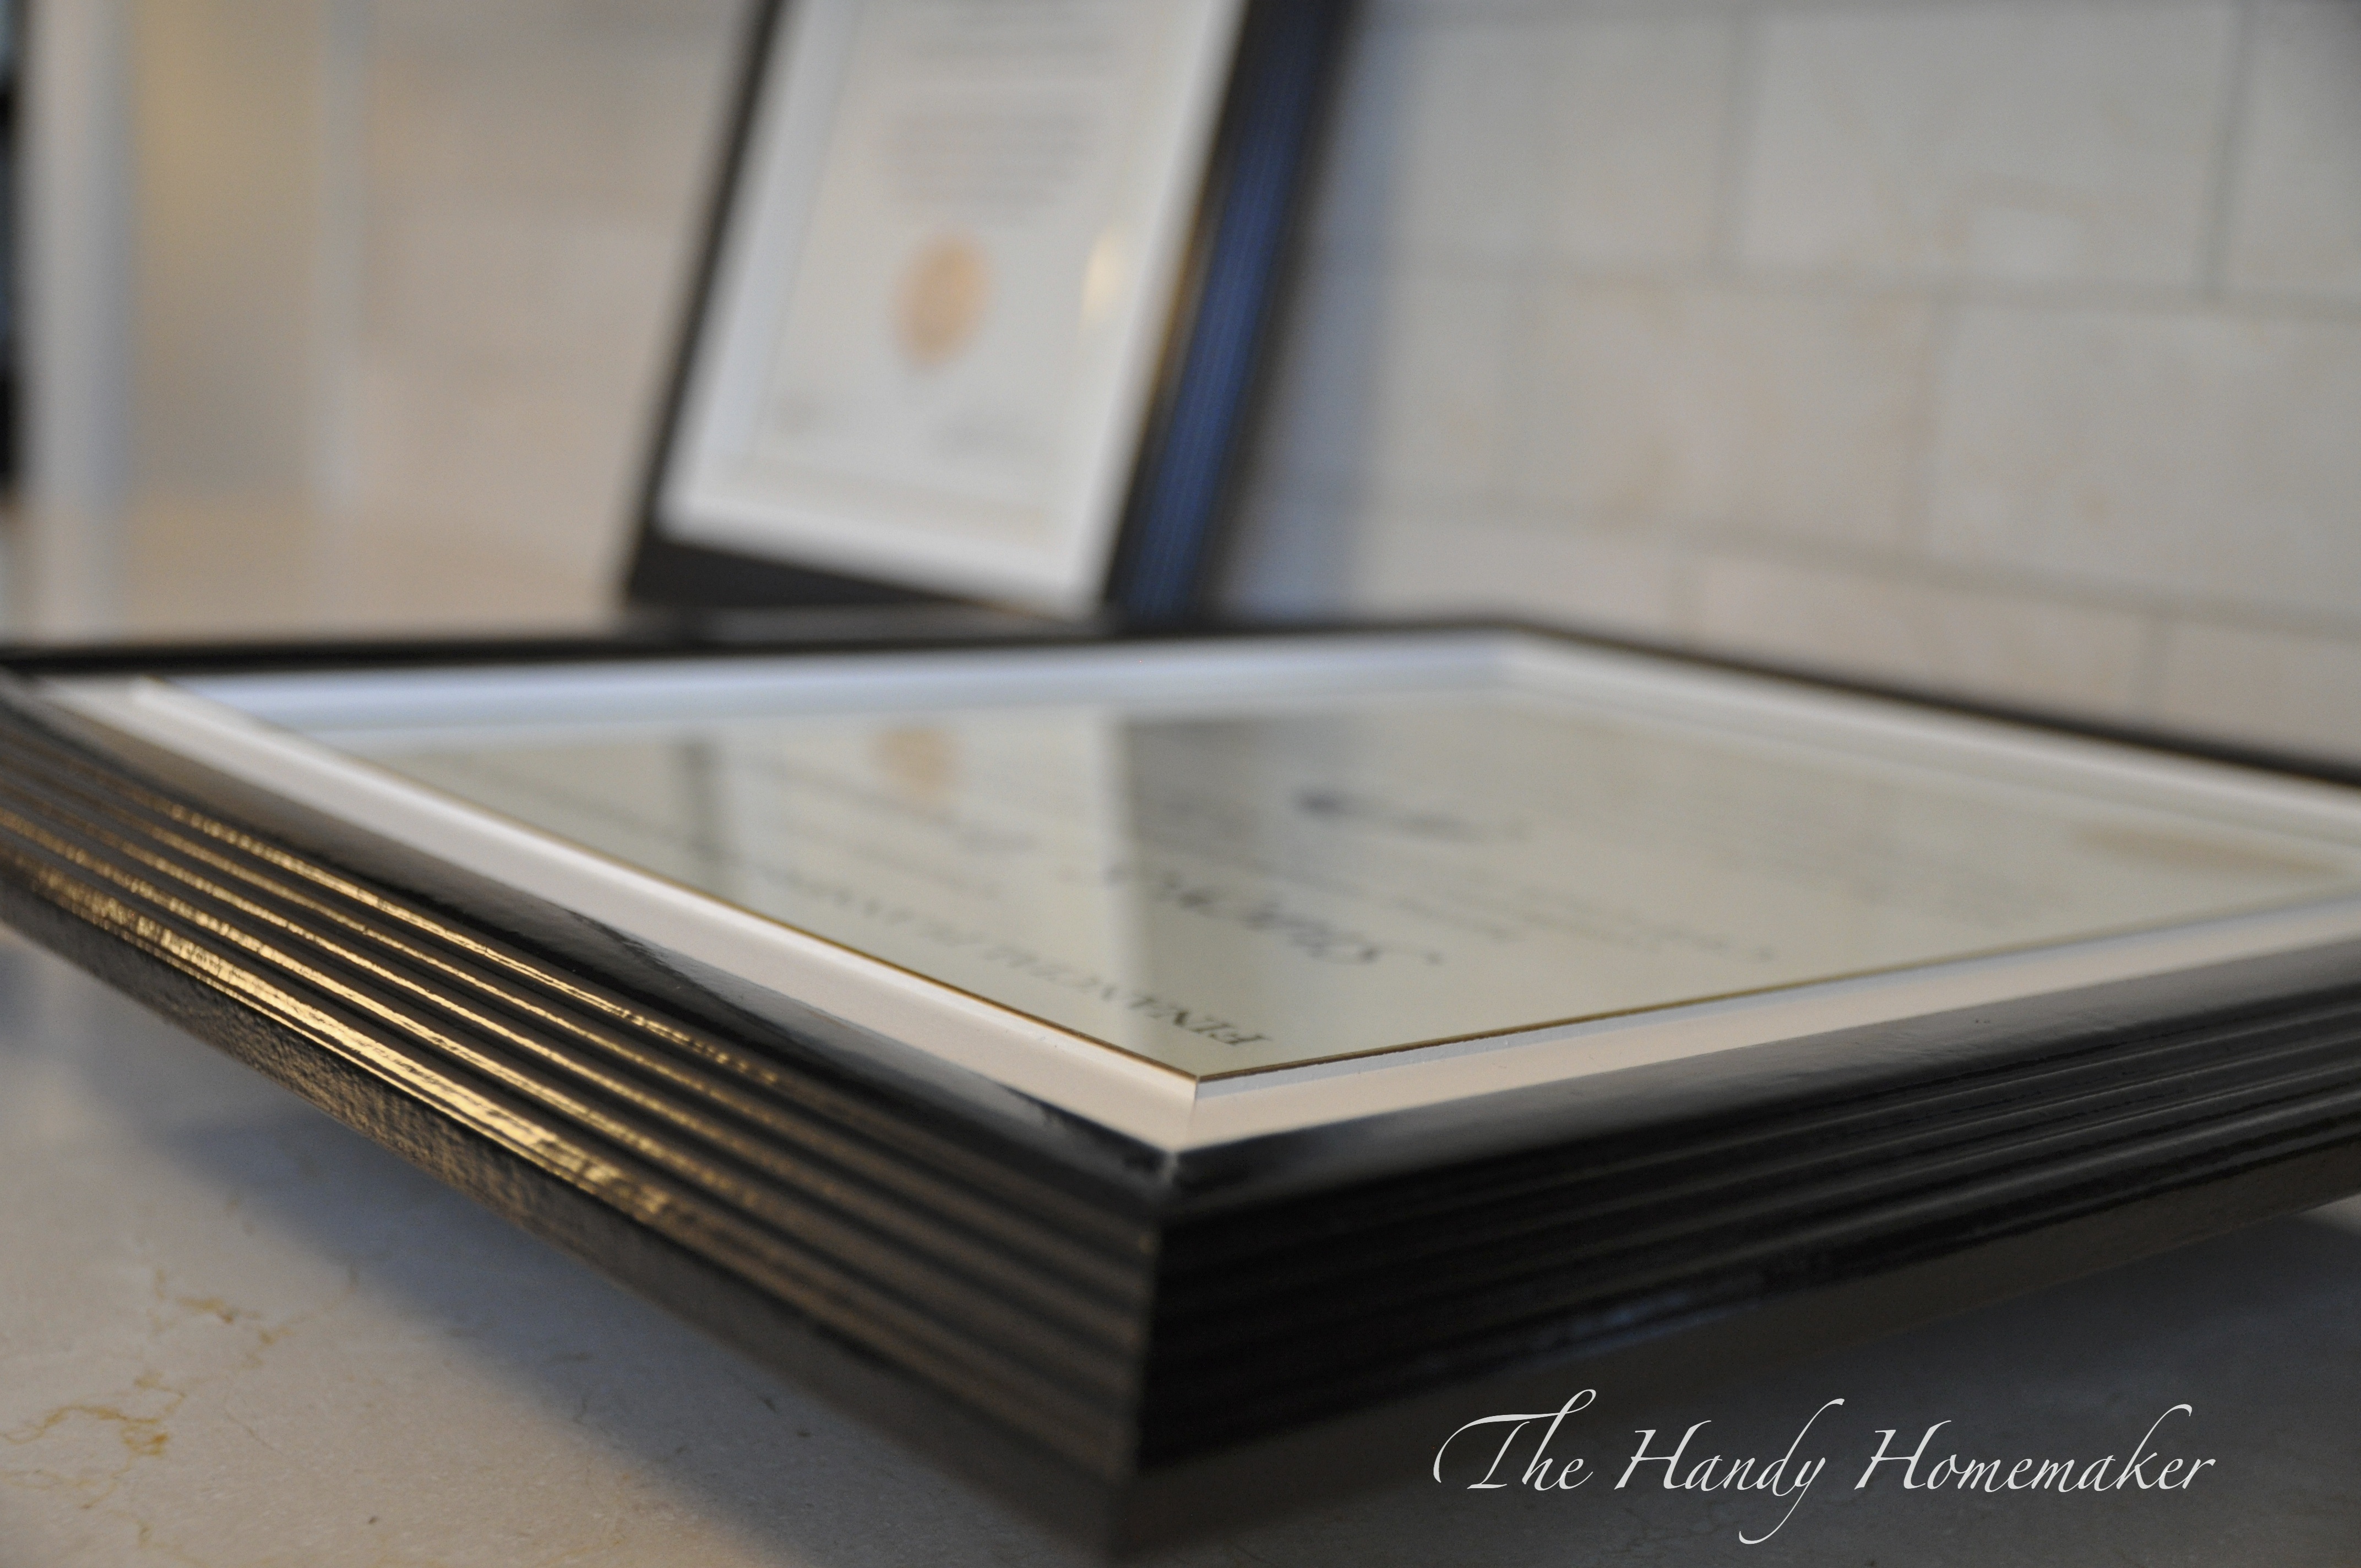
Your finished! Ready to hang.


Leave a comment