Building an upholstered bed frame looks much harder than it is. If you have never worked with power tools, ask for help from a friend who is. For building plans and instruction of the bed frame click here first. <!–more–>I will say that if you are using a hand/manual staple gun vs a pneumatic upholstery staple gun you may find it slightly more challenging and time-consuming. I have done upholstery this way before and not all the staples go through the fabric and the wood, and I had to use a hammer to push all the staples in completely, but it is still possible. I have supplied enough fabric for those who have requested to cover all four sides of the bed frame, please see notes at bottom for three sides as per the instructions .
King Size Bed Frame Materials & Tools
Materials & Tools required:
- *3m of fabric (3.25 yards) 54″ wide* cut into three 45.7cm by 3m strips (18″x3.25 yards)
- *3m of batting (3.25 yards) 54″ wide min cut into three 45.7cmx3m strips (18″x3.25 yards)
- 4″ long strips of batting 2- 81″, 1- 70″, and 4-12″
- Sharp scissors
- Sewing pins
- Sewing machine
- Thread to match the fabric
- Pneumatic nail gun and compressor or hand stapler
- Staples

 1. Add the 4″ strips along all the edges with a 1″ overhang. Tack in place with a few staples. Add the 4″x12″ strips to the side corners and staple in place.
  2. Add one of the three strips of poly batting and wrap it so that 3″s of the batting lays at the top and 2 will tuck under the bottom of the bed frame. Staple the batting in place 2-3 ” in, on the slats and the frame, using enough to hold in place. You don’t need overkill like I did, as you are going to be stapling the fabric in the same place 😉
  3. To join the batting seamlessly, Pull a thin top layer away from the under layers of batting on the edge that will be butting up to the last batting applied. Once you have lift the thin layer from the edge of the batting and pulled back away from the bottom layers of poly batting, cut about 1″ of the bottom thickness off leaving only the thin top layer you pulled back. This will lay over the batting and connect to the last length of batting, making a seamless look.
 4. Place this up to the edge of the batting you just stapled in place and link the two layers by placing the thin layer over the top of the last and push together to give a seamless look and feel. Staple in place at the top and bottom of frame.
 A better view of the join.
 5. Finish tacking the batting in place, and repeat these steps for the next piece of batting until all three sides are covered. I don’t cover the top edge that goes against the wall, but you can.
6. Cut off the small piece of bulky batting at an angle on the top corners to prevent bulkiness before adding staples. 7. If your fabric is really wrinkly or has creases you will need to iron first.
8. Put the right sides of two of the fabric strips together. 9. Sew these two fabric strips together.
  10. Place the sewn fabric on the bed frame with the right side facing in towards the bed frame. Make sure that the sewn line in straight on the corner.
11. With sewing pins, pin the lengths of fabric in place in a few spots. This is so that when you pull the fabric to get the other corner join it will not move.
 12. Pull tautly and pin the 3rd length of fabric to the 2nd length of fabric making another corner. Pin and mark the middle to get your next sew line for the corner. It’s important that you make sure you have pinned the other corner in place so that you can pull this corner taught enough to have a tight fit.
13. Remove the pins that you placed to keep the fabric tight to the batting and lay the last corner flat.  14. Cut off the excess, leaving 1.5″ of material for a seam allowance. (also this gives you room in case of a slight error).
15. Re-set your pins to your cut line horizontally for sewing. 16. Once you are finished sewing. place the fabric back on the frame with the right side facing in.
17. Pin in place before to make sure a perfect fit. Carefully cut off the seam to 1/2″.
18. Start pinning the fabric at the corners of the top of the bed frame together to make a flat sew corner as pictured above. Use chalk, a pencil or fabric pen to mark the sew line the pins are marking,
19. One at a time remove and reset the pins to allow for sewing along the line, taking care not to allow your set line to change. Now stitch together to form the corner. Cut off the excess material.  20. Replace the fabric back on the batting cover frame and pin in place making sure that the corners line up and that it fits tautly corner to corner. This is very important to have right before the next step. If you have some slack, remove and re-stitch to get a taut fit.
 21. Both corners should fit just like this. If you are happy with the fit, pin the fabric to the batting to hold in place for staples.
 You can tuck the fabric under the batting for a more finished look but it is not necessary as the staple line will not be seen.
 22. Carefully tack with staples, 4″ in from the edge of the corner. Then at the center of the footboard, then the side boards. I place a center staple, then I center my next staple between those two to start. This helps make sure that you won’t end up with crease of fabric. Work towards each corner keeping the fabric smooth. Staple down the sides of the bed frame (to the 1×3 slats) until the fabric is stapled completely on the top. ( put 3 staples per slat)
22. Once the sides are finished wrap the excess side fabric around the edge of the unfinished top and staple in place. Make a neat fold at the corner and staple in place.
23. Add a few extra staples at the bottom corners for extra durability.
 24. Carefully flip the bed frame over and rest on blocks so that the upholstery is not touching the floor.
25. Remove the wooden feet and the metal plates. Set aside
26. Start stapling the fabric the same way as you did the top. You can fold under the fabric for a finished look if you like but it is not necessary as above.  27. When you get to the corner you will need to cut the batting back before you tuck, then fold to make a corner, and staple the fabric to the inside 1/4″ edge. This is so that you can easily add the metal foot bracket back on.
 28. Replace the metal foot bracket. The existing screw holes help pull it back in place.

29. Add the wooden feet back in place. I stained, then white glazed the feet with this technique using milk paint.
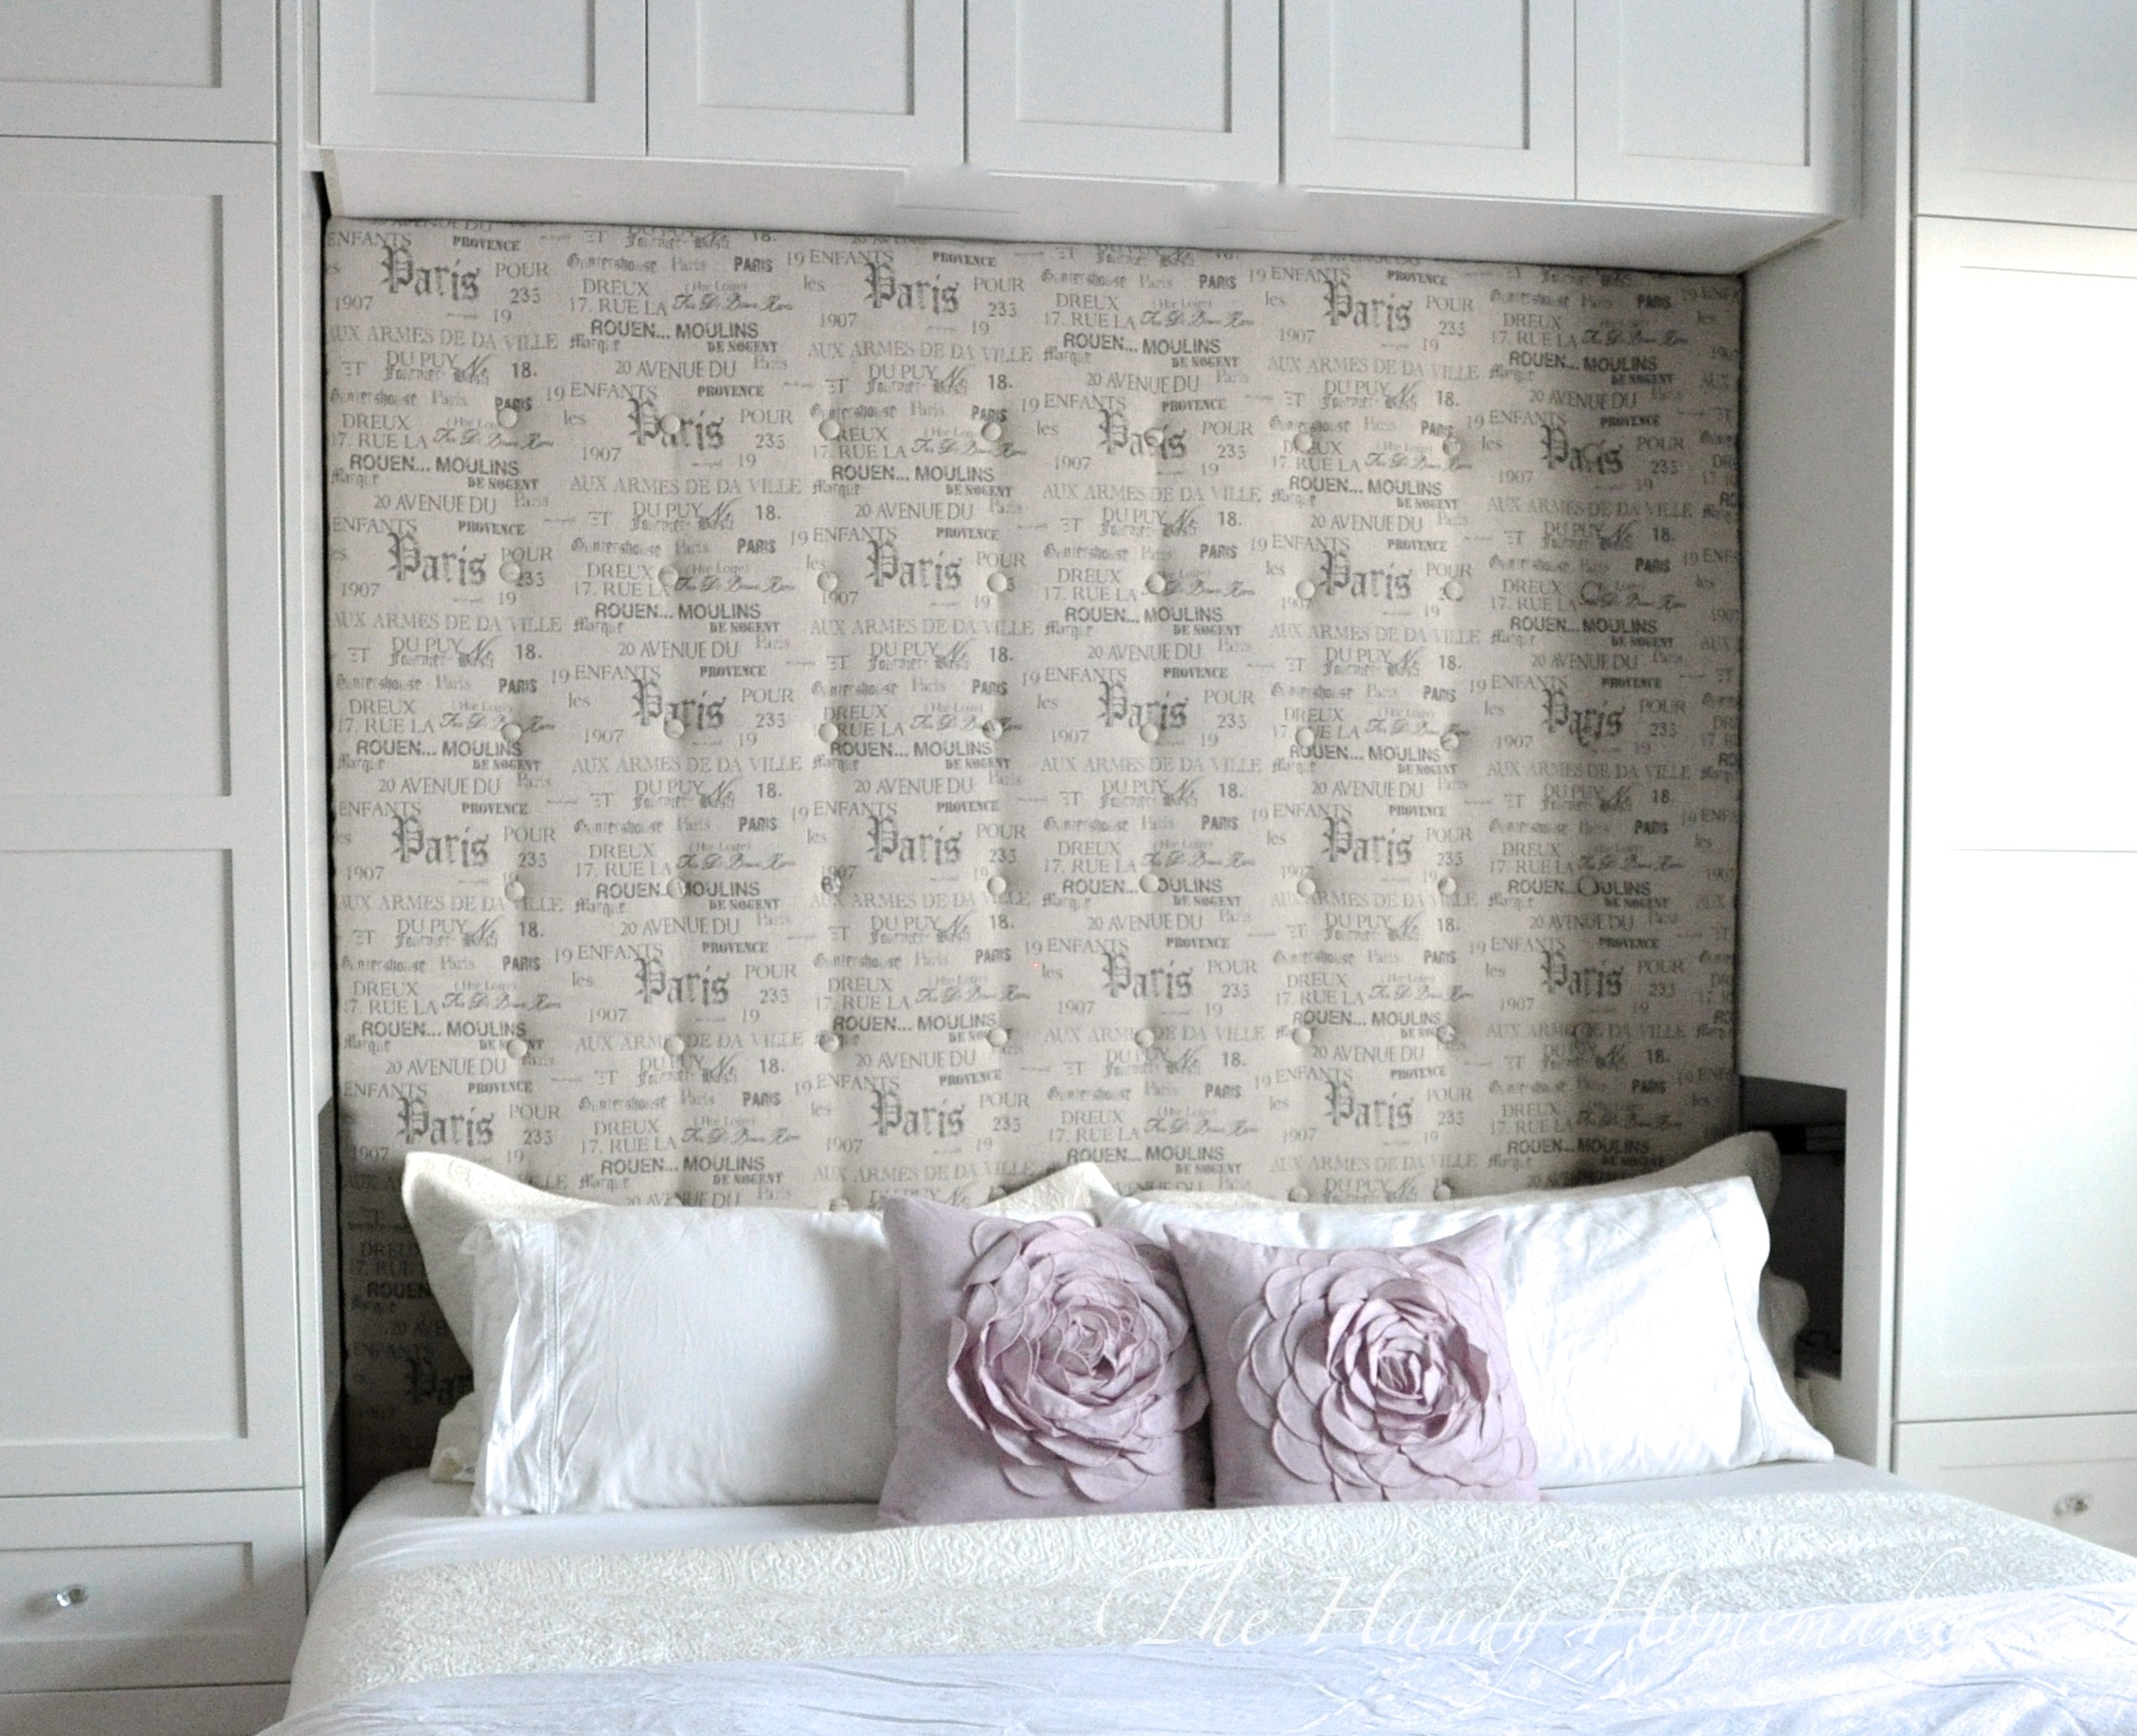
 30. Your finished!! Add the mattress, make your bed, instagram your completed project, and then take a nap 😉 You deserve it.. I know…!!!!!!!

Stay tuned for “How to Make an Upholstered Headboard“
Tips*
- If you want a continuous run of fabric so that no sewing would be required you will need to buy approx. 6 – 1/2 metres (approx 7 yards) to cover only 3 sides. If you want to cover 4 sides a continuous run would be just under 8 1/2 meters ( 9 yards)
- It is possible to fold under the fabric at the corners and staple tautly on the underside and the top edge. But for a professional look I would stick to sewing Tip#1
- As per confusion over the material and how many sides covered. I have chosen to only cover 3 sides as I do not mind that the part this will always be hidden will remain unfinished. If you decide not to finish all 4 side then cut material and batting back to 2-1/2 metres this will still give you a little room for extra allowance.


Leave a comment