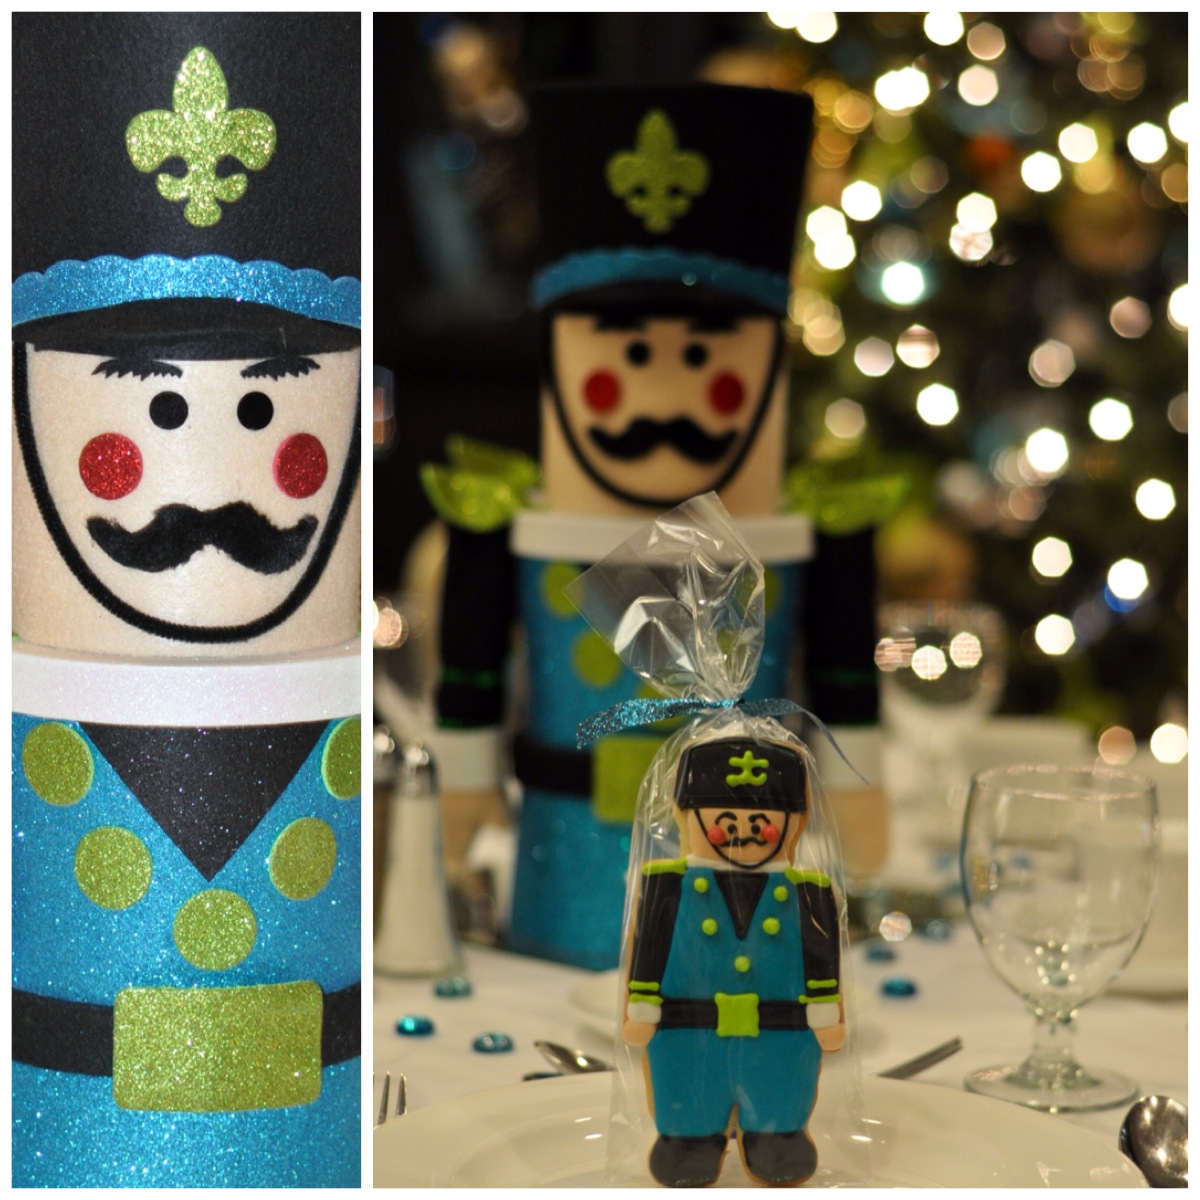
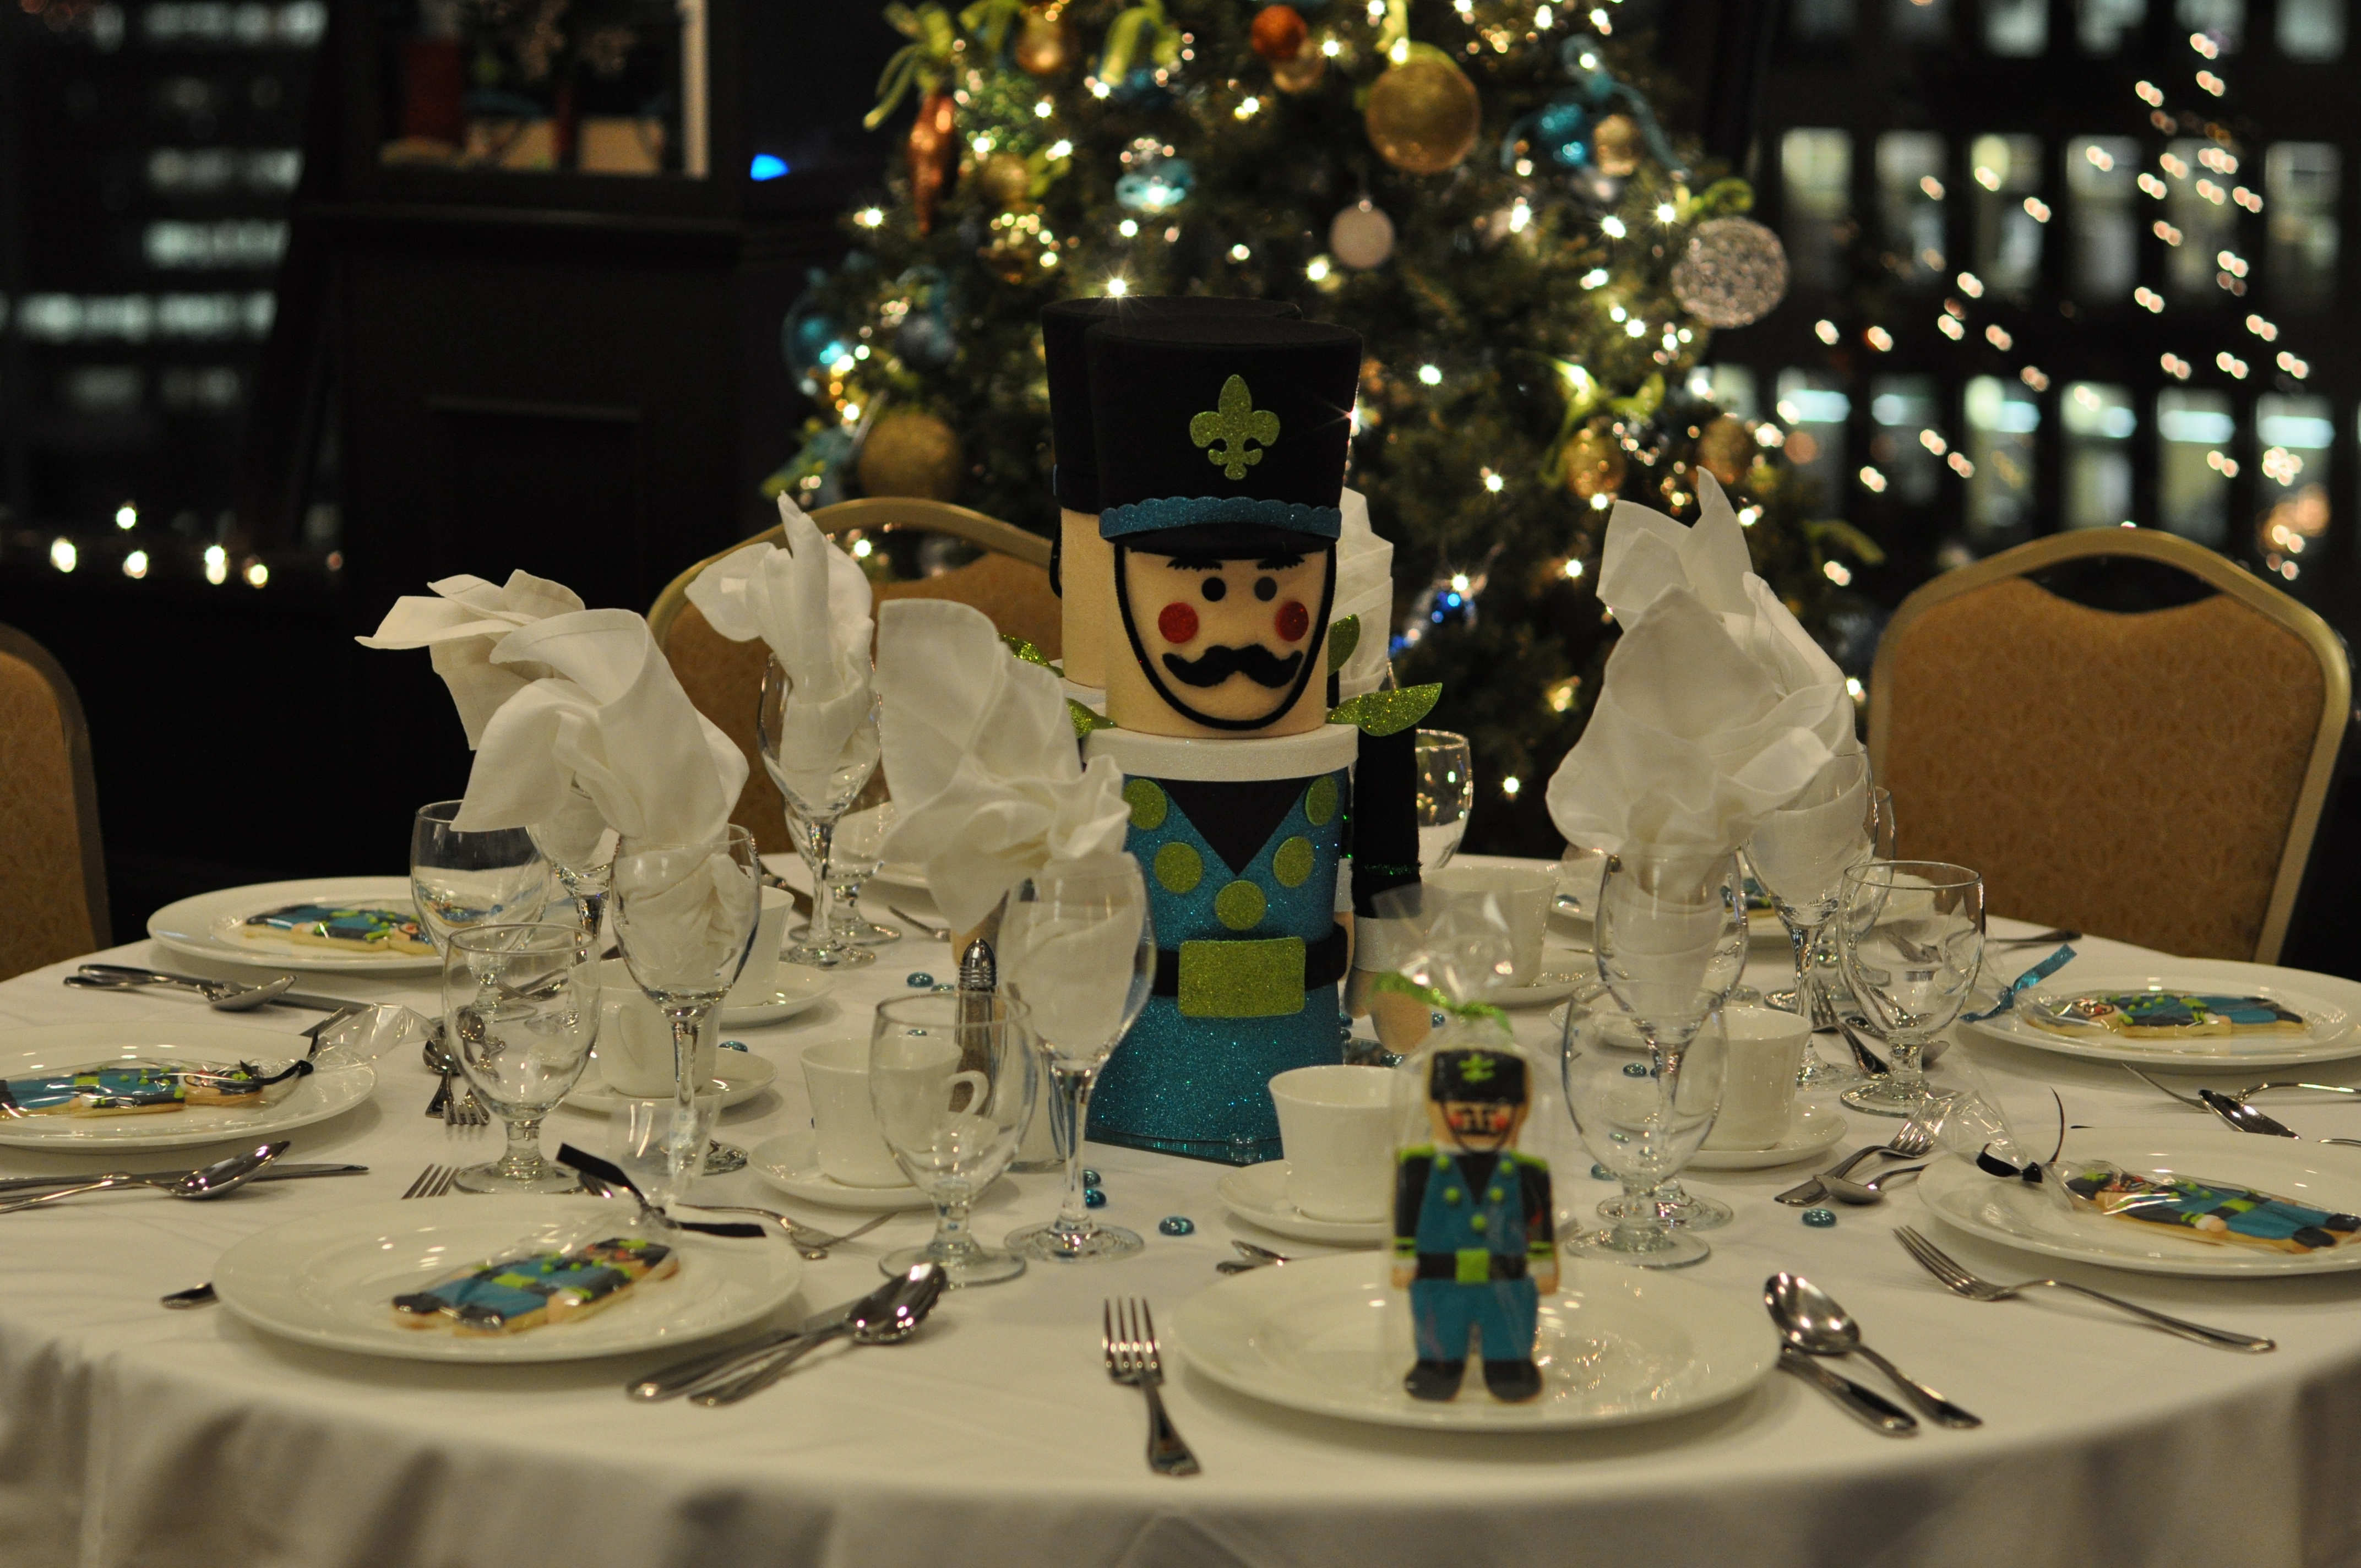
This is this years Christmas party centerpiece. I found these charming Nutcracker boxes in Maine while I was home visiting family. They were a little taller than something I would normally use for a centerpiece. People don’t like it when their view at the table is restricted. The colors worked perfectly with decor I have used in the past, and they had 24+ available. Each Nutcracker has three openings, which I filled with various holiday chocolates and candies. With two Nutcracker per table 24 lucky guests went home with one. These were a hit!

Here is a picture of the finished table setting minus the tea lights. I was very happy with how these sweet Nutcracker soldiers glittered in the candlelight. We are so lucky to host our event at the Delta in their beautiful room that has amazing views of the water and the city of Halifax.
Here is step by step pictures of how I decorated cookies to match the centerpieces.
To start I did not coincidentally have a cookie cutter that matched the Nutcracker, I purchased an inexpensive gingerbread cookie cutter at the bulk barn. Using two pair of mini pliers I reshaped the cutter to a shape that resembled the cutter. It is surprisingly easy to do. Be careful around the cutter seam as you want to try not to break that. Voila. A nutcracker soldier shape.
- Make a batch of rollable cookie dough of your choice. Click here to find one of the recipes I use.
- Prepare Royal Icing recipe and mix the right colors needed for decorating.
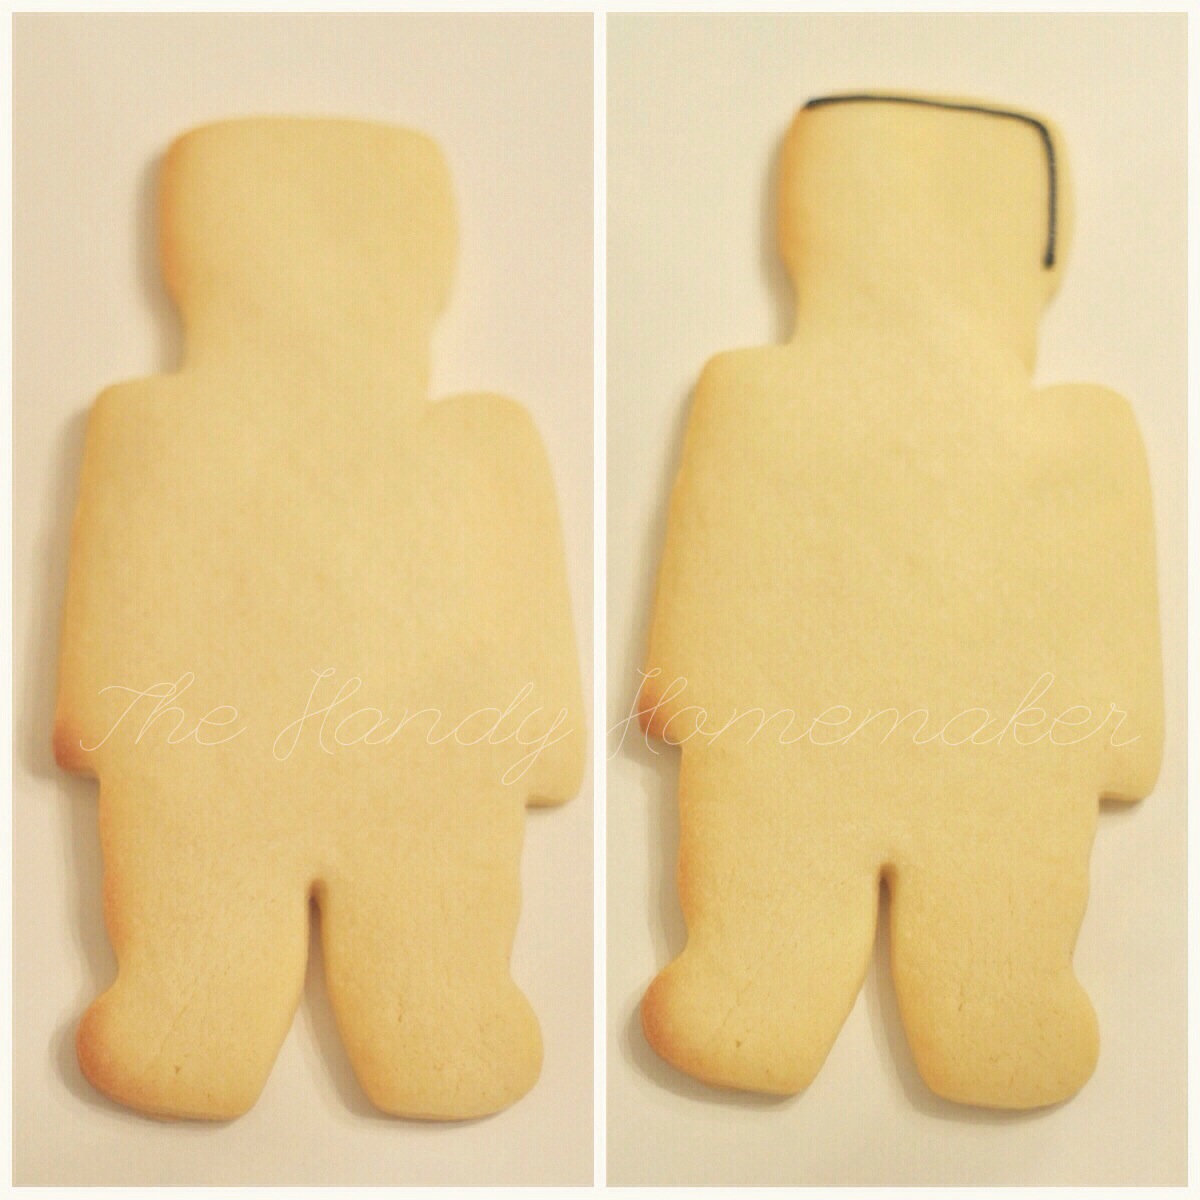

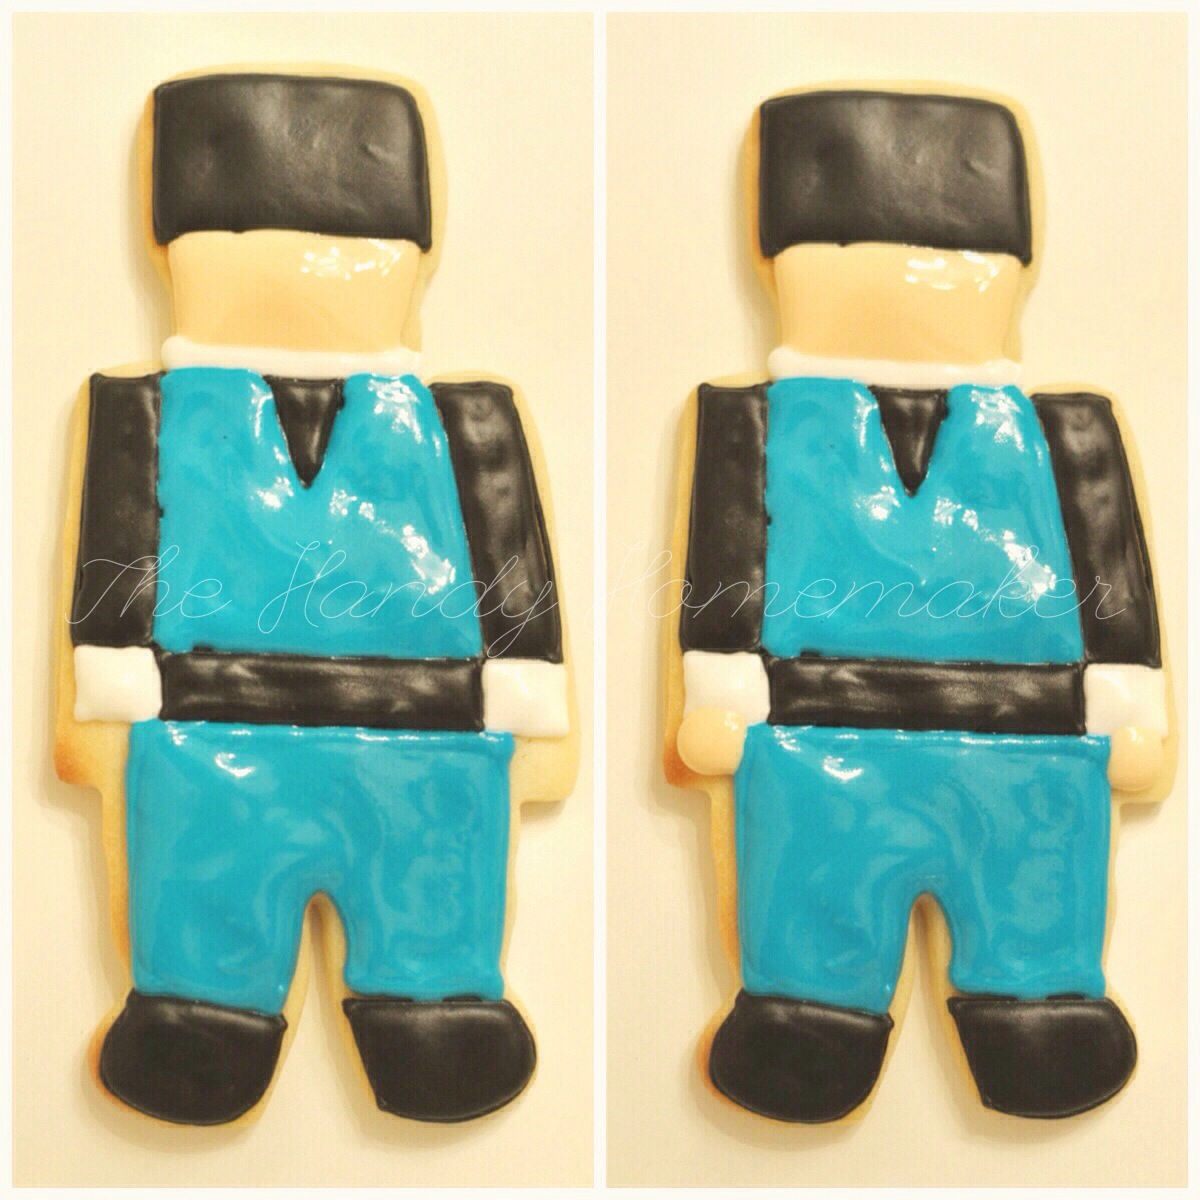
- Start by piping the black outline of the hat of the Nutcracker.

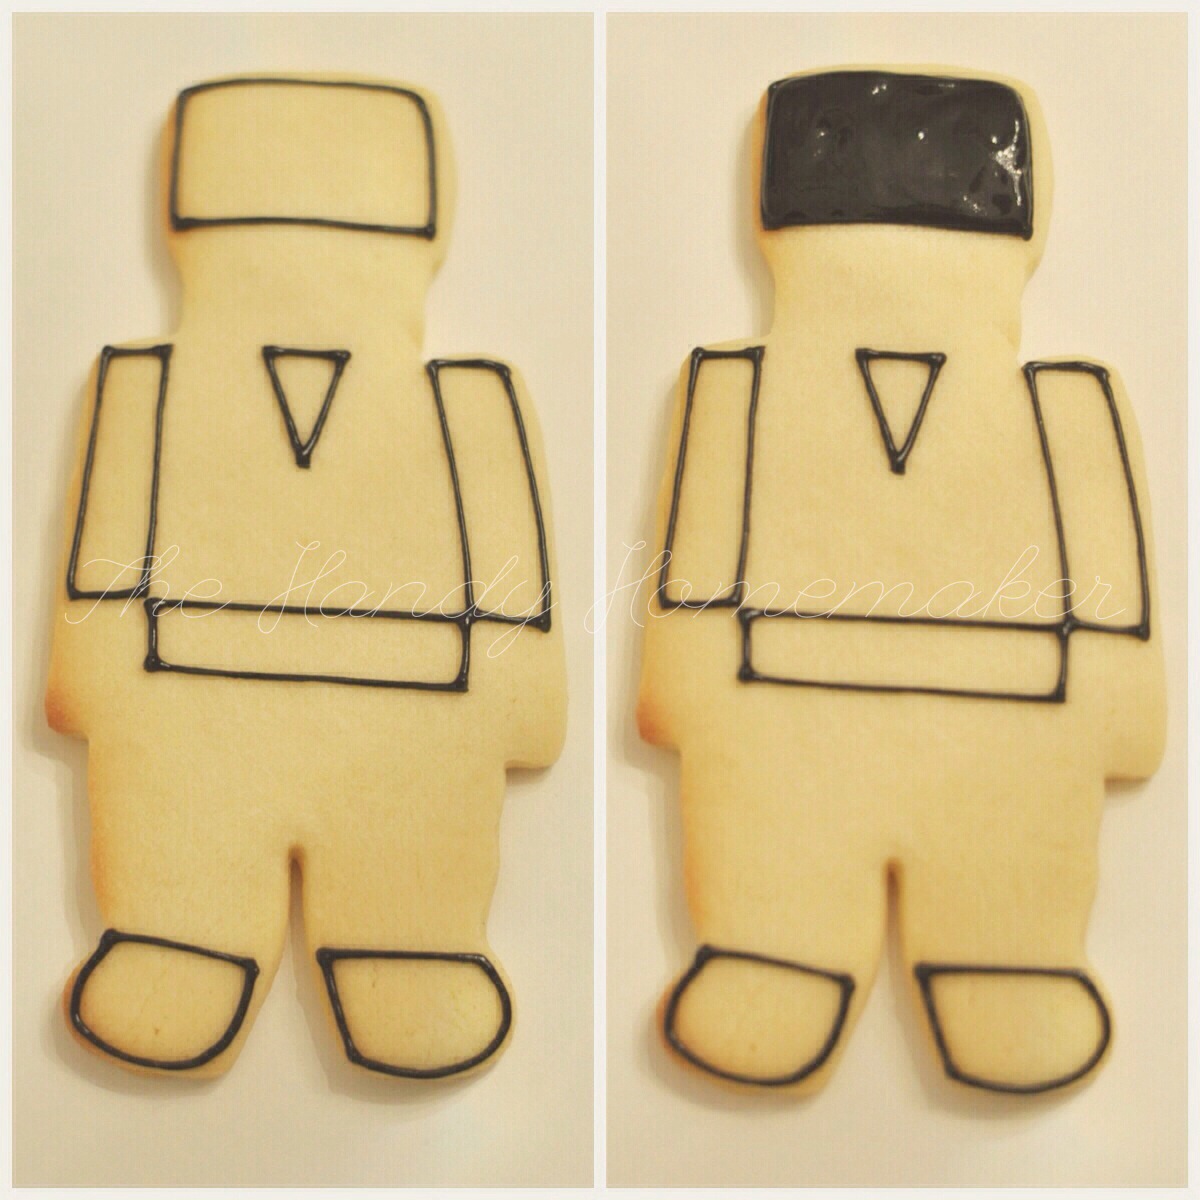
- Next I piped the black triangle of the neck area, followed by the arms, belt and boots
- Use 20 second icing to flood the hat

- Flood the remaining areas piped with the black outline. I move on to do the next cookie and start the black piping to give the black piping a couple of minutes to start to dry
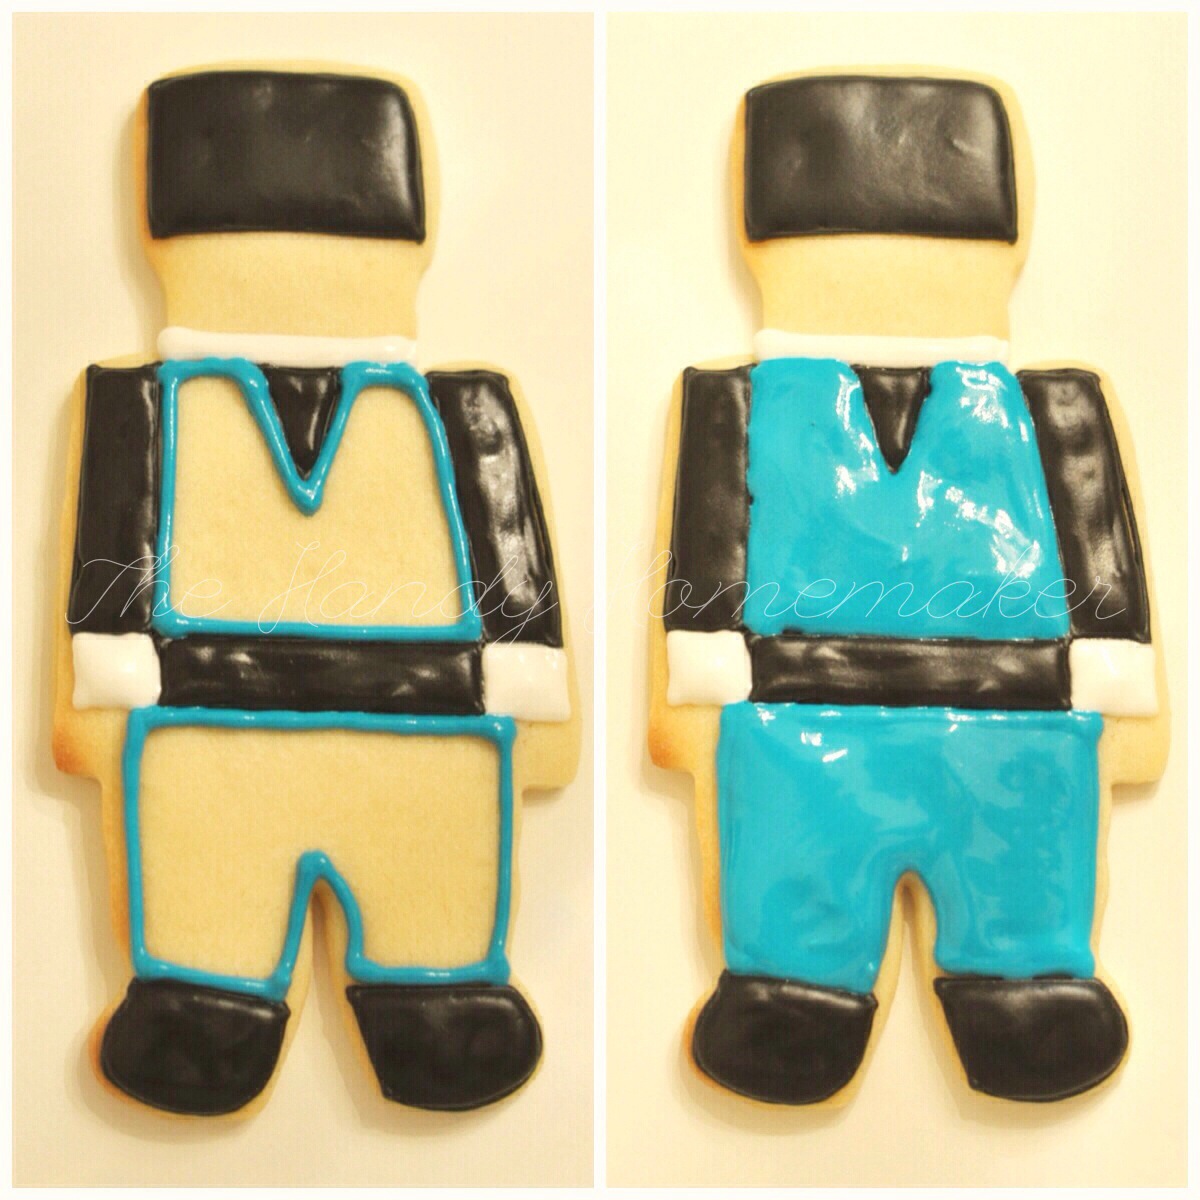
- Using 20 second icing add the white collar and the wrist cuffs.
- Using blue piping icing pipe the outline of the chest and pants.
- Fill with blue 20 second icing.
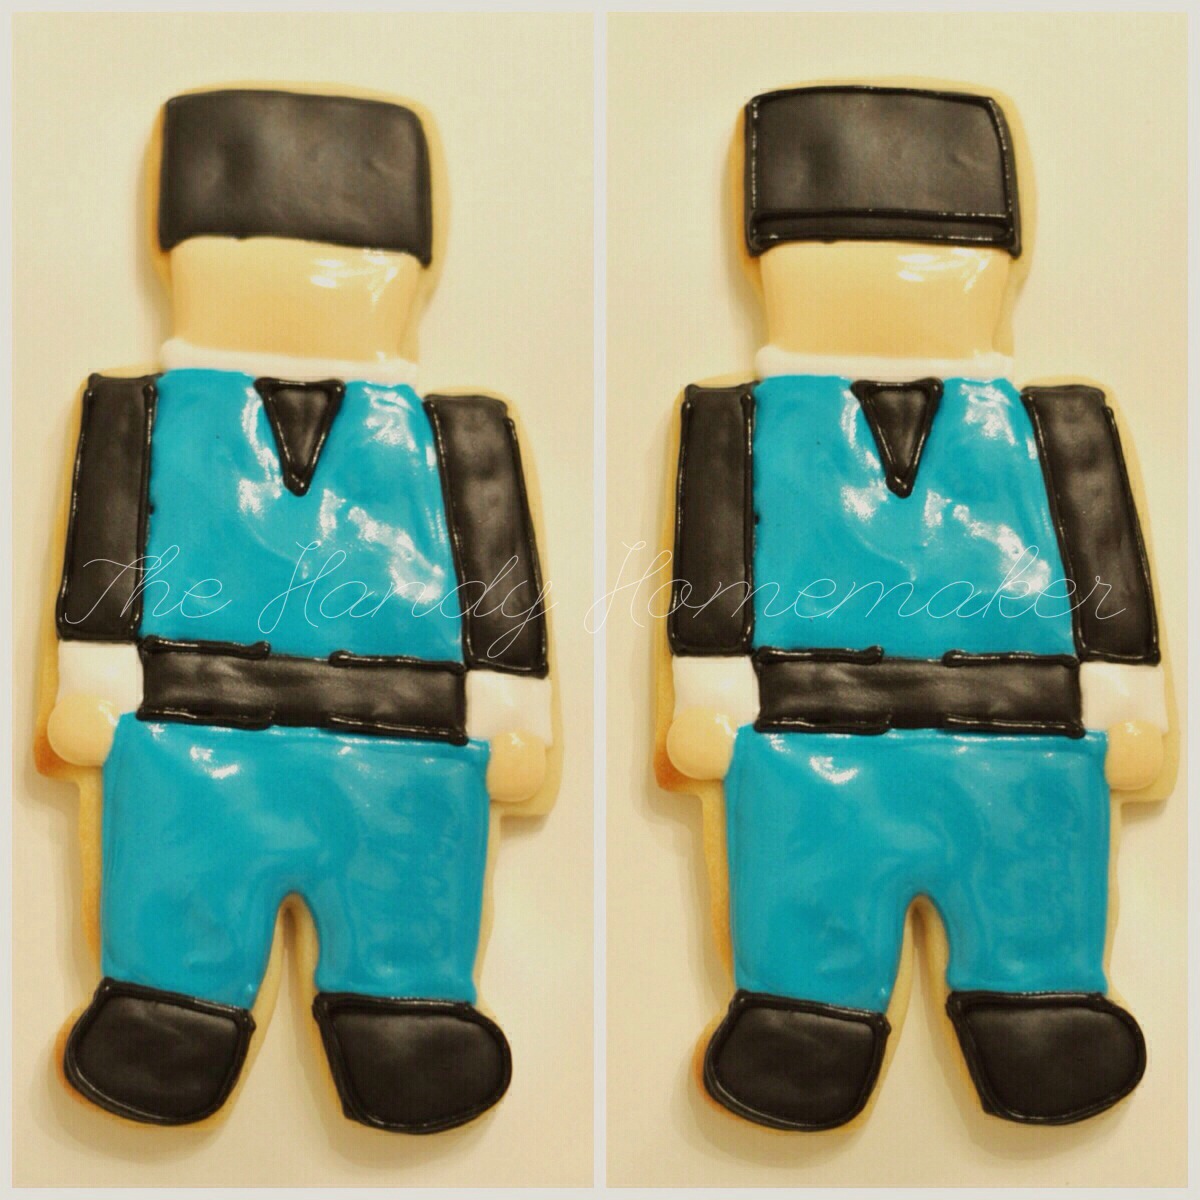
- Using an Ivory 20 second Icing pipe and flood the face of the Nutcracker.
- Drop a small ball of icing for the hands
- Use the black piping icing start to outline the black areas: feet, arms, neck triangle, hat and belt area. (for the belt area leave a space for the green buckle)
- Let the icing dry


- I did not let these cookies dry completely ( a few hours) before moving on to the next step as it was late at night and I wanted to finish the pictures for this post and I was rushing 😉
- With the black piping icing add the hat string.
- Next pipe the face with black piping icing
- Using red 20 second icing add two small drops for the rosy cheeks.
- Next pipe on the details of the green. Five drops of icing for the buttons, the belt buckle, the shoulder pads and the decorative on the hat and arms. In this picture I mistakenly grabbed the white icing for the hat decor, but once I let it dry for 10 minutes or so, I added the green on top. It’s ok, no worries!
- Let these cookies dry overnight
- Seal in cellophane bags or place in an airtight container.
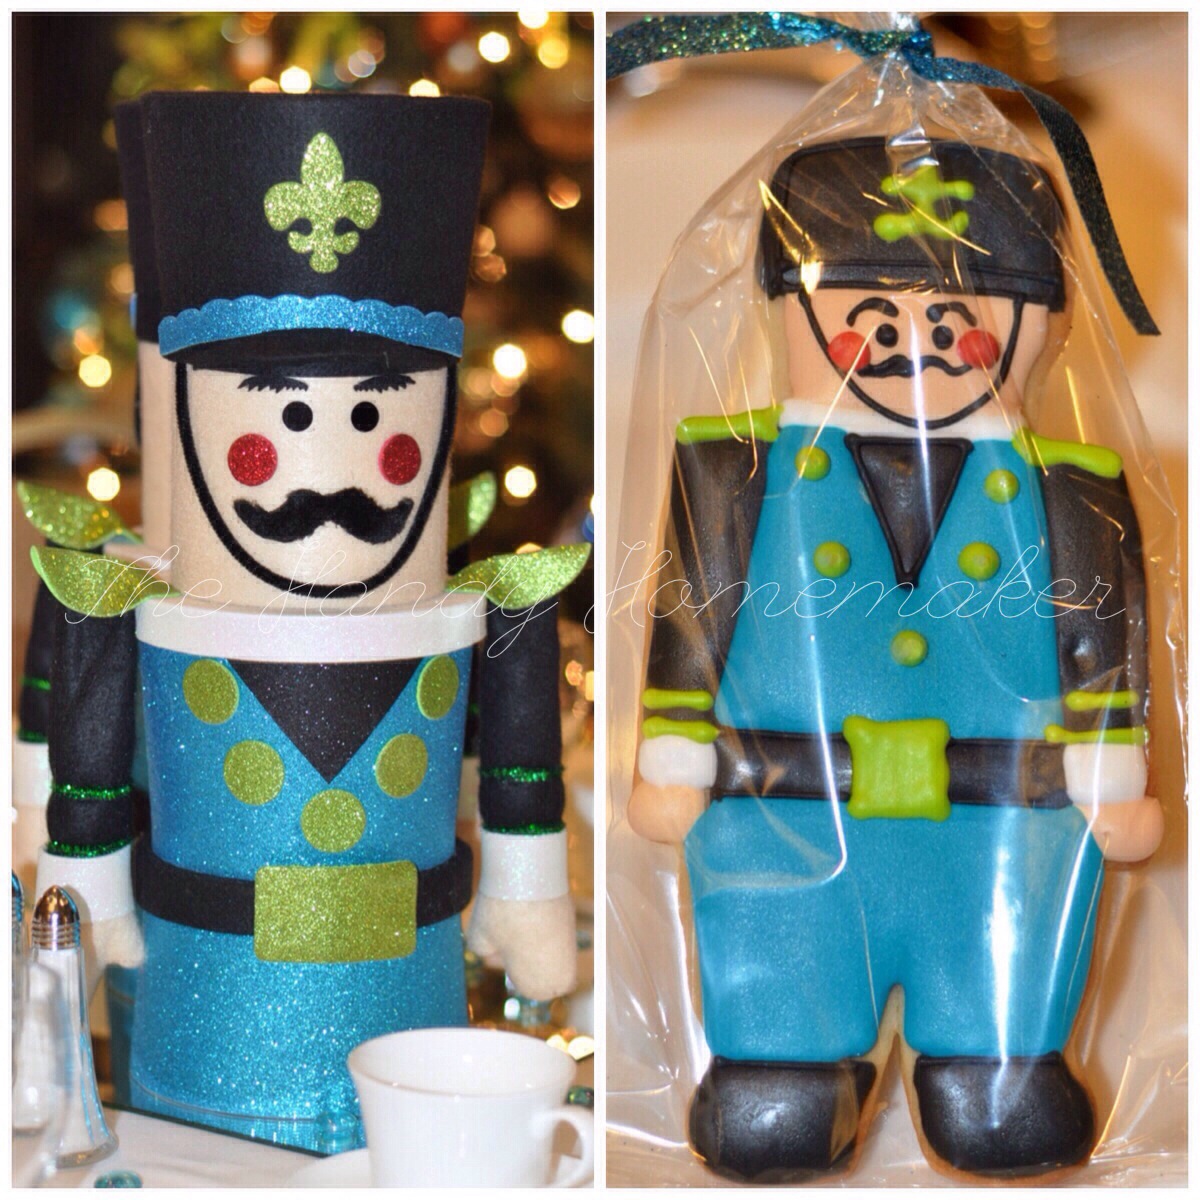
The finished cookie matches pretty well! Merry Christmas everyone and thanks for visiting.


Leave a comment