 I love this chocolate cupcake recipe. You may be thinking that it is much easier to make a box recipe, and at times I do that too. This recipe takes only a few minutes longer than a store-bought box. More importantly it is the flavours that will change your mind. As a bonus when making this recipe I know exactly what ingredients are used. Fresh ingredients and my favourite cocoa powder, Barry extra Brute, gives this recipe its rich, chocolate taste and texture. This is a family chocolate cake recipe (I’m guessing it’s a version of my mom’s vanilla cake/cupcake recipe.) Over the years I made a few small tweaks. I’ve replaced the milk with buttermilk, butter in place of oil, and added an extra egg to help meet the richness and structure I desired. Which means this recipe can be easily adapted with substitutes and get similar results.
Ingredients:
Preheat oven to 330° Bake for 18-20 min
- 2 cups flour (250gr sifted) (whole wheat white or spelt)
- 1 cup Cocoa powder (125gr)
- 1 tsp Baking soda
- 3/4 tsp Baking powder
- 1/2 tsp sea salt
- 1 cup sucanat or Cane sugar (402 gr)
- 1/2 cup date puree
- 1/2 cup unsweetened applesauce
- 6 tbsps aquafaba or 3 flax eggs (room temperature)
- 1 Tbsp Vanilla
- 1 Tbsp Apple Cider Vinegar (or balsalmic vinegar)
- 1-1/2 cups almond milk (room temperature)
Instructions:
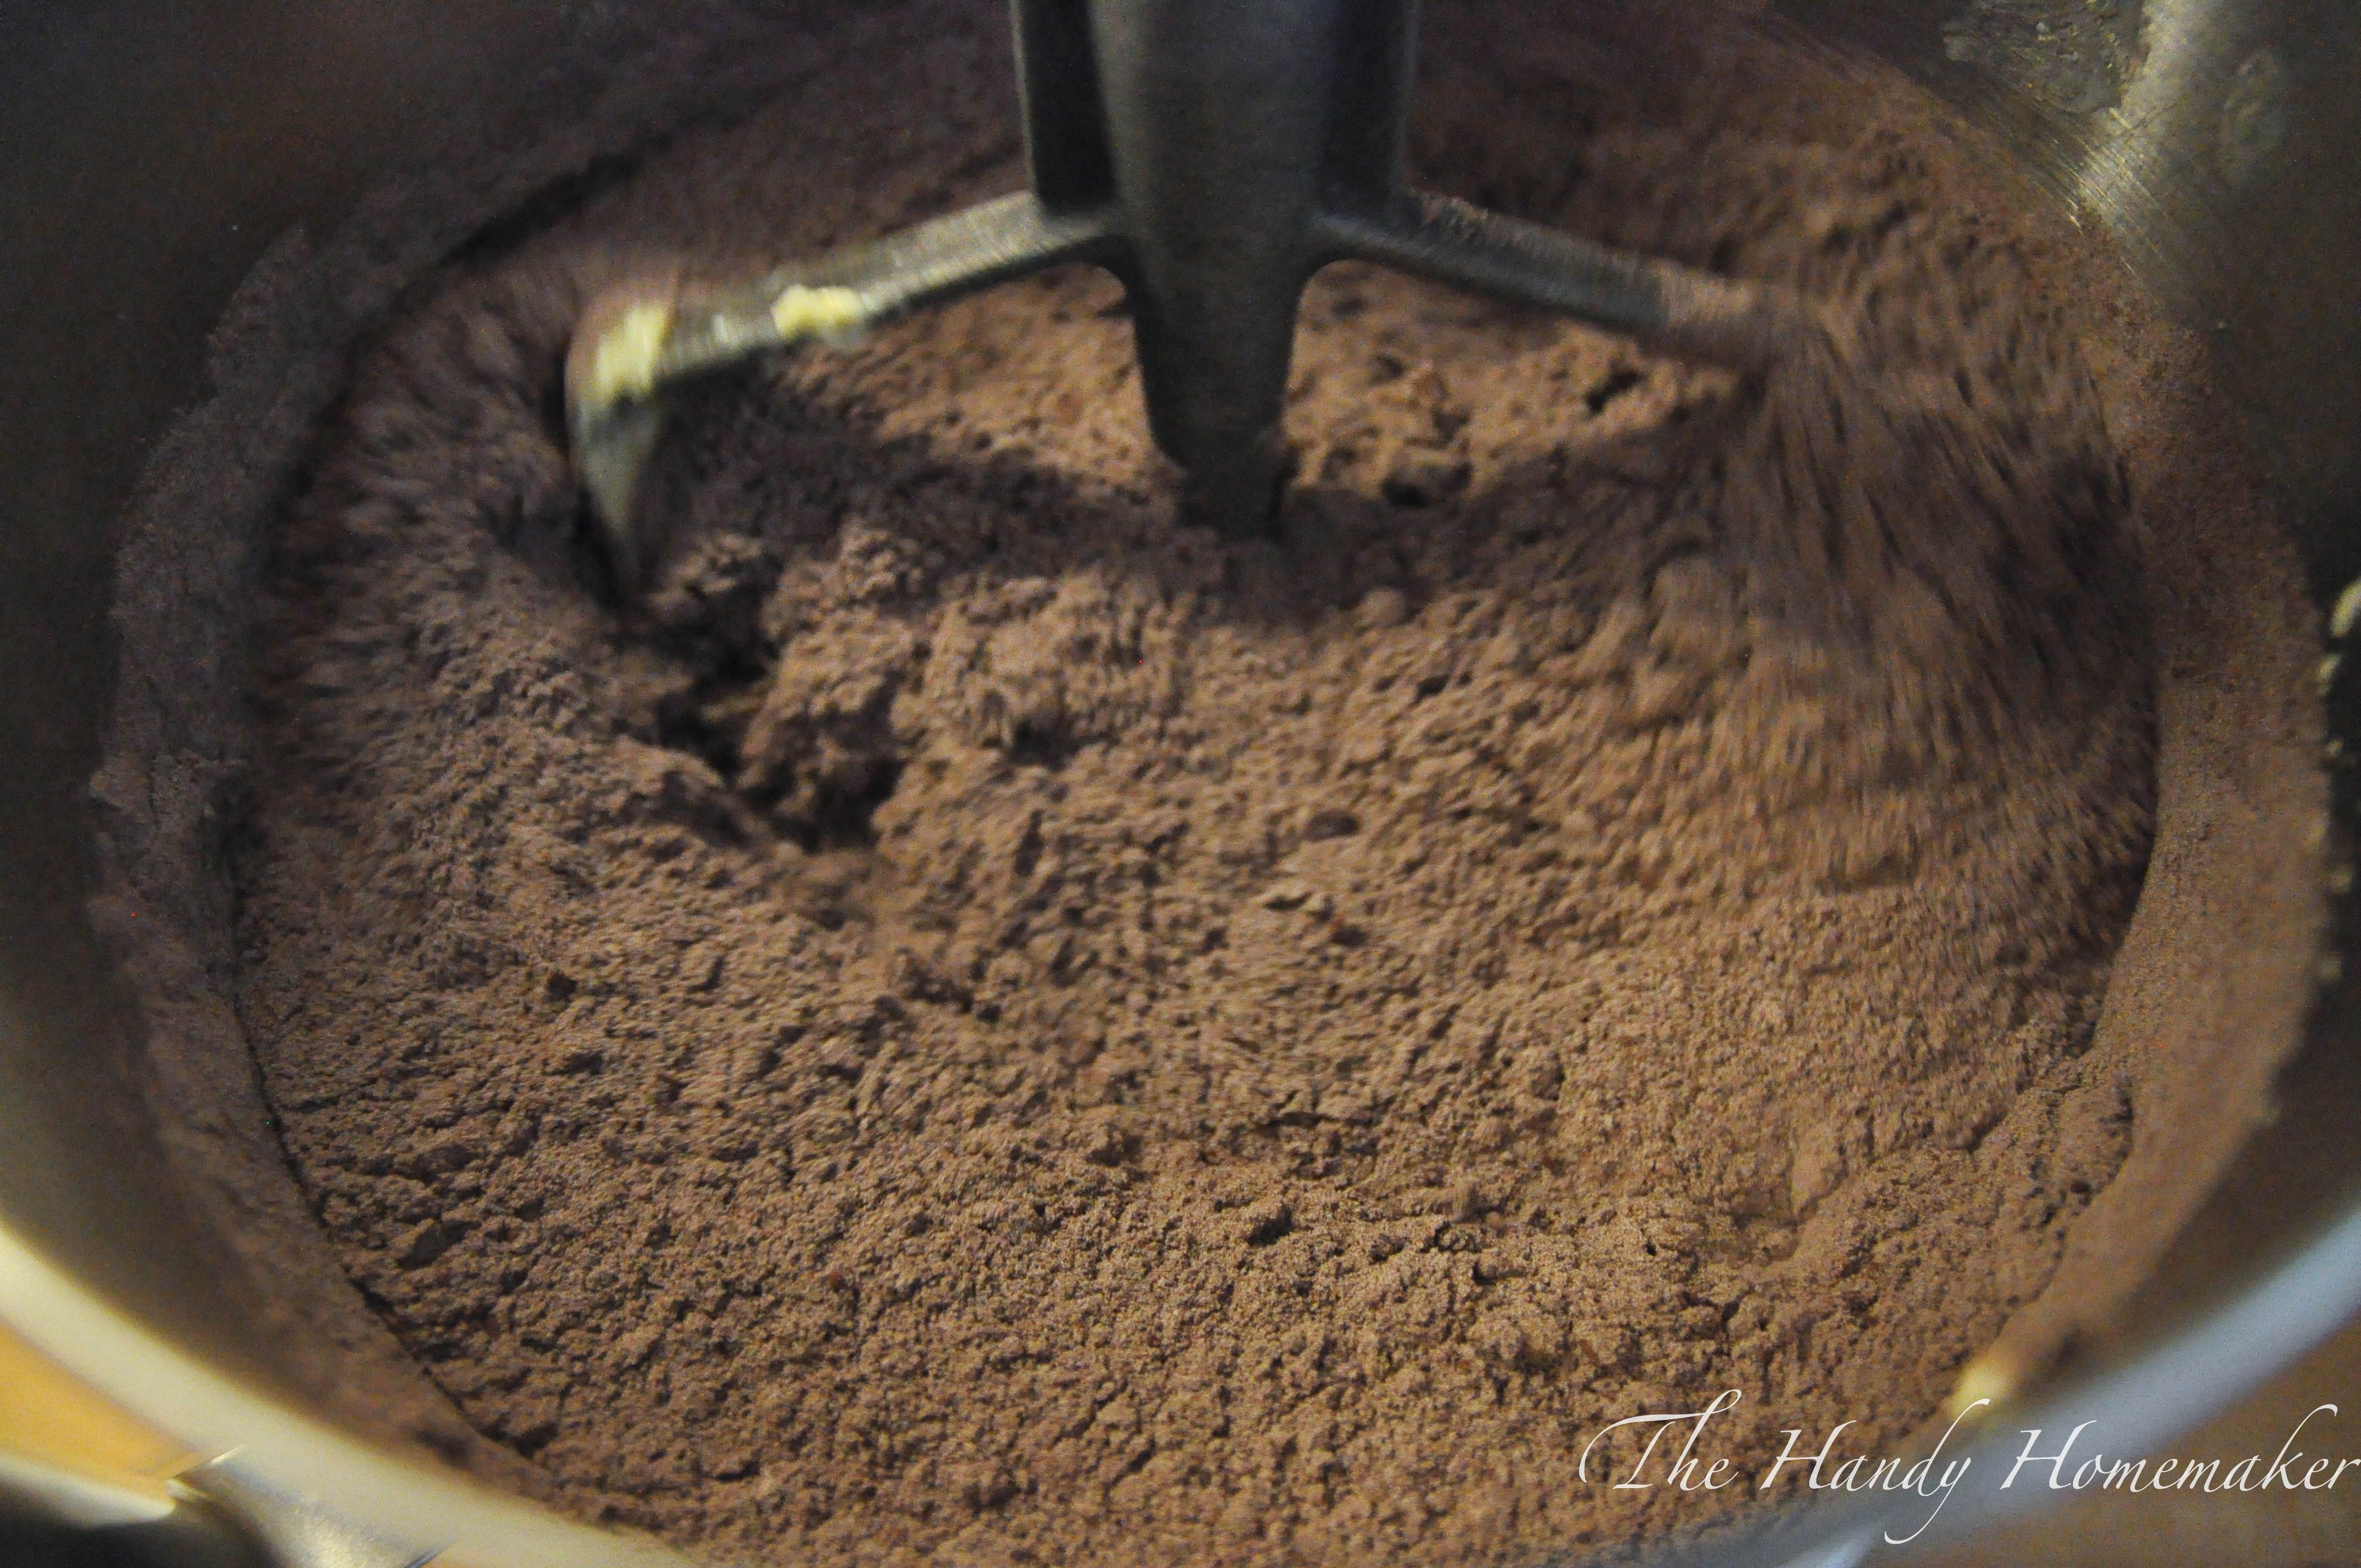
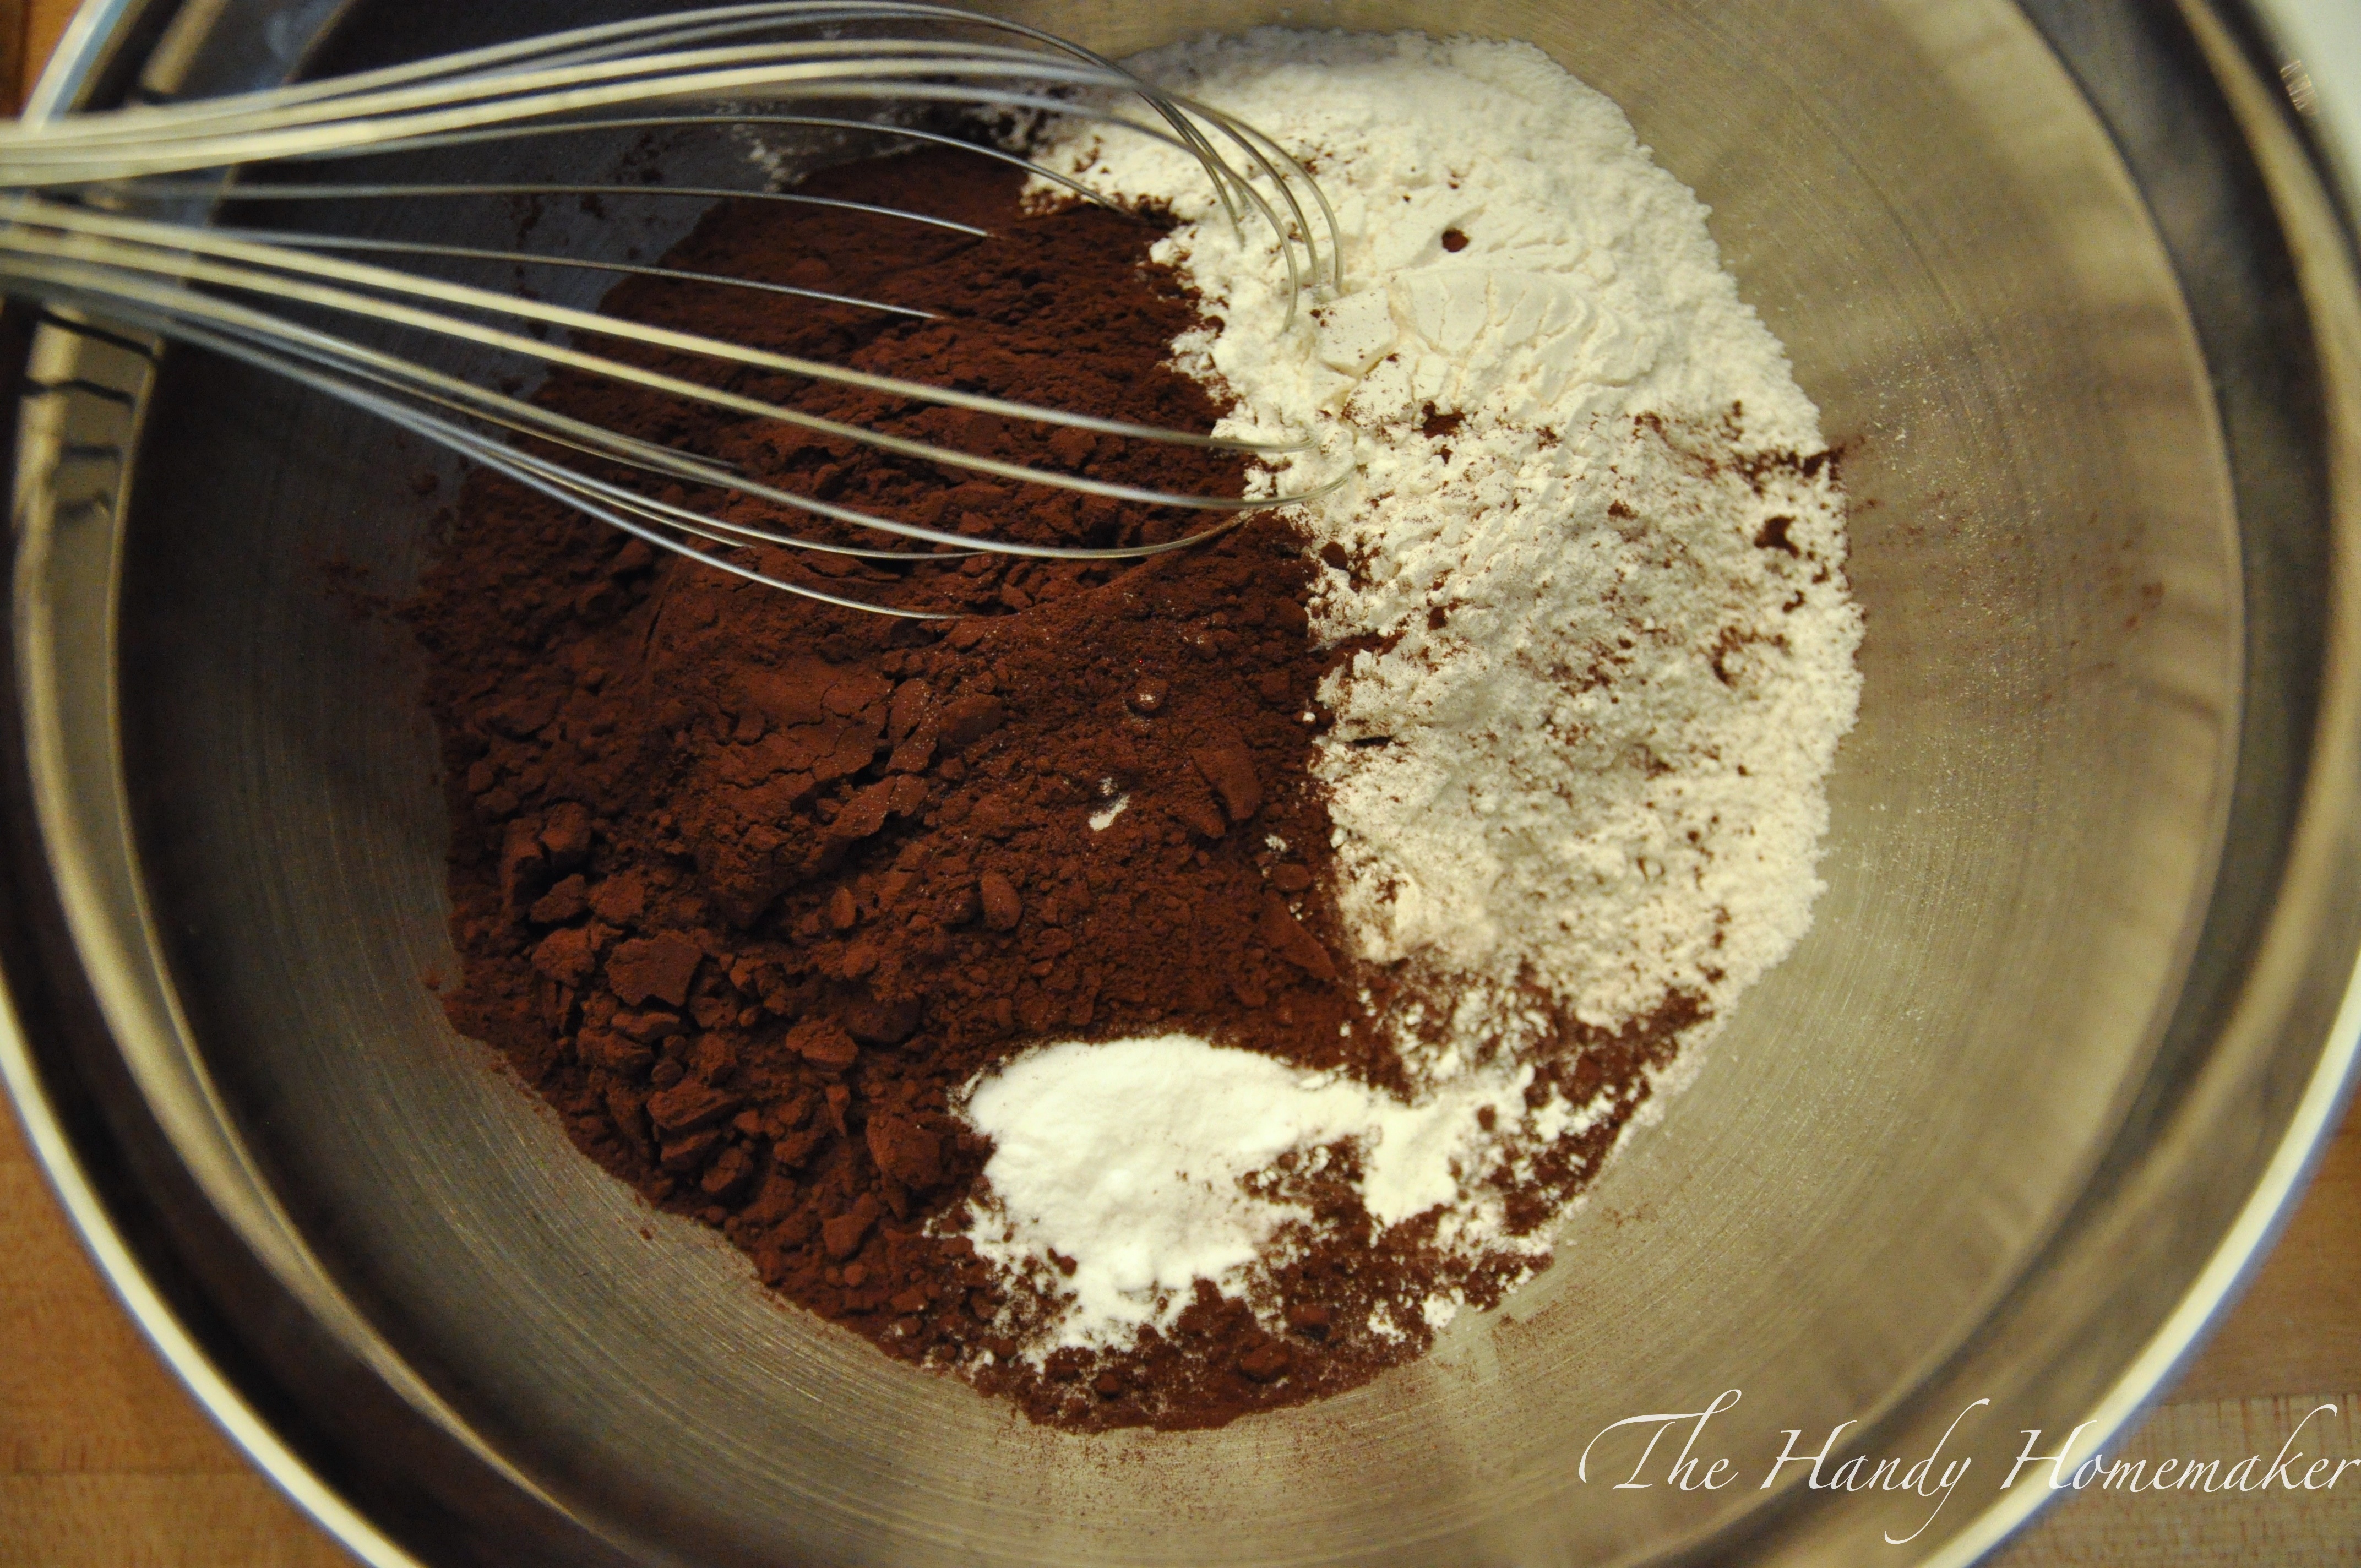
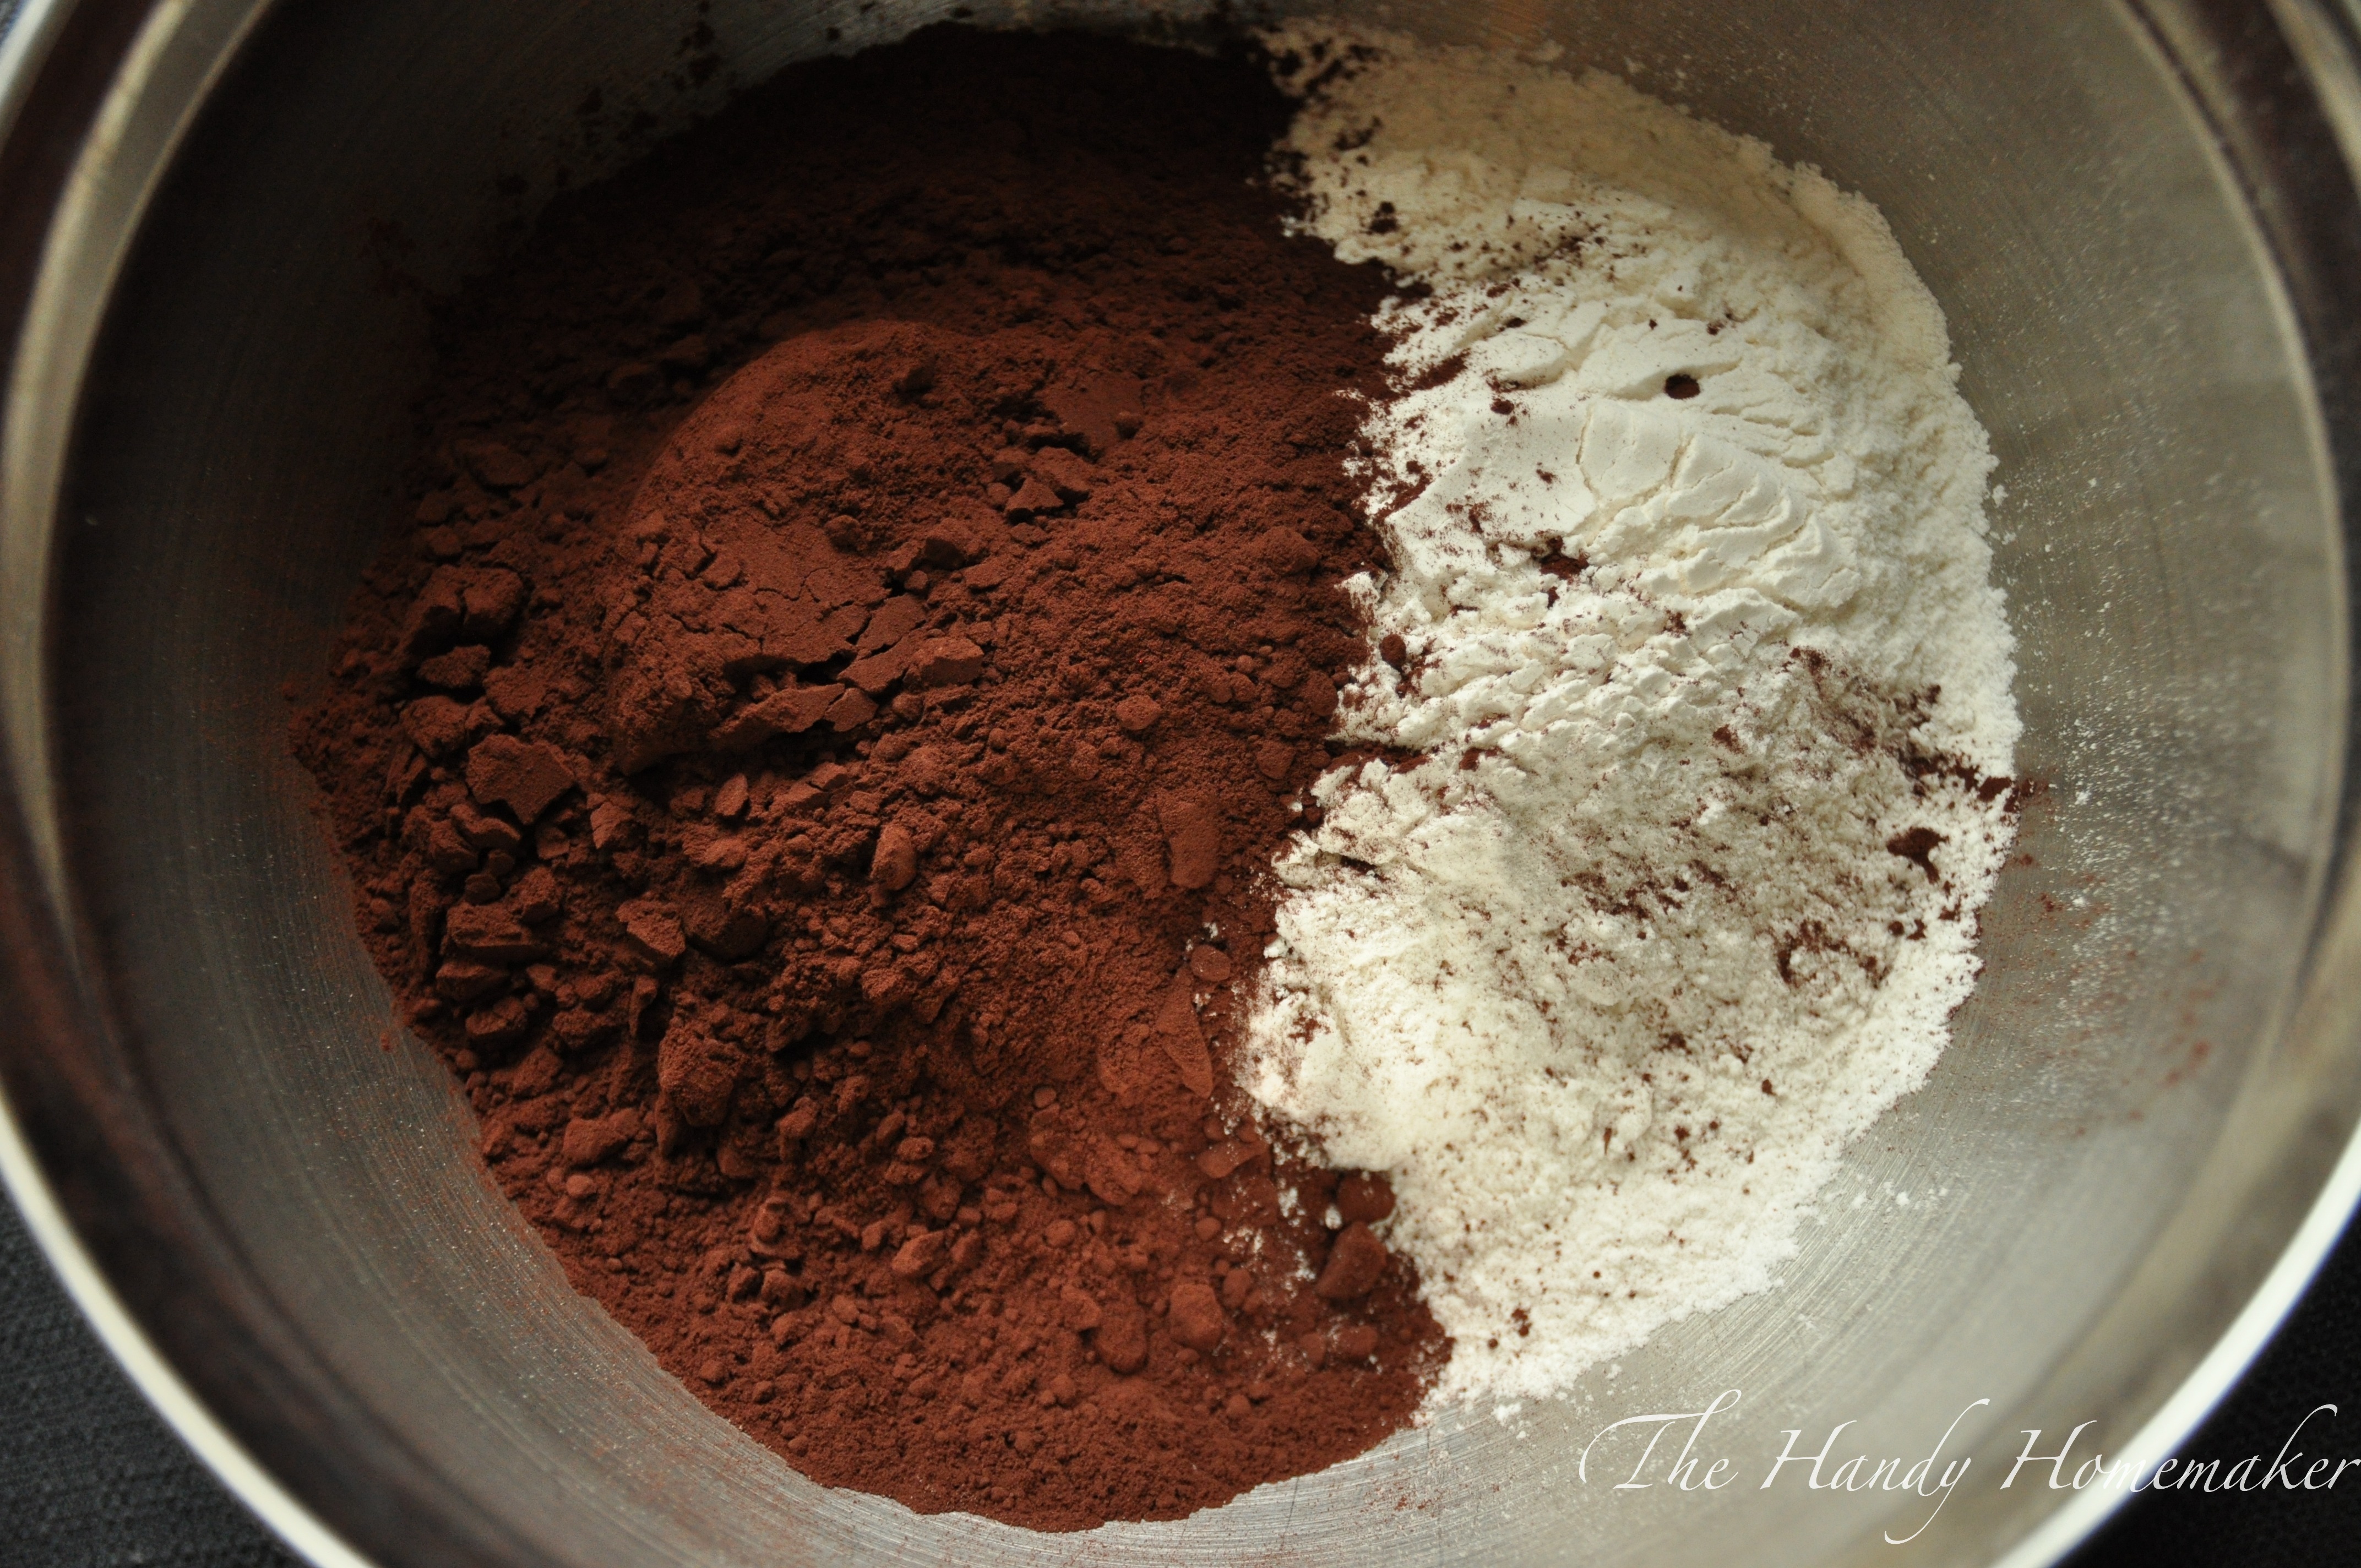 1. Pre heat oven to 350°. Add the flour, baking powder, baking soda, and cocoa powder into a bowl.
2. Whisk together until combined.
3. Set aside until needed
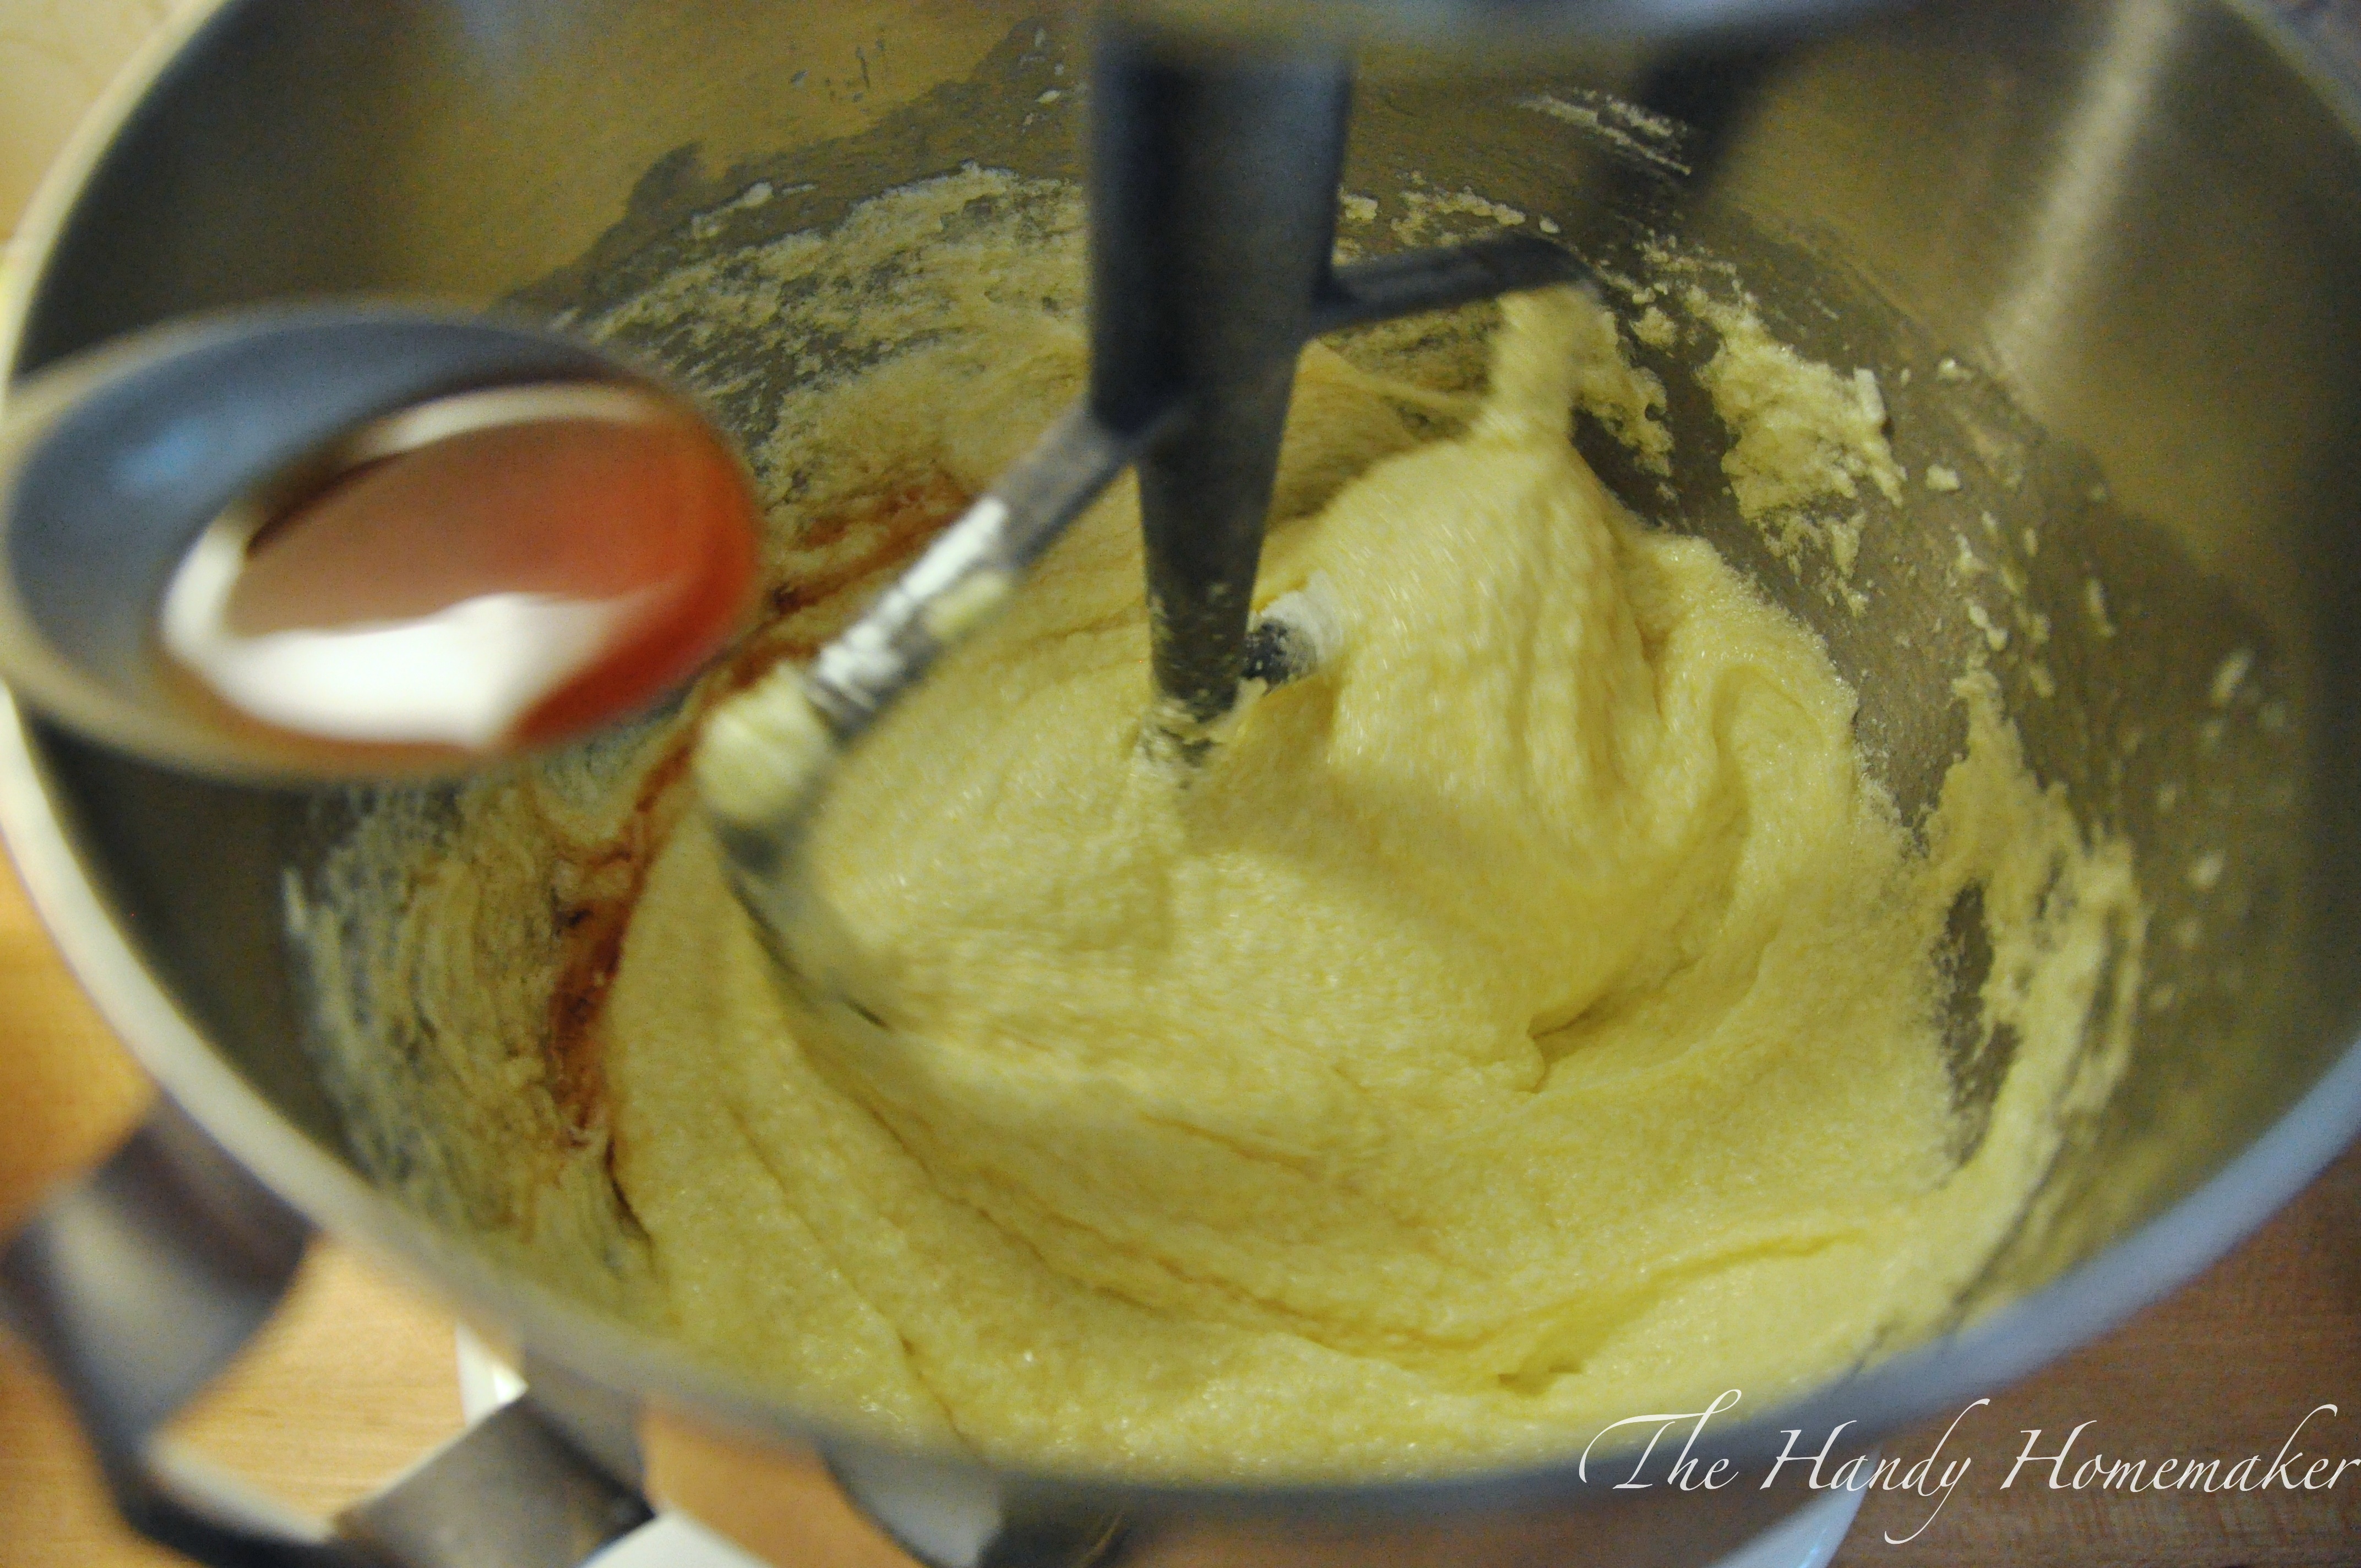
 4. Beat butter and sugar together until creamy, light, and fluffy using and electric mixer or beaters.
6. Add the aquafaba/flax eggs while mixing on low-speed.
7. It will look slightly curdled once together.
 8. Add the Vanilla.
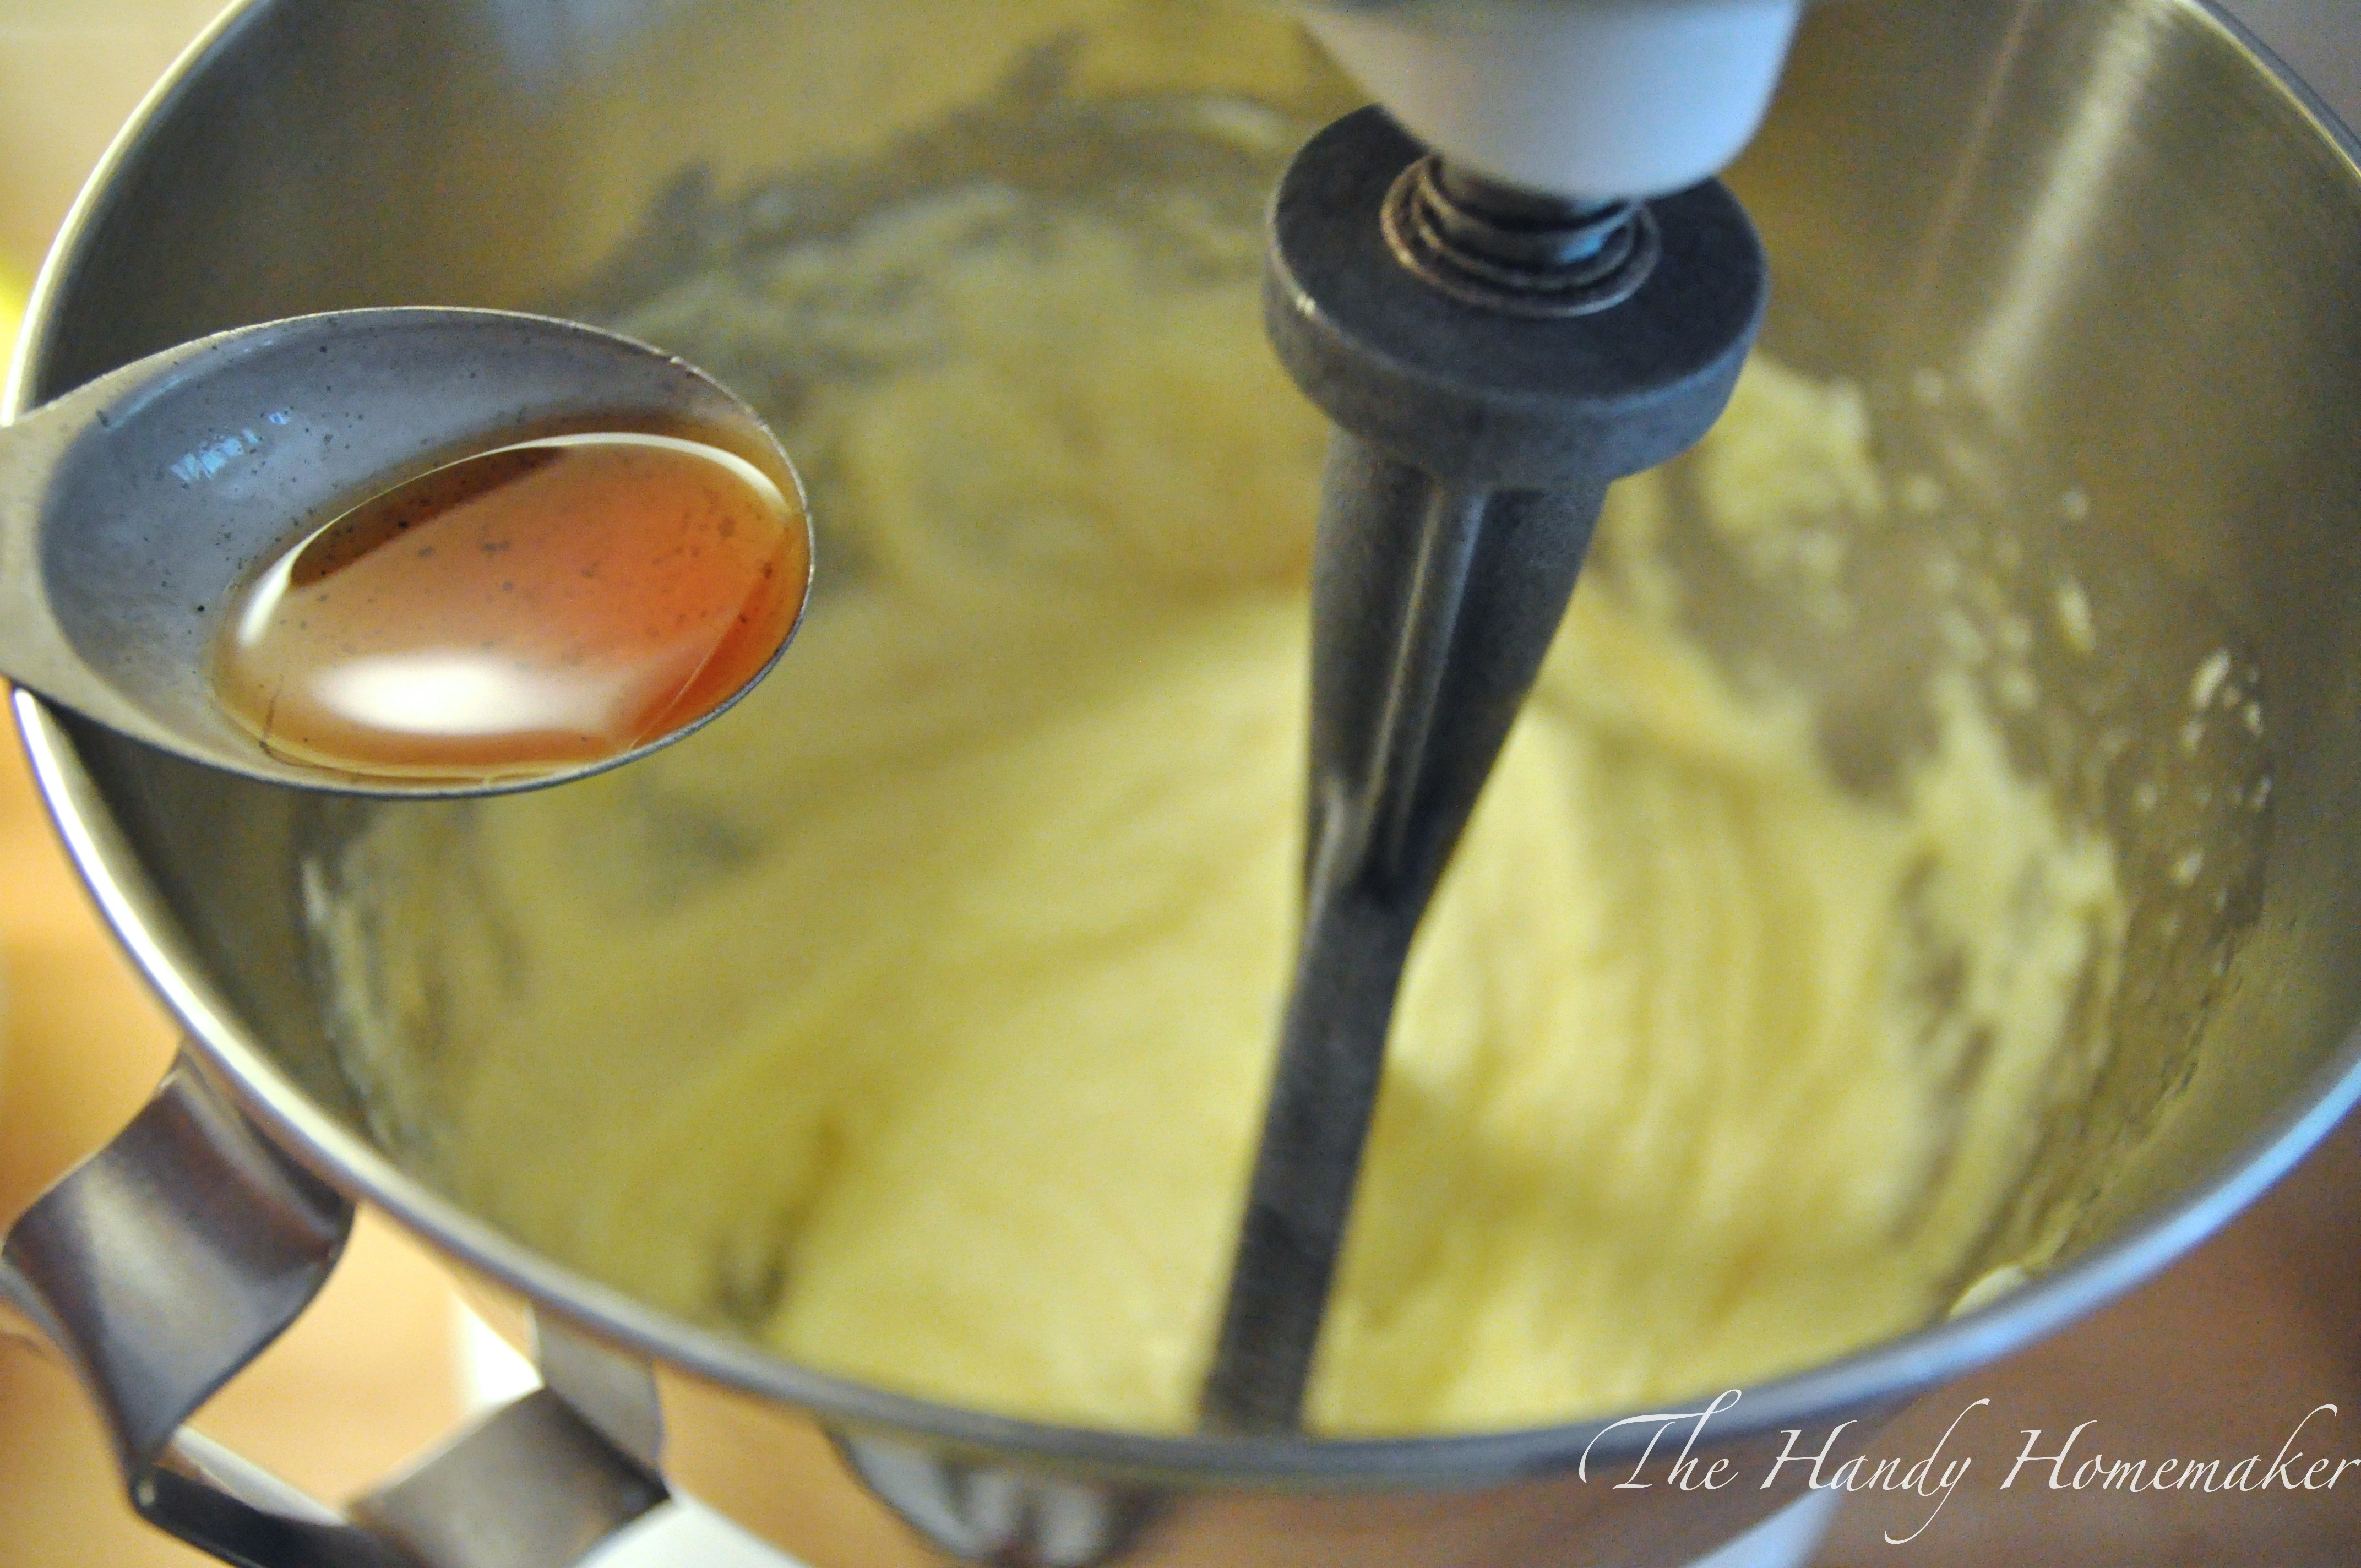 9. Add the vinegar, stir quickly.
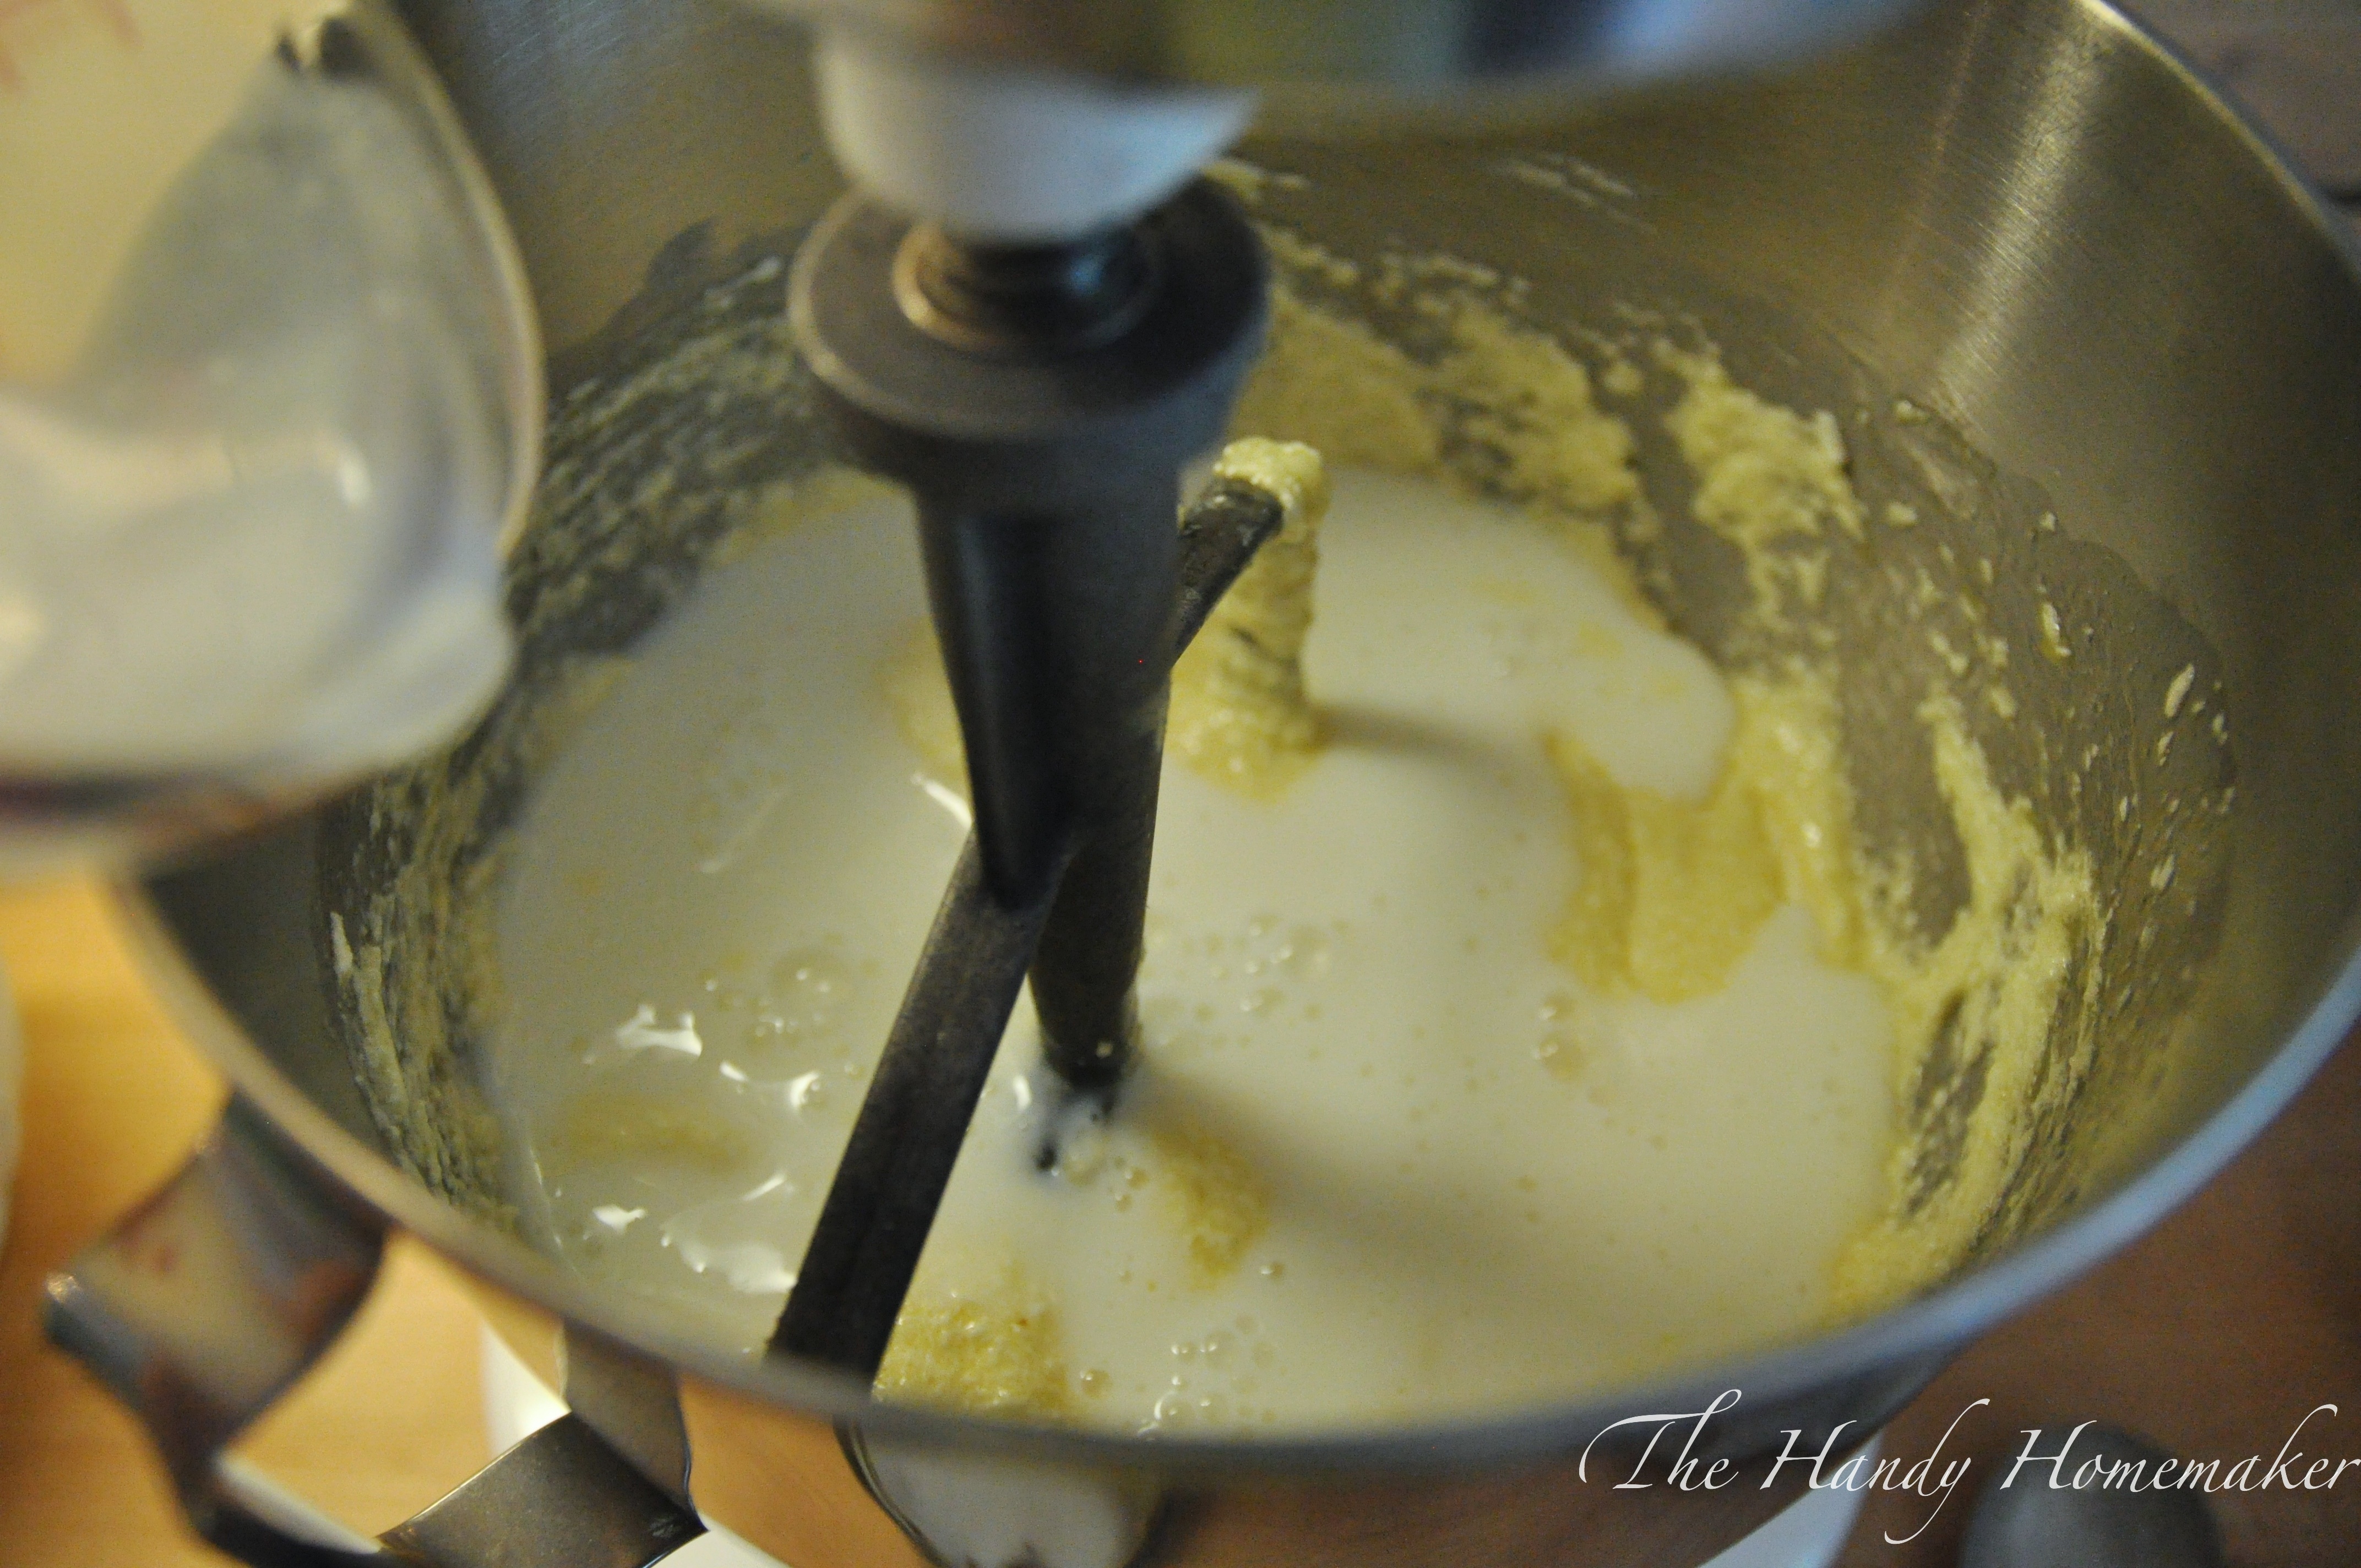
10. Add the non dairy milk and mix on low until combined
11. Add the dry ingredients and mix until combined. In some cake, cupcake, and cookie recipes over mixing the flour with the wet ingredients can result with a dry or tougher texture. In order to prevent this from happening and to keep baked goods tender and light, mix the dry ingredients on medium to high-speed until combined. 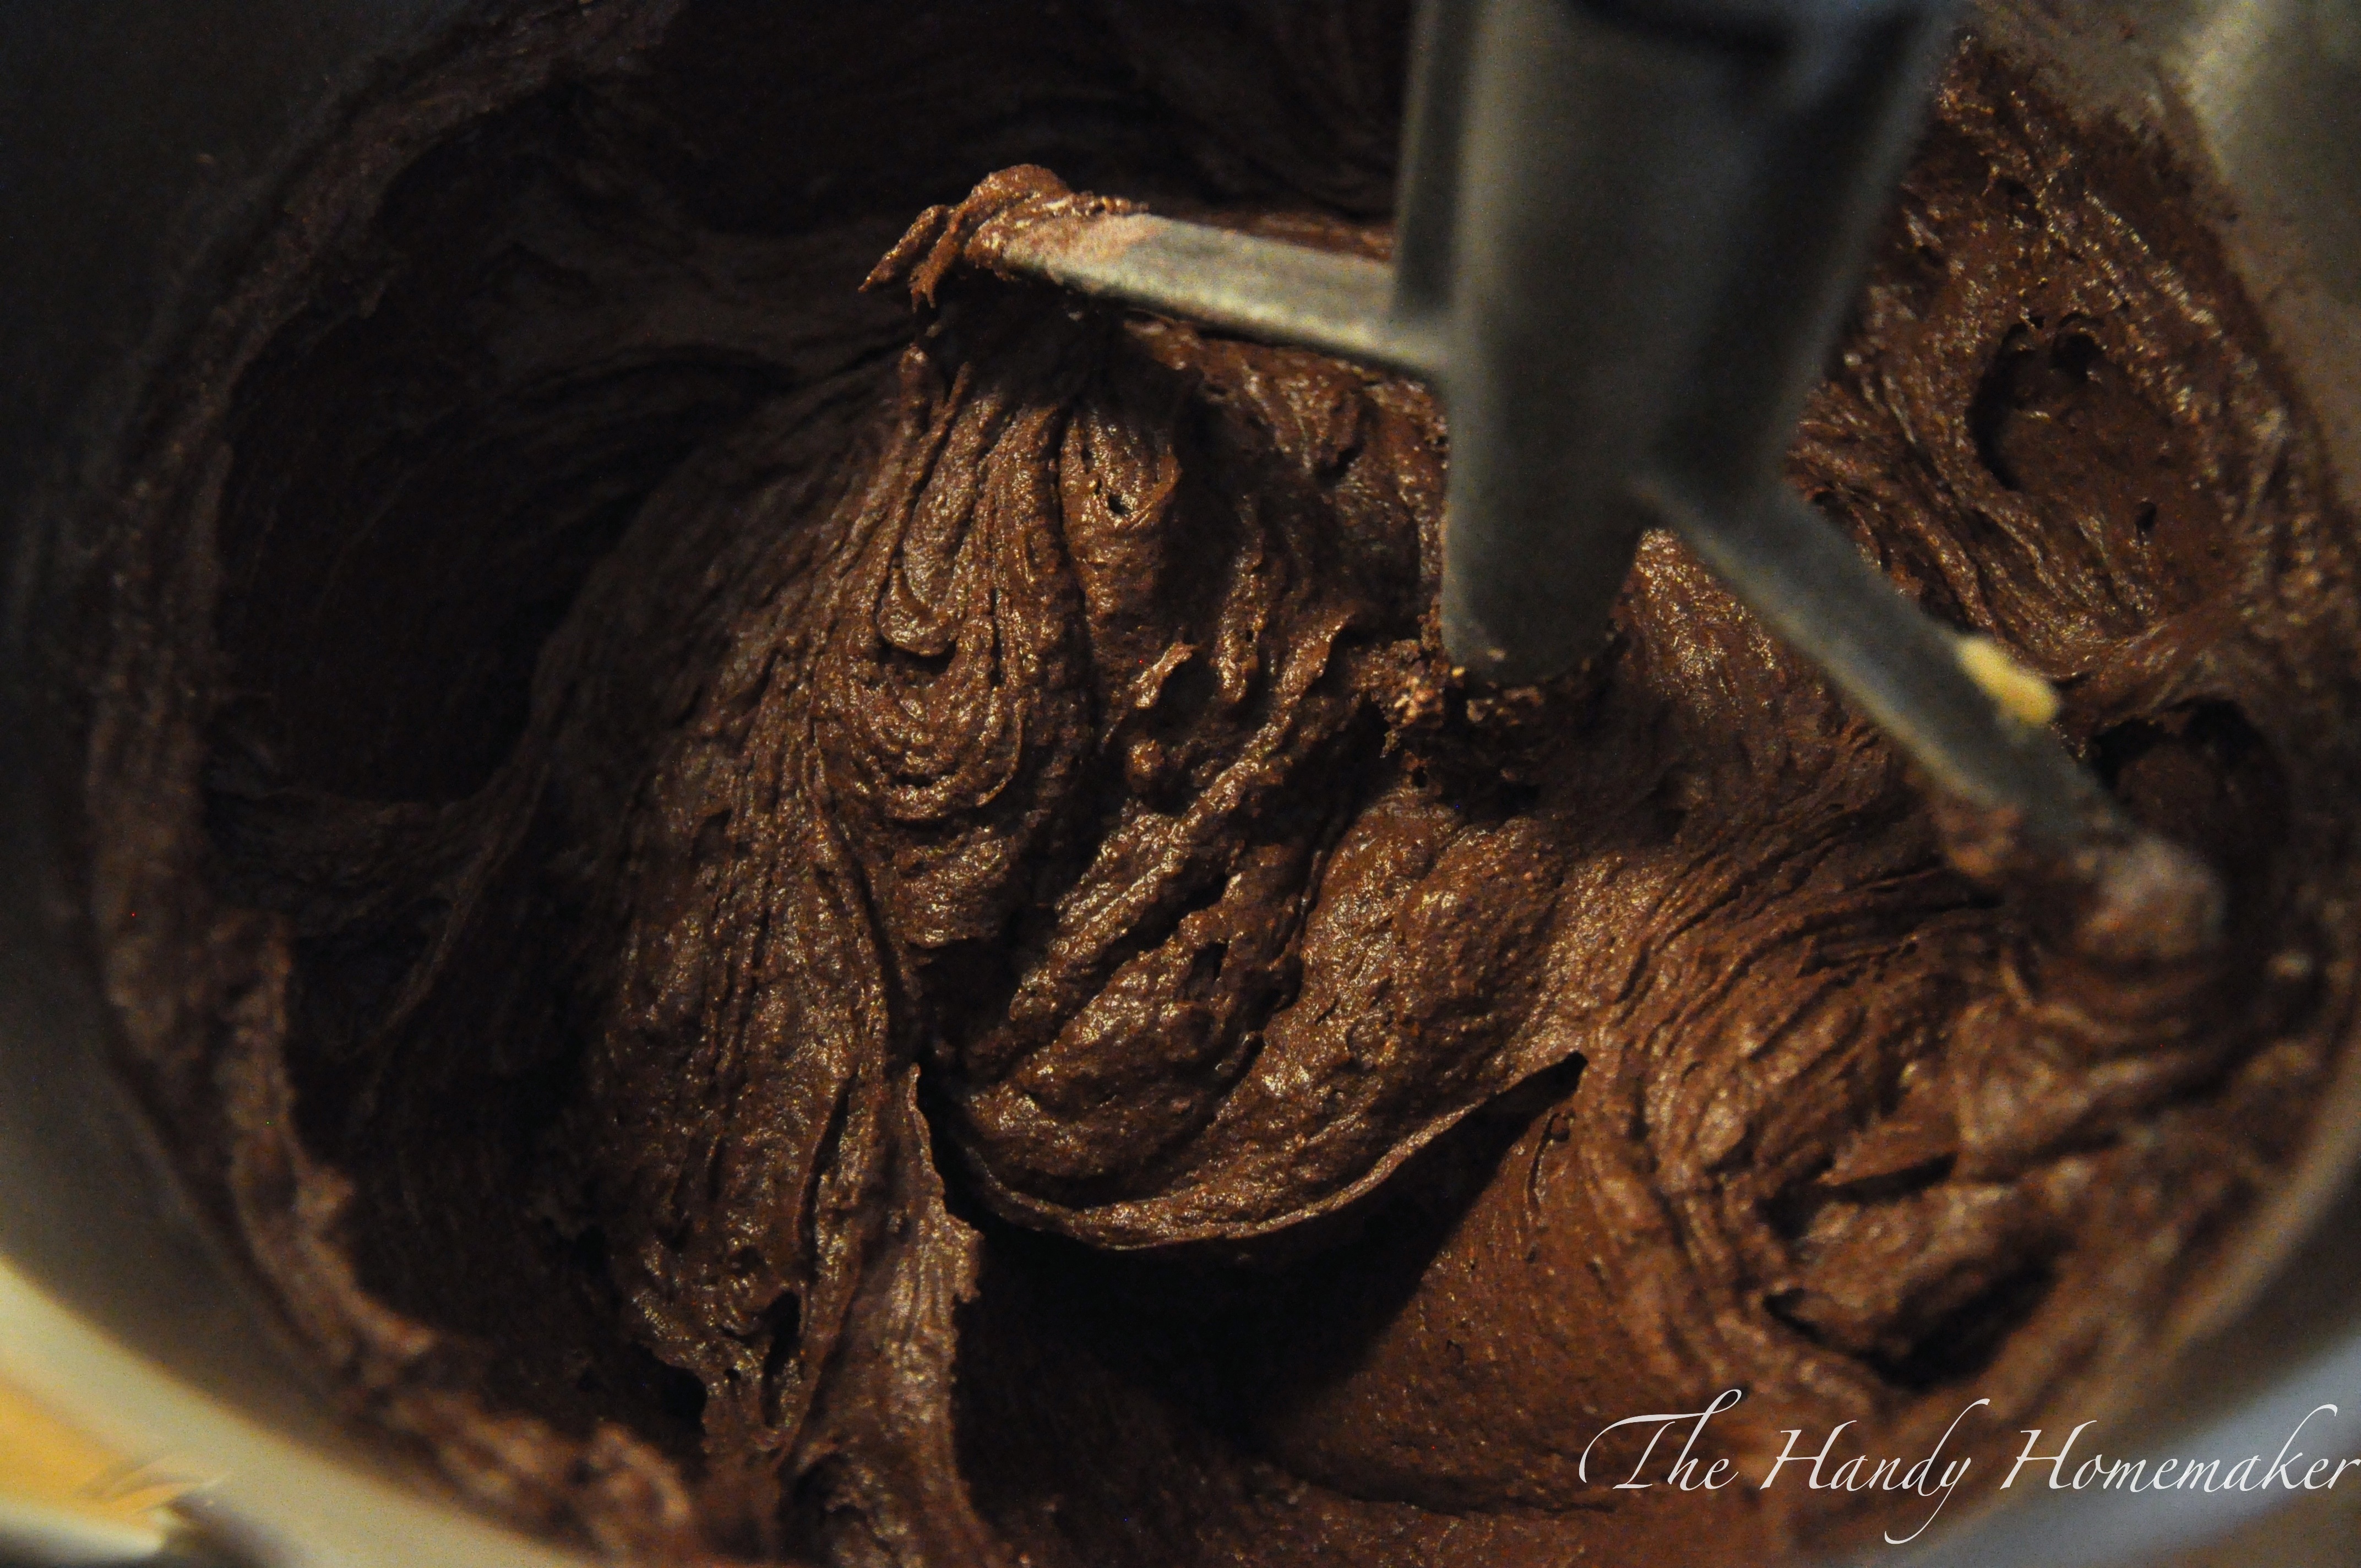 12. Once the flour mix is mixed in thoroughly, remove the bowl from the stand mixer.
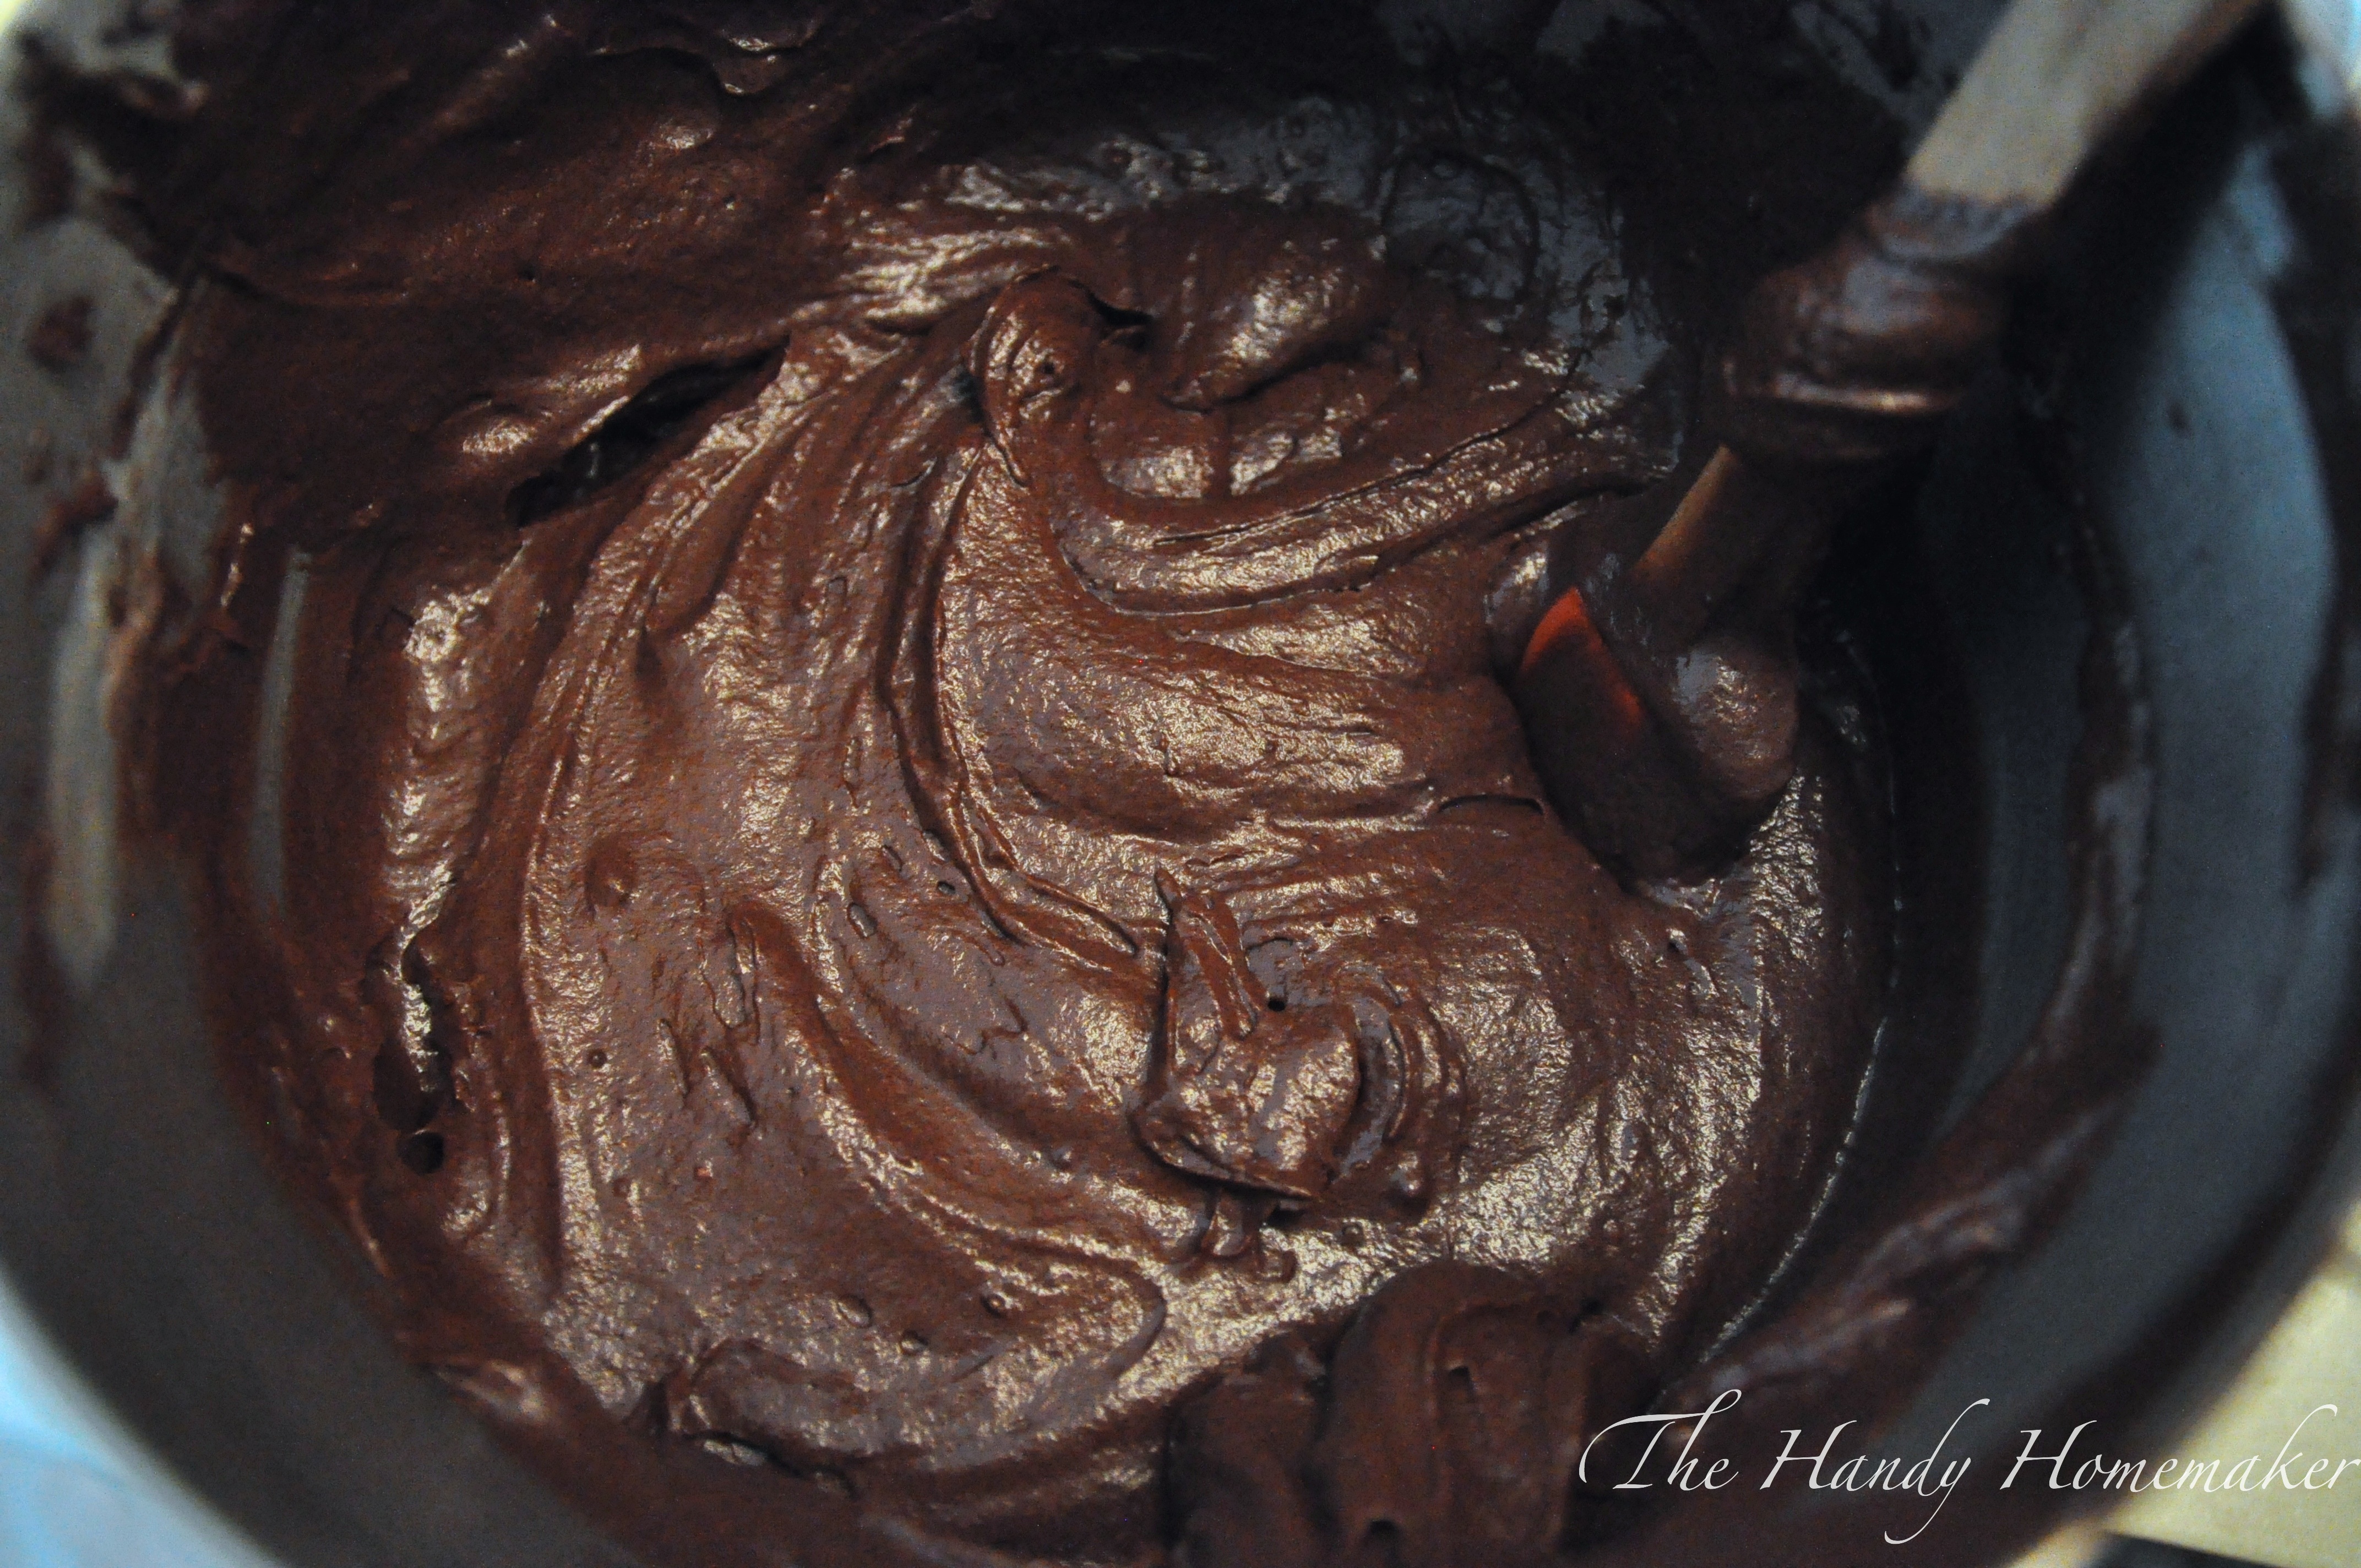 13. Using a spatula scrape down the sides of the bowl and stir in any ingredients that were not completely mixed in on the sides and the bottom.
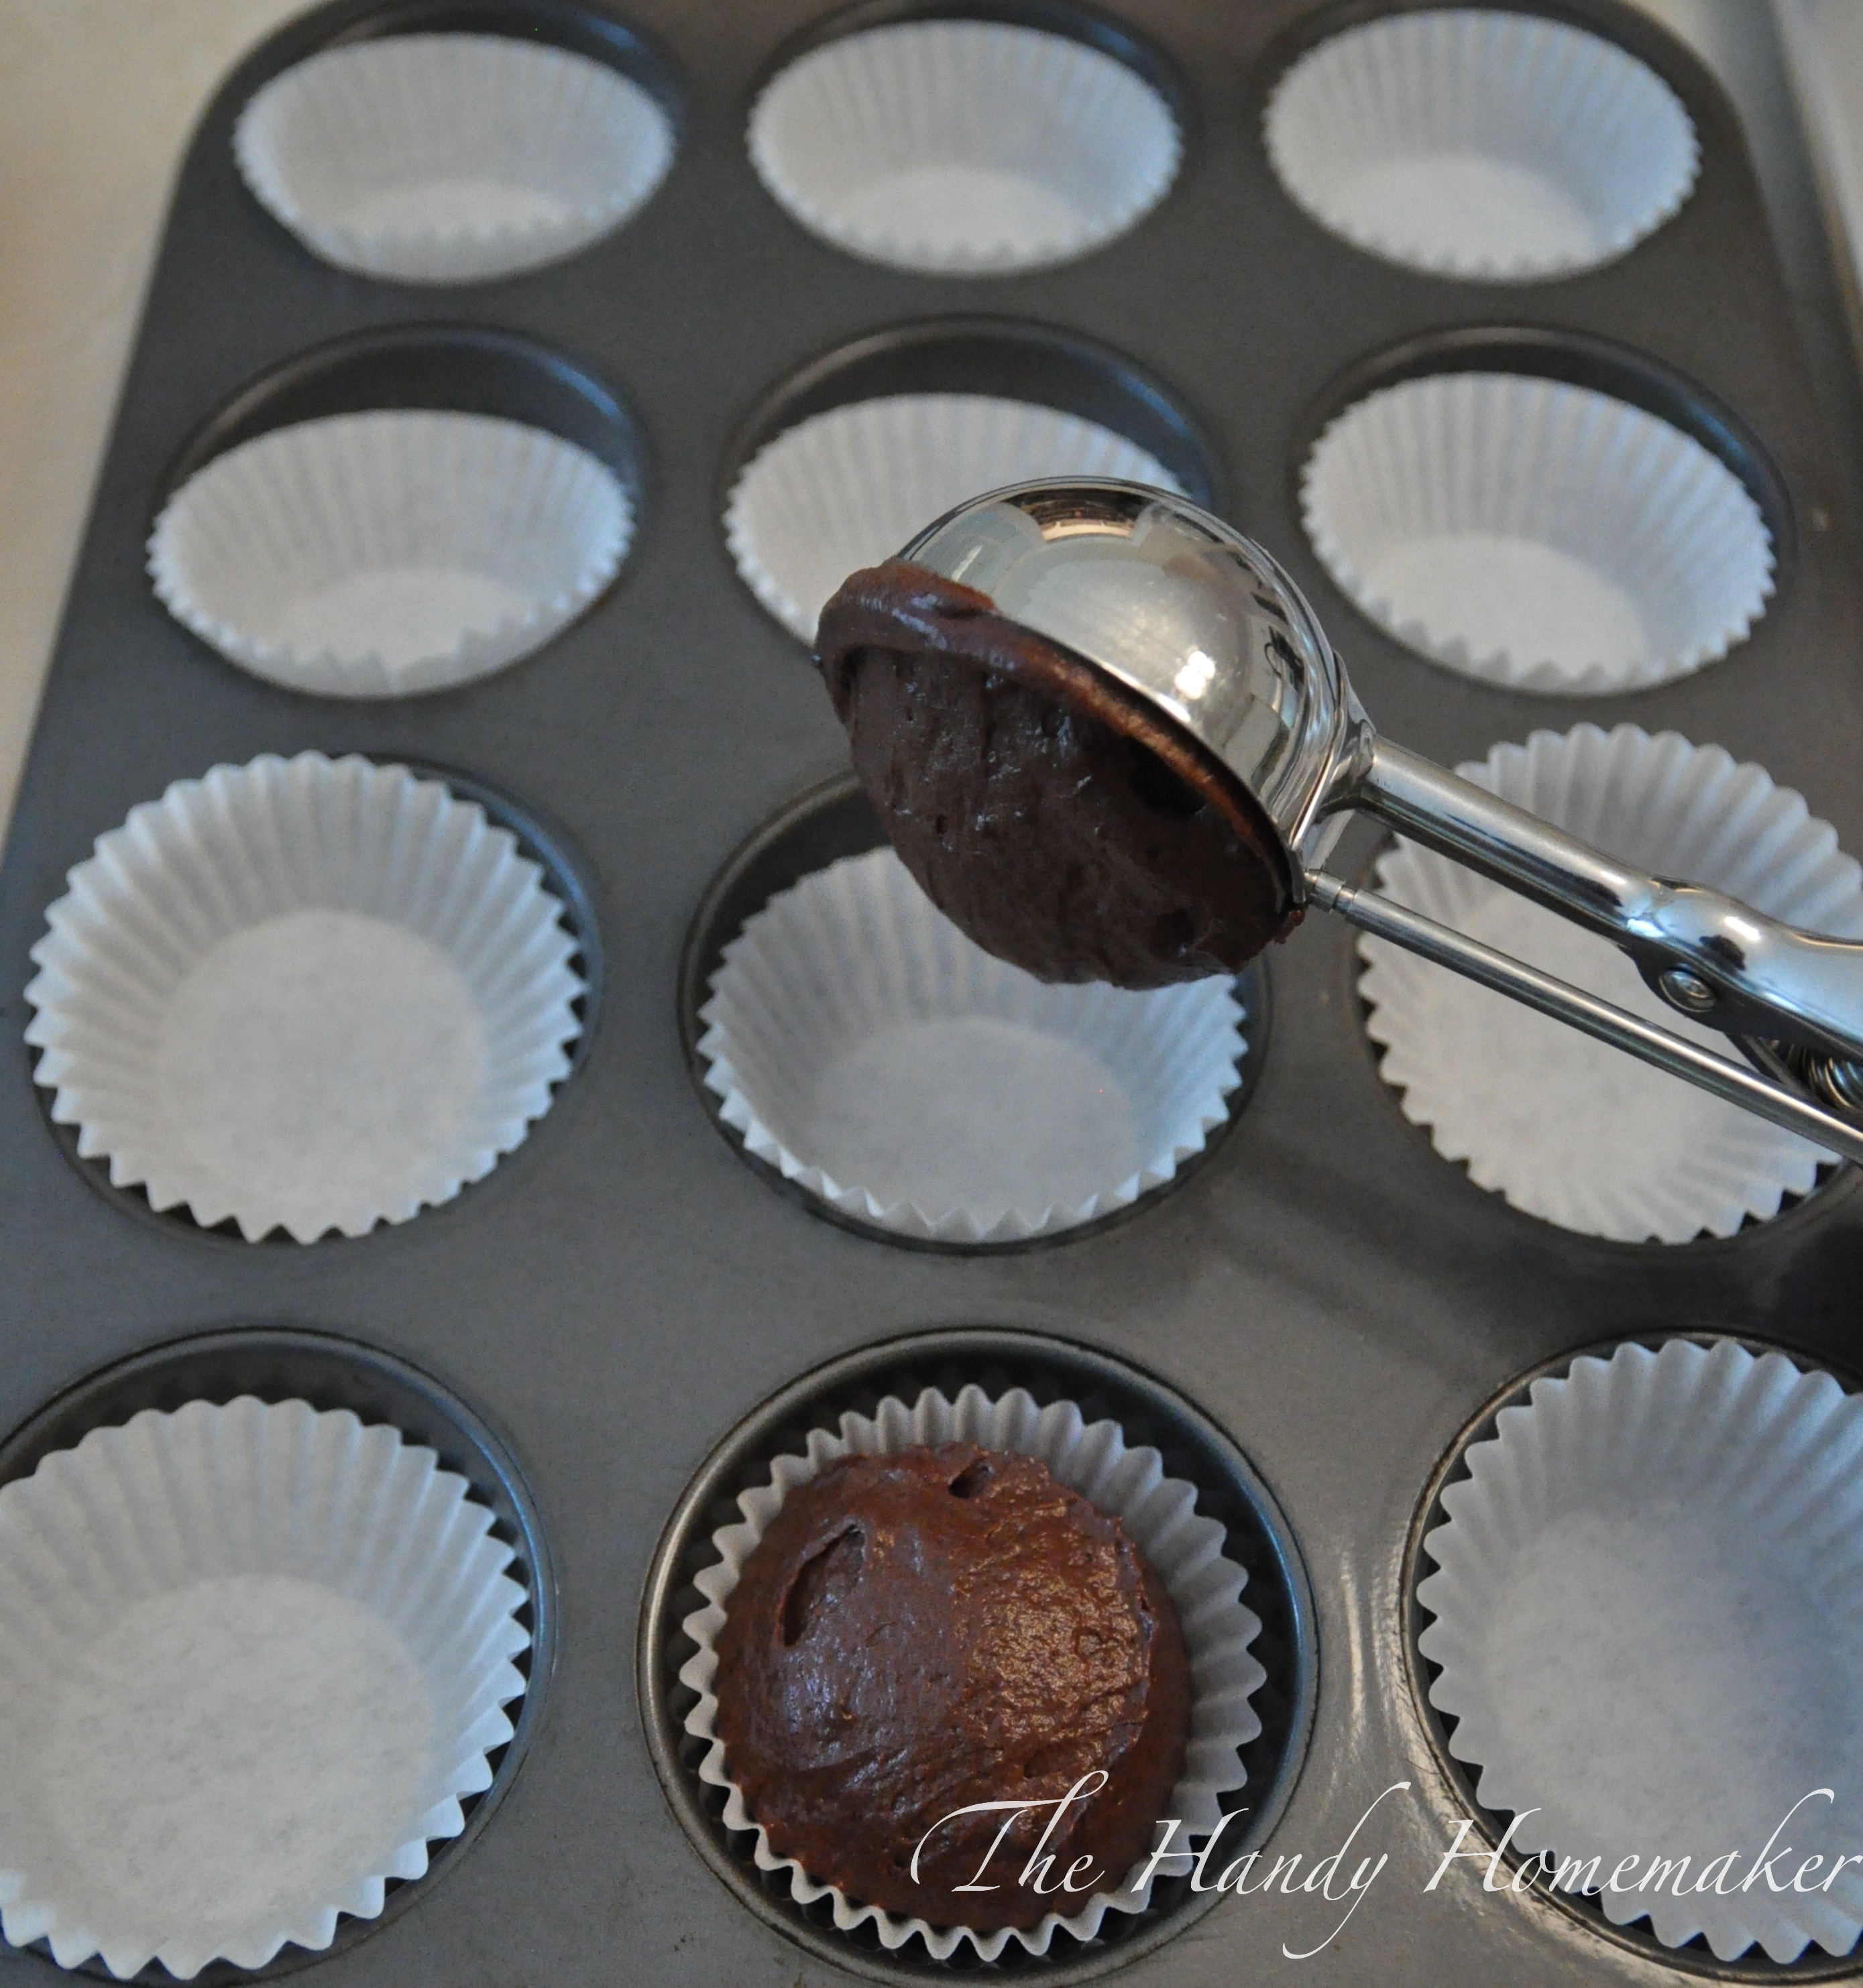
 15. Place in a pre-heated 330° oven for 18-20 minutes or until a toothpick comes out clean. If your oven has hot spots or bakes quicker towards the back rotate the pans carefully around the 10 minute mark.
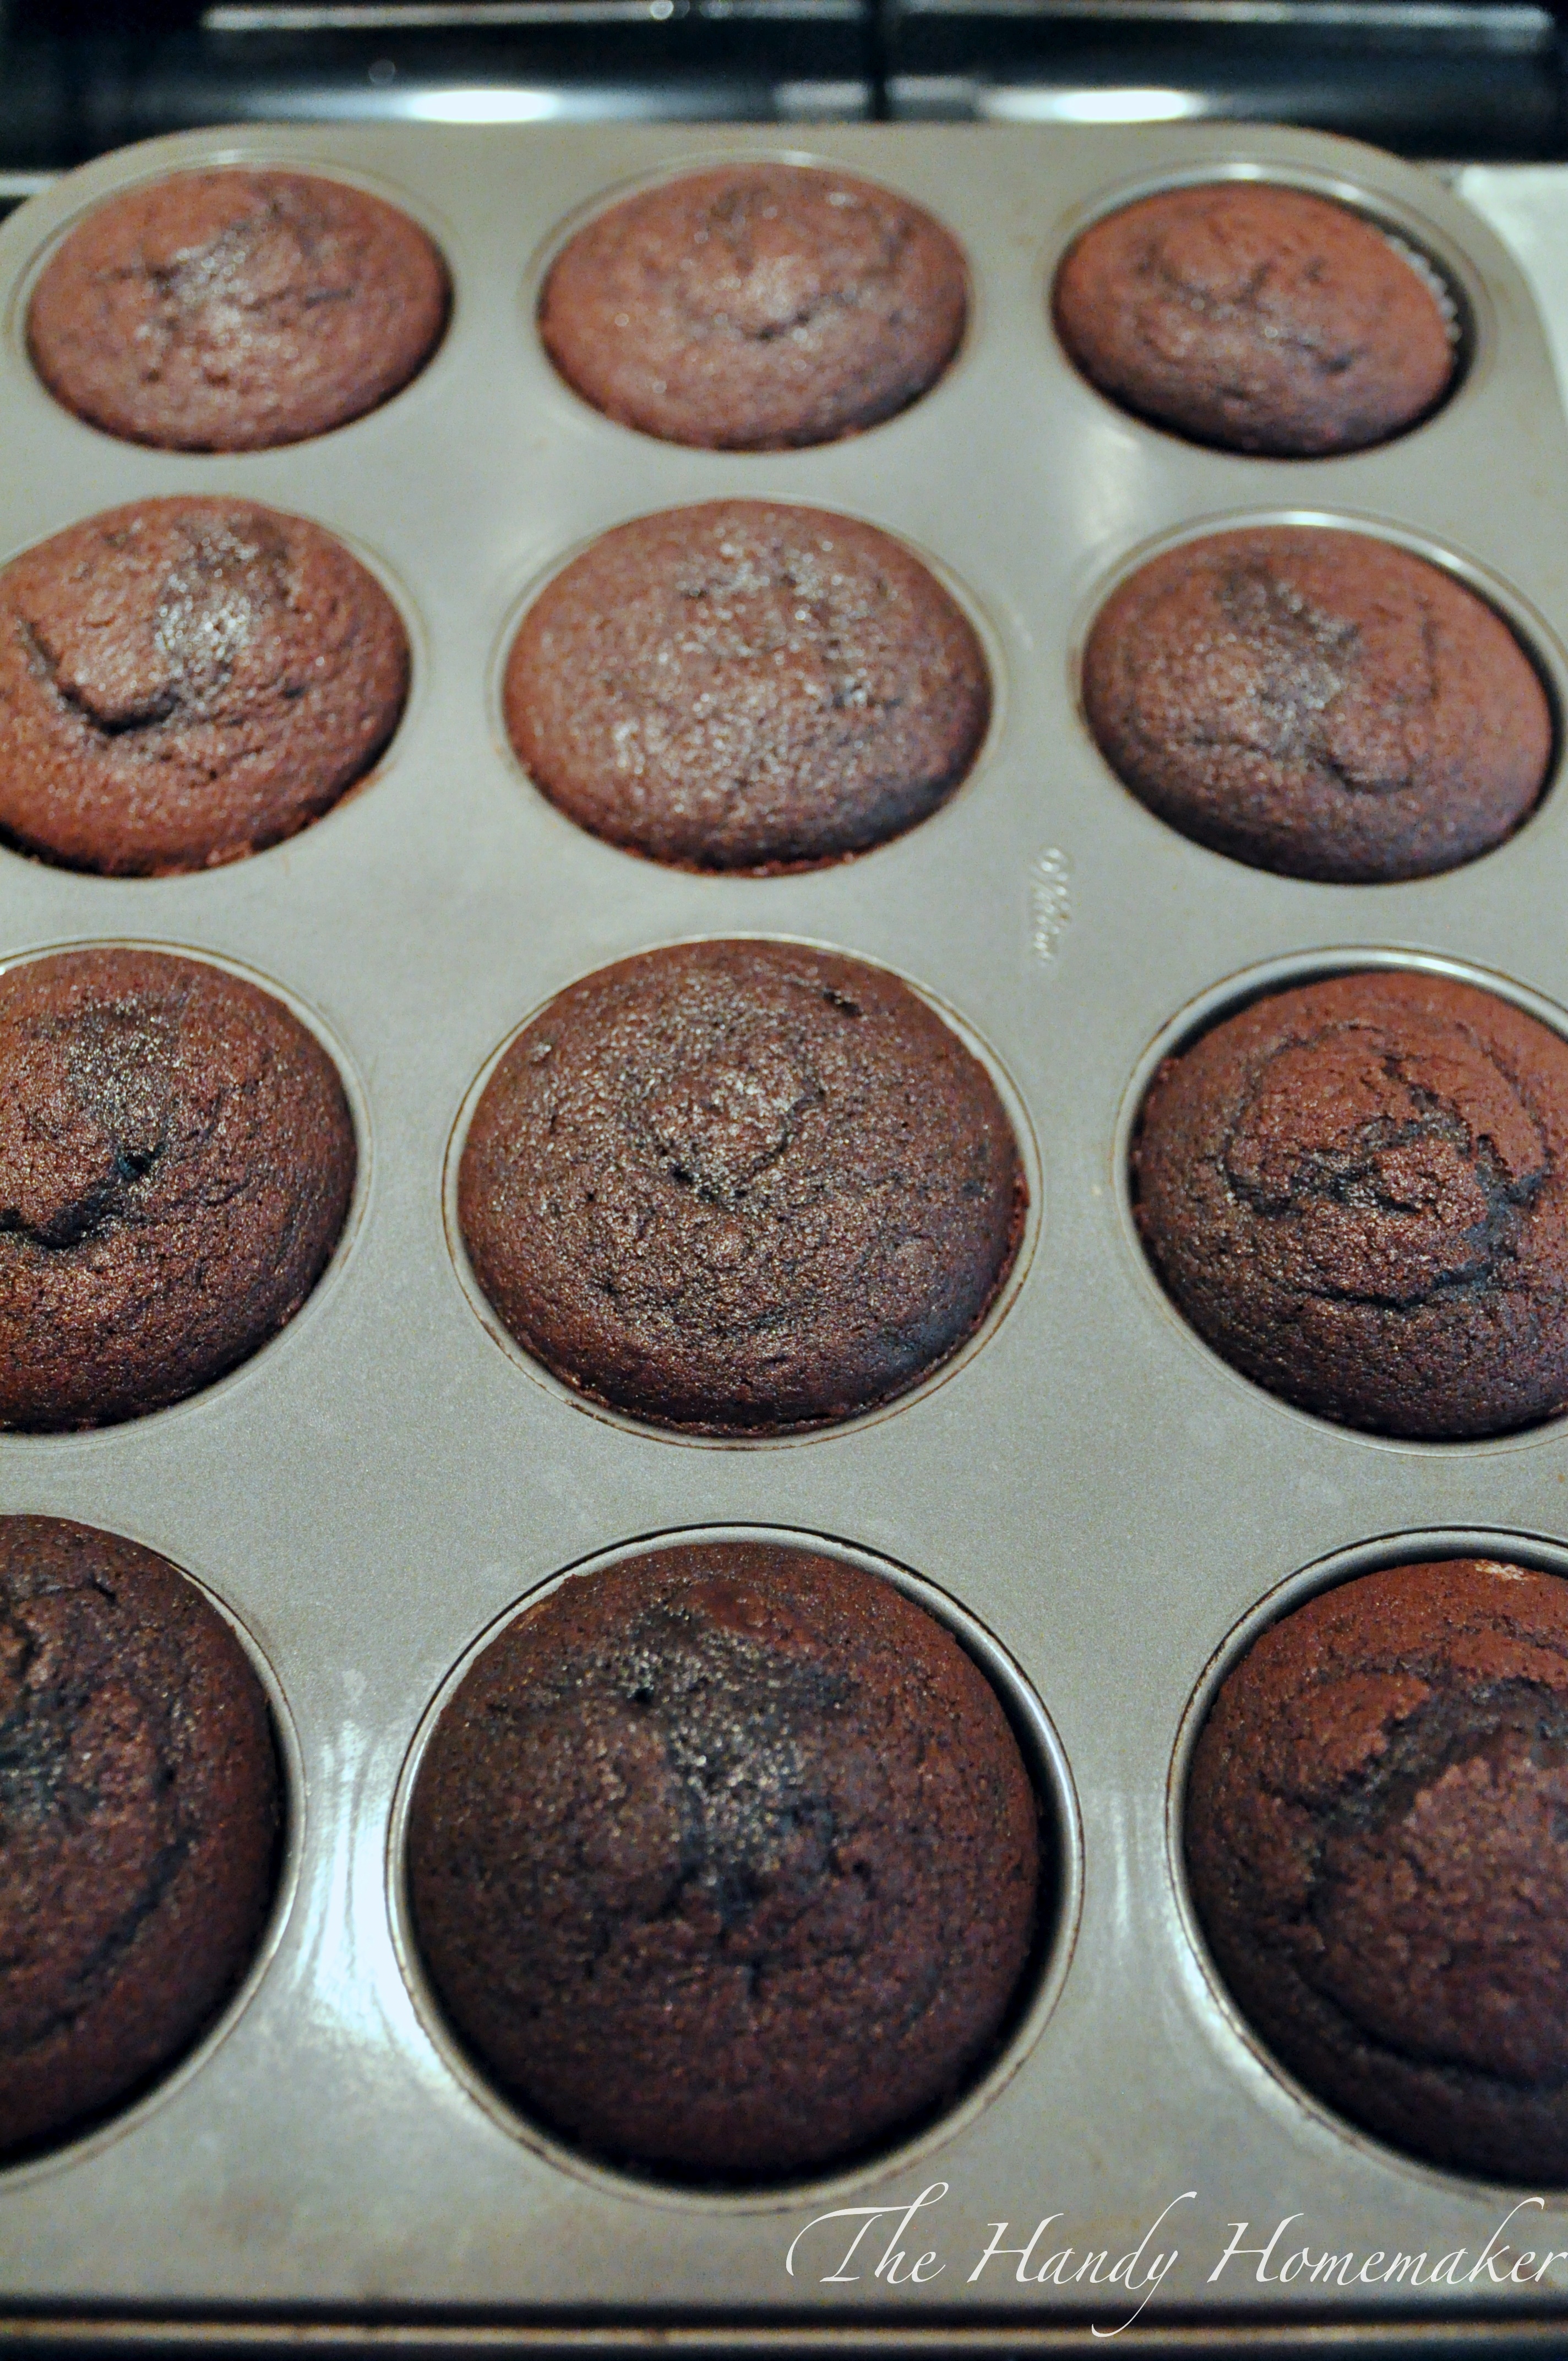 16. While still in the pan, let the cupcakes cool for 10 minutes on a wire rack. Remove from the cupcake pan.
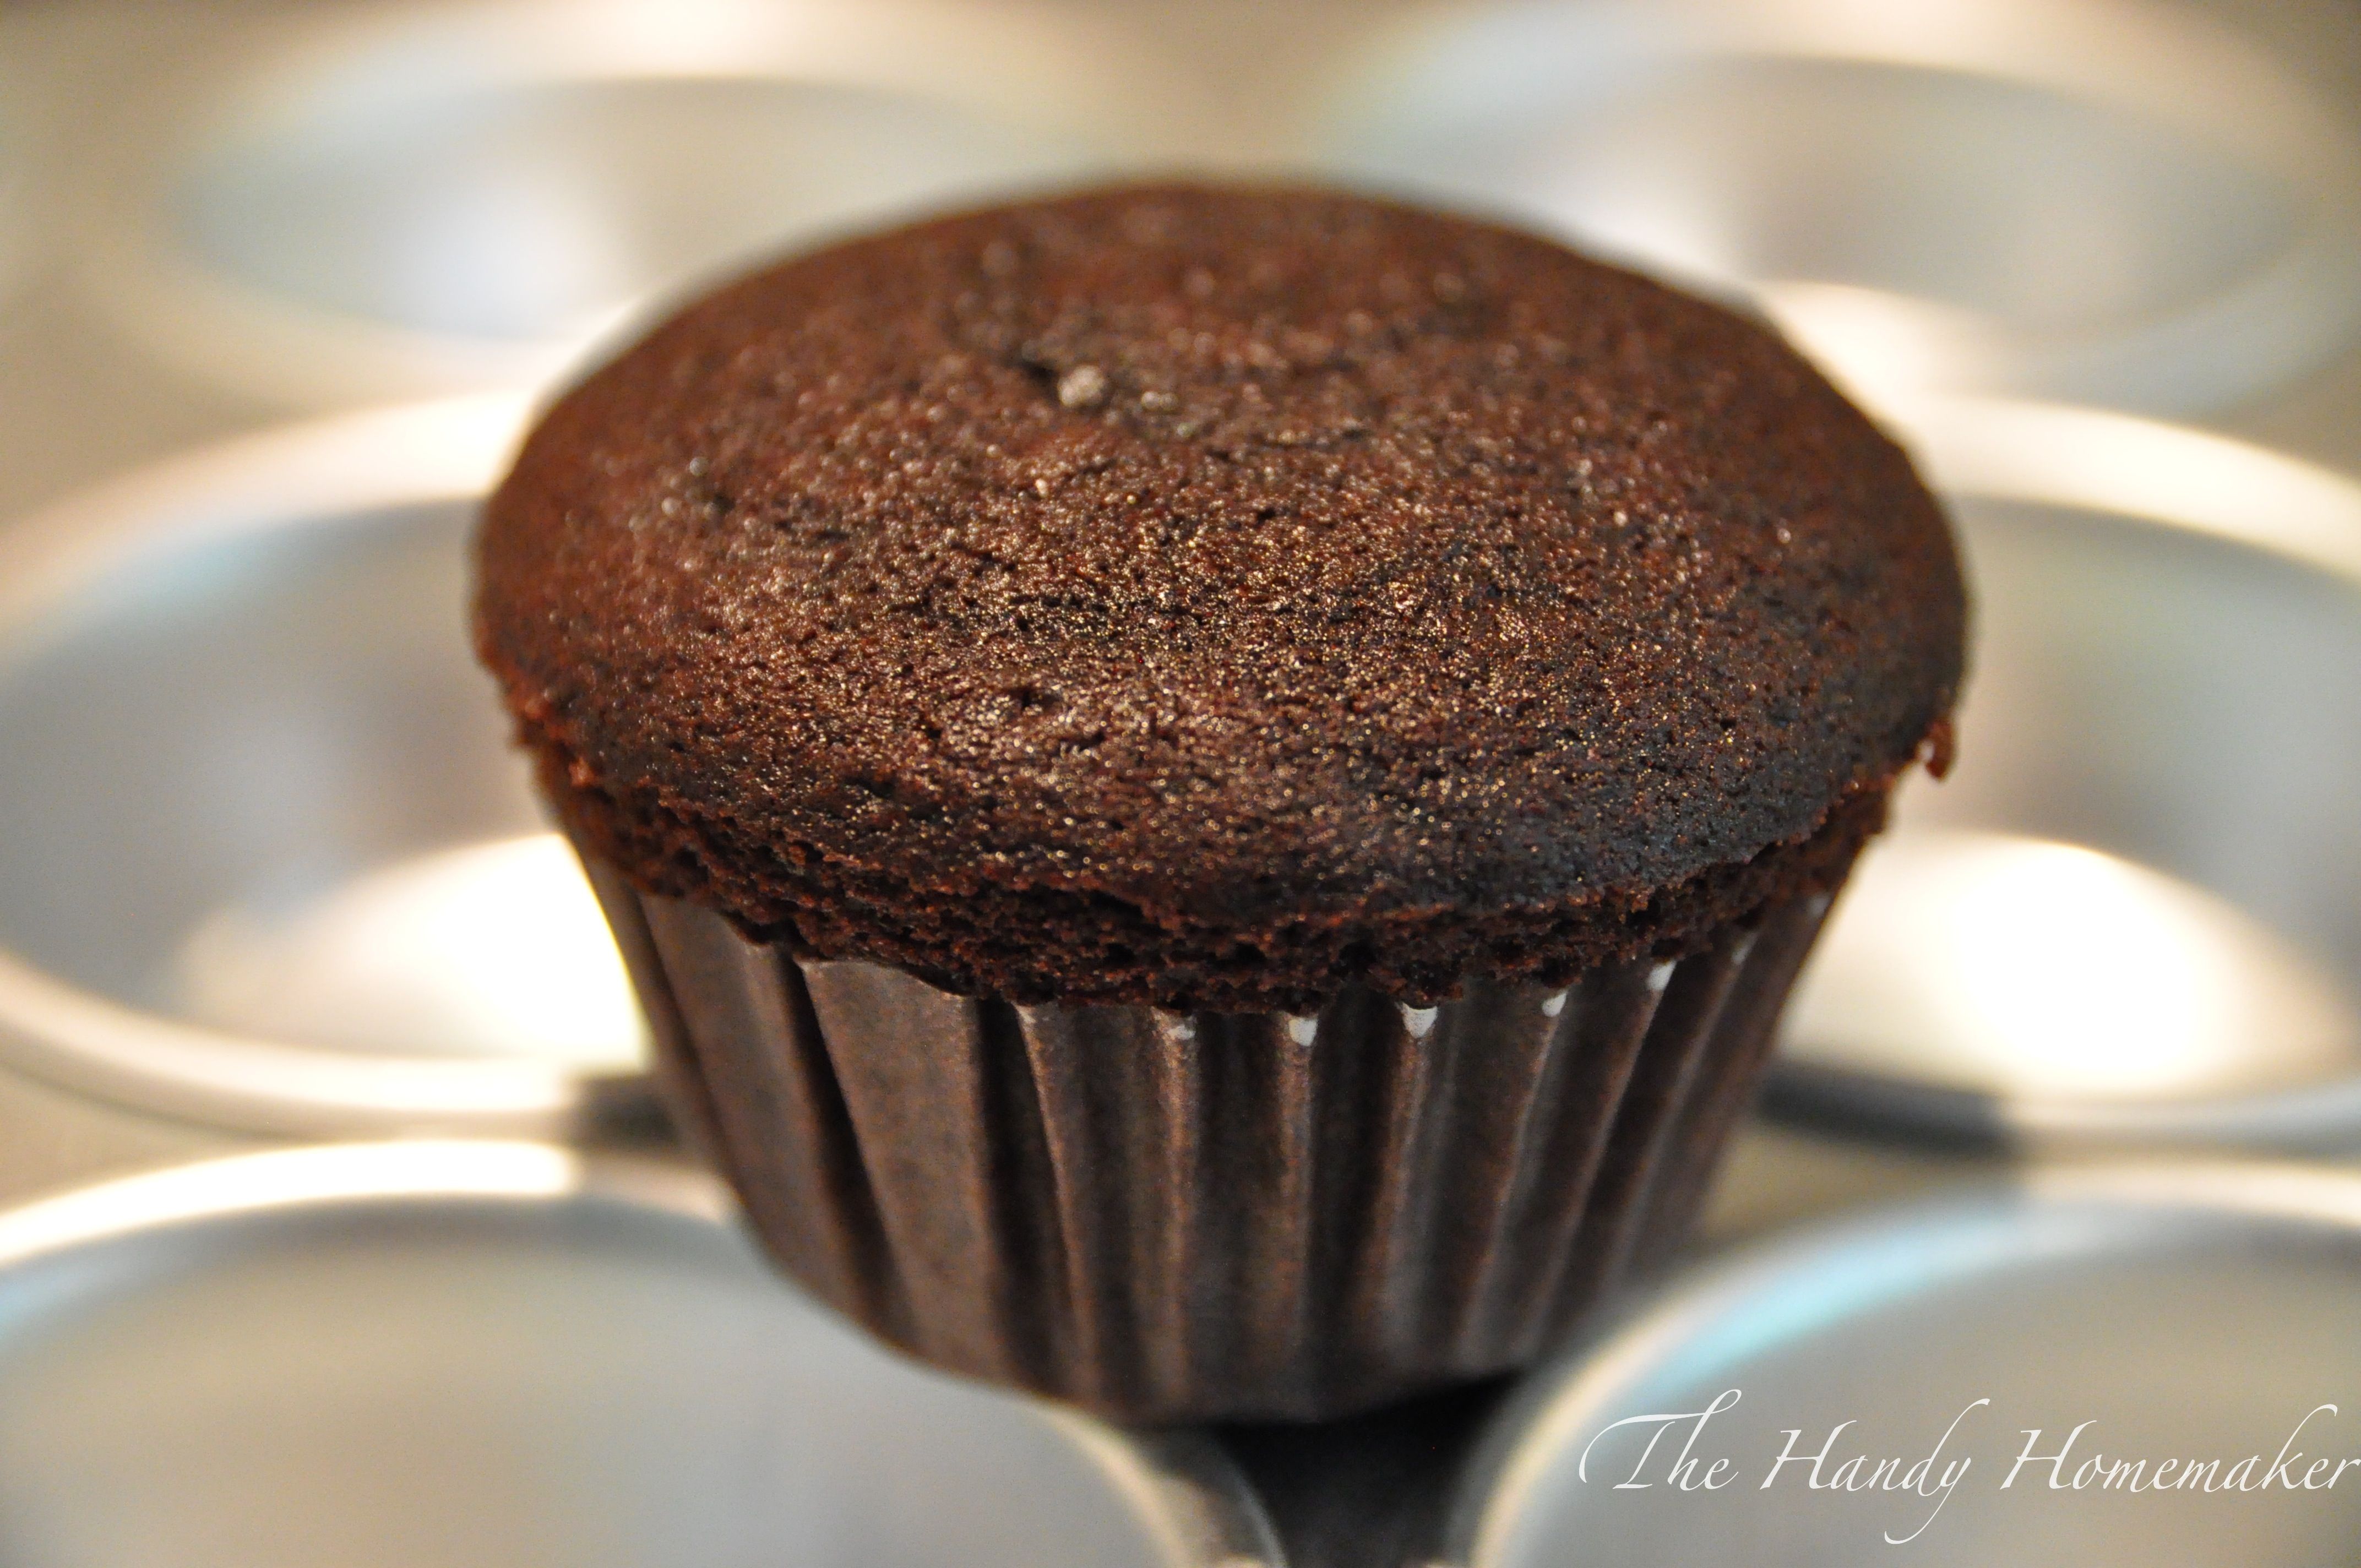
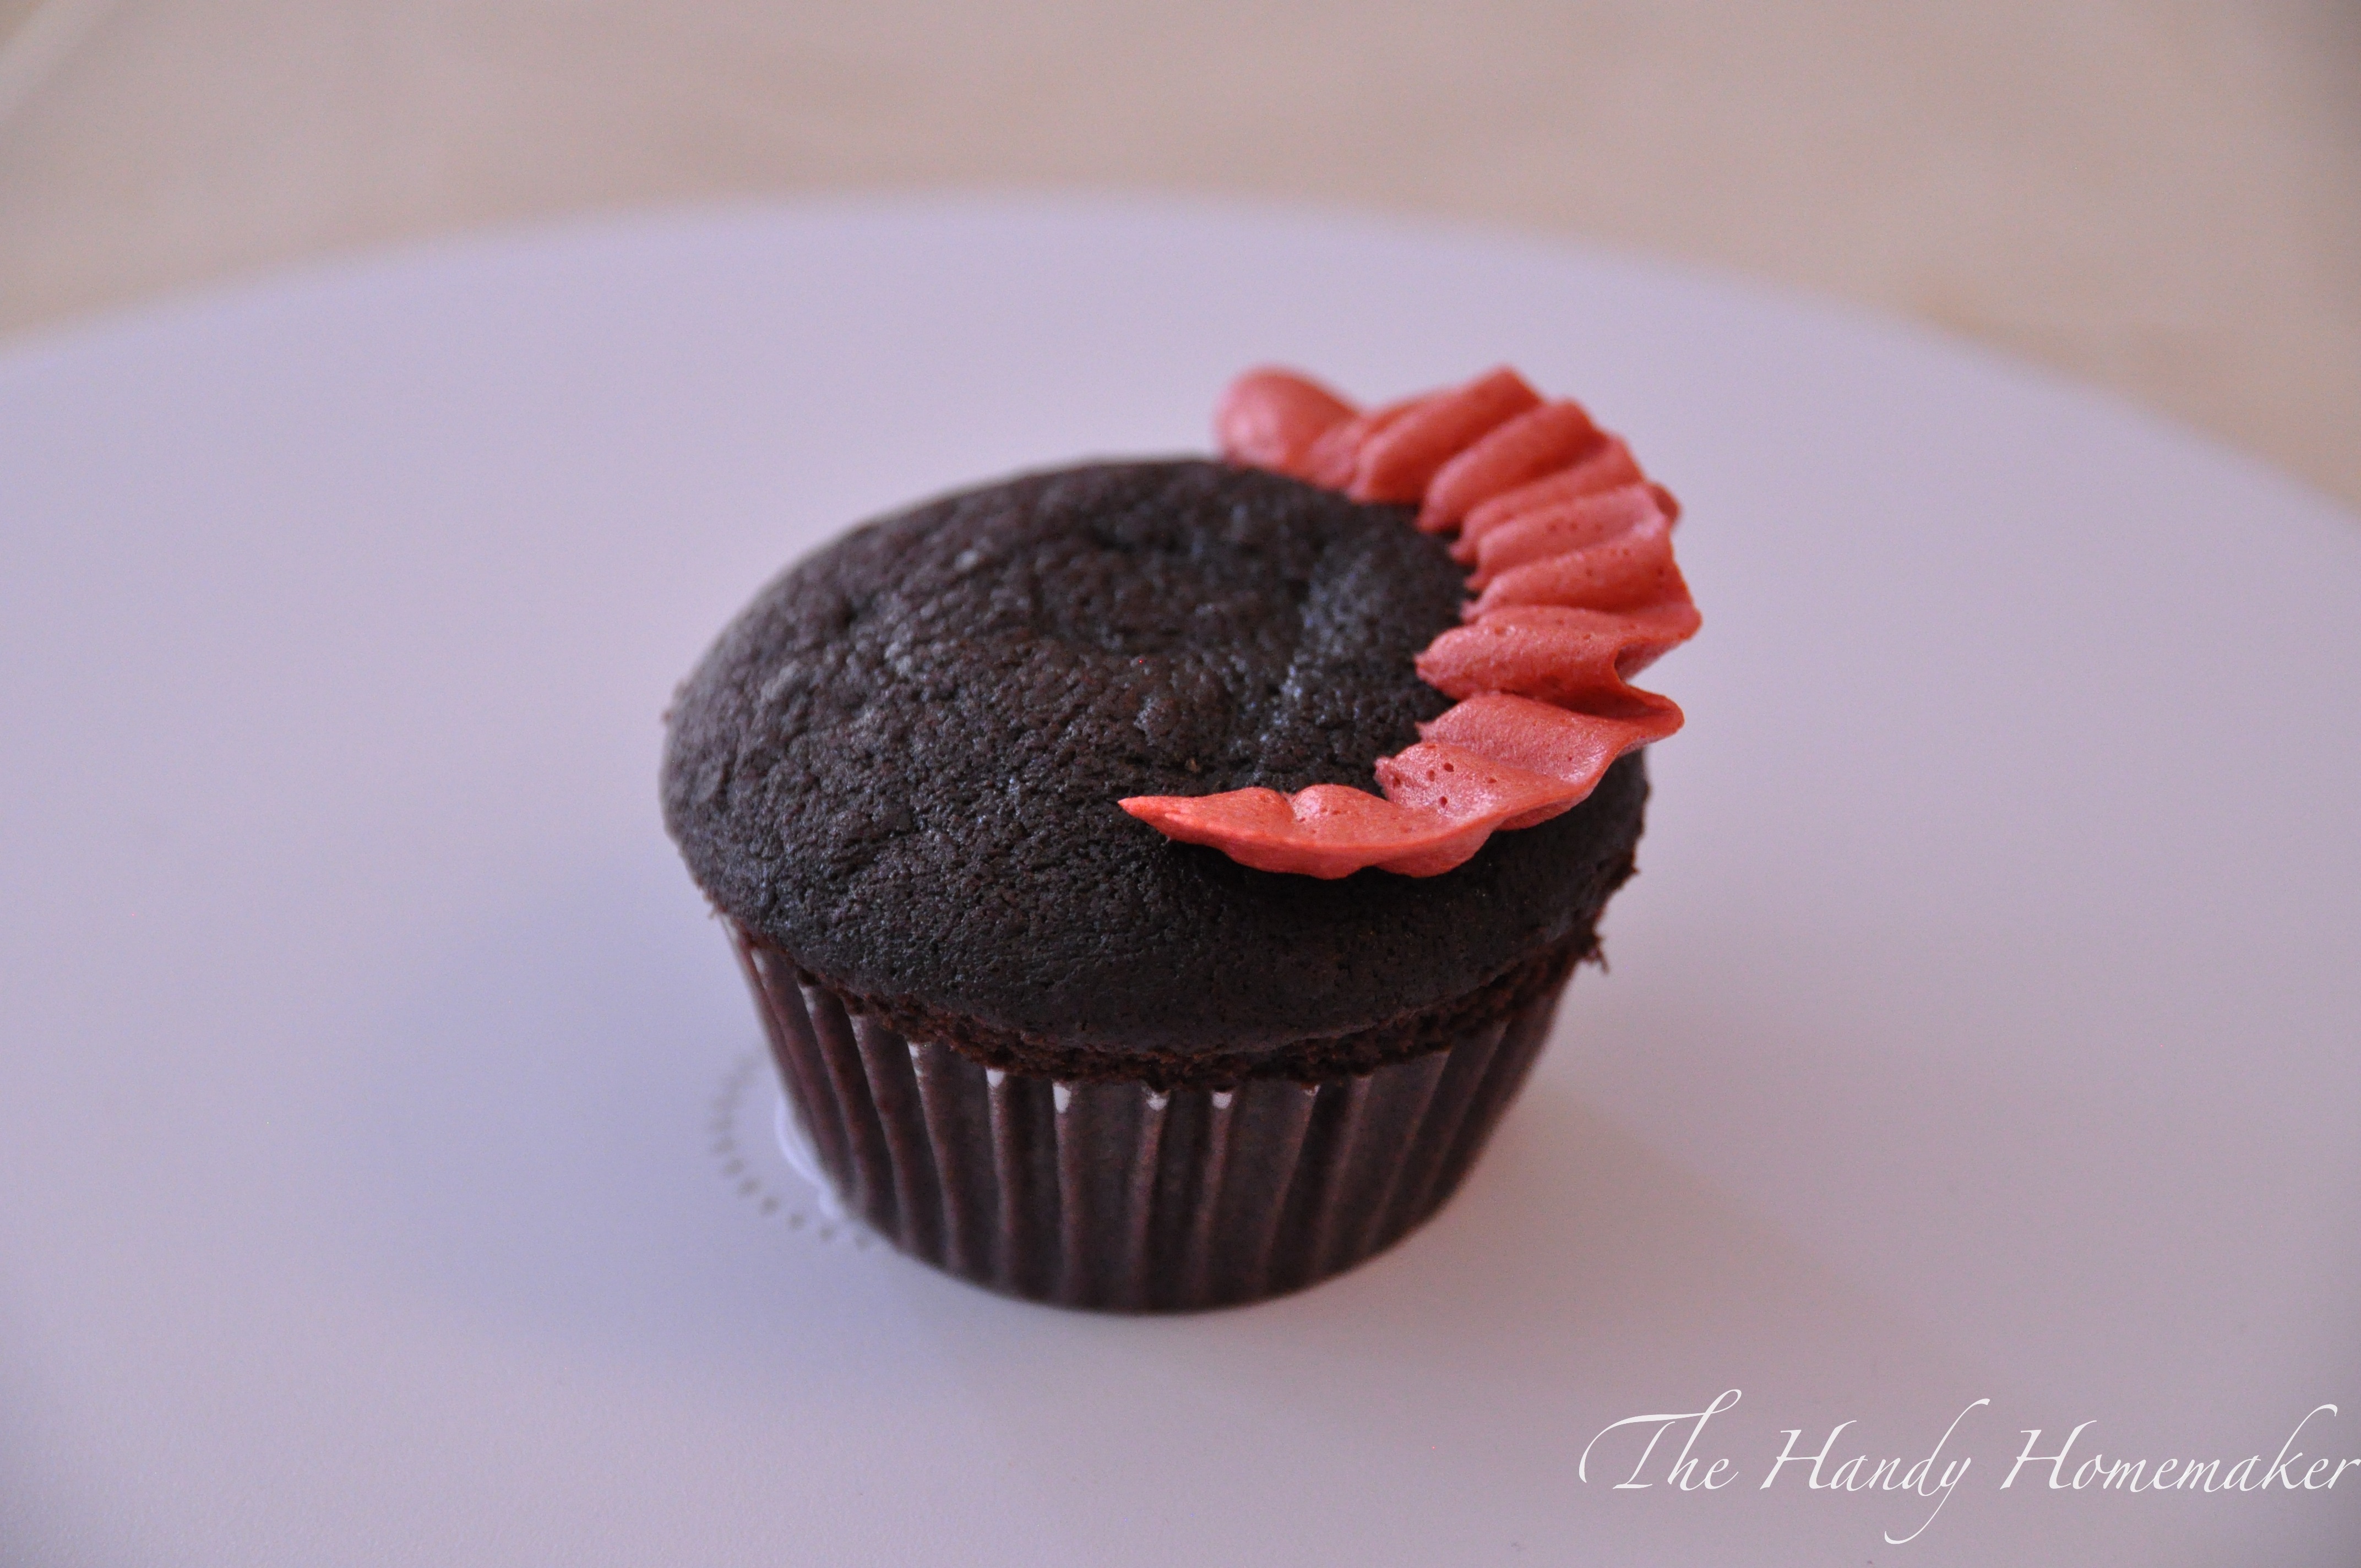
17. Prepare Buttercream Icing, and frost, and serve. Now of course you can slap the icing on with a butter knife if you’re in a hurry or don’t have a piping bag. I find it is just a quick to put the icing in a piping bag and give a quick swirl of icing on top of each cupcake. What ever icing technique you decide doesn’t matter. It’s the taste that counts and these are delicious!
 Follow link for a short video showing how quick and easy this Rosette icing method is http://youtu.be/s6ISmCW_W7Y

Click here to see my first post on the Rosette icing technique on a small cake.
 To get this Ruffled bunting icing technique watch this video I posted on how I made these cupcakes for the 4th of July and Canada Day see how easily it is done. Try using one solid pastel colour for a beautiful floral look. For quick instructions follow the picture below.
Prep your icing colour or colours 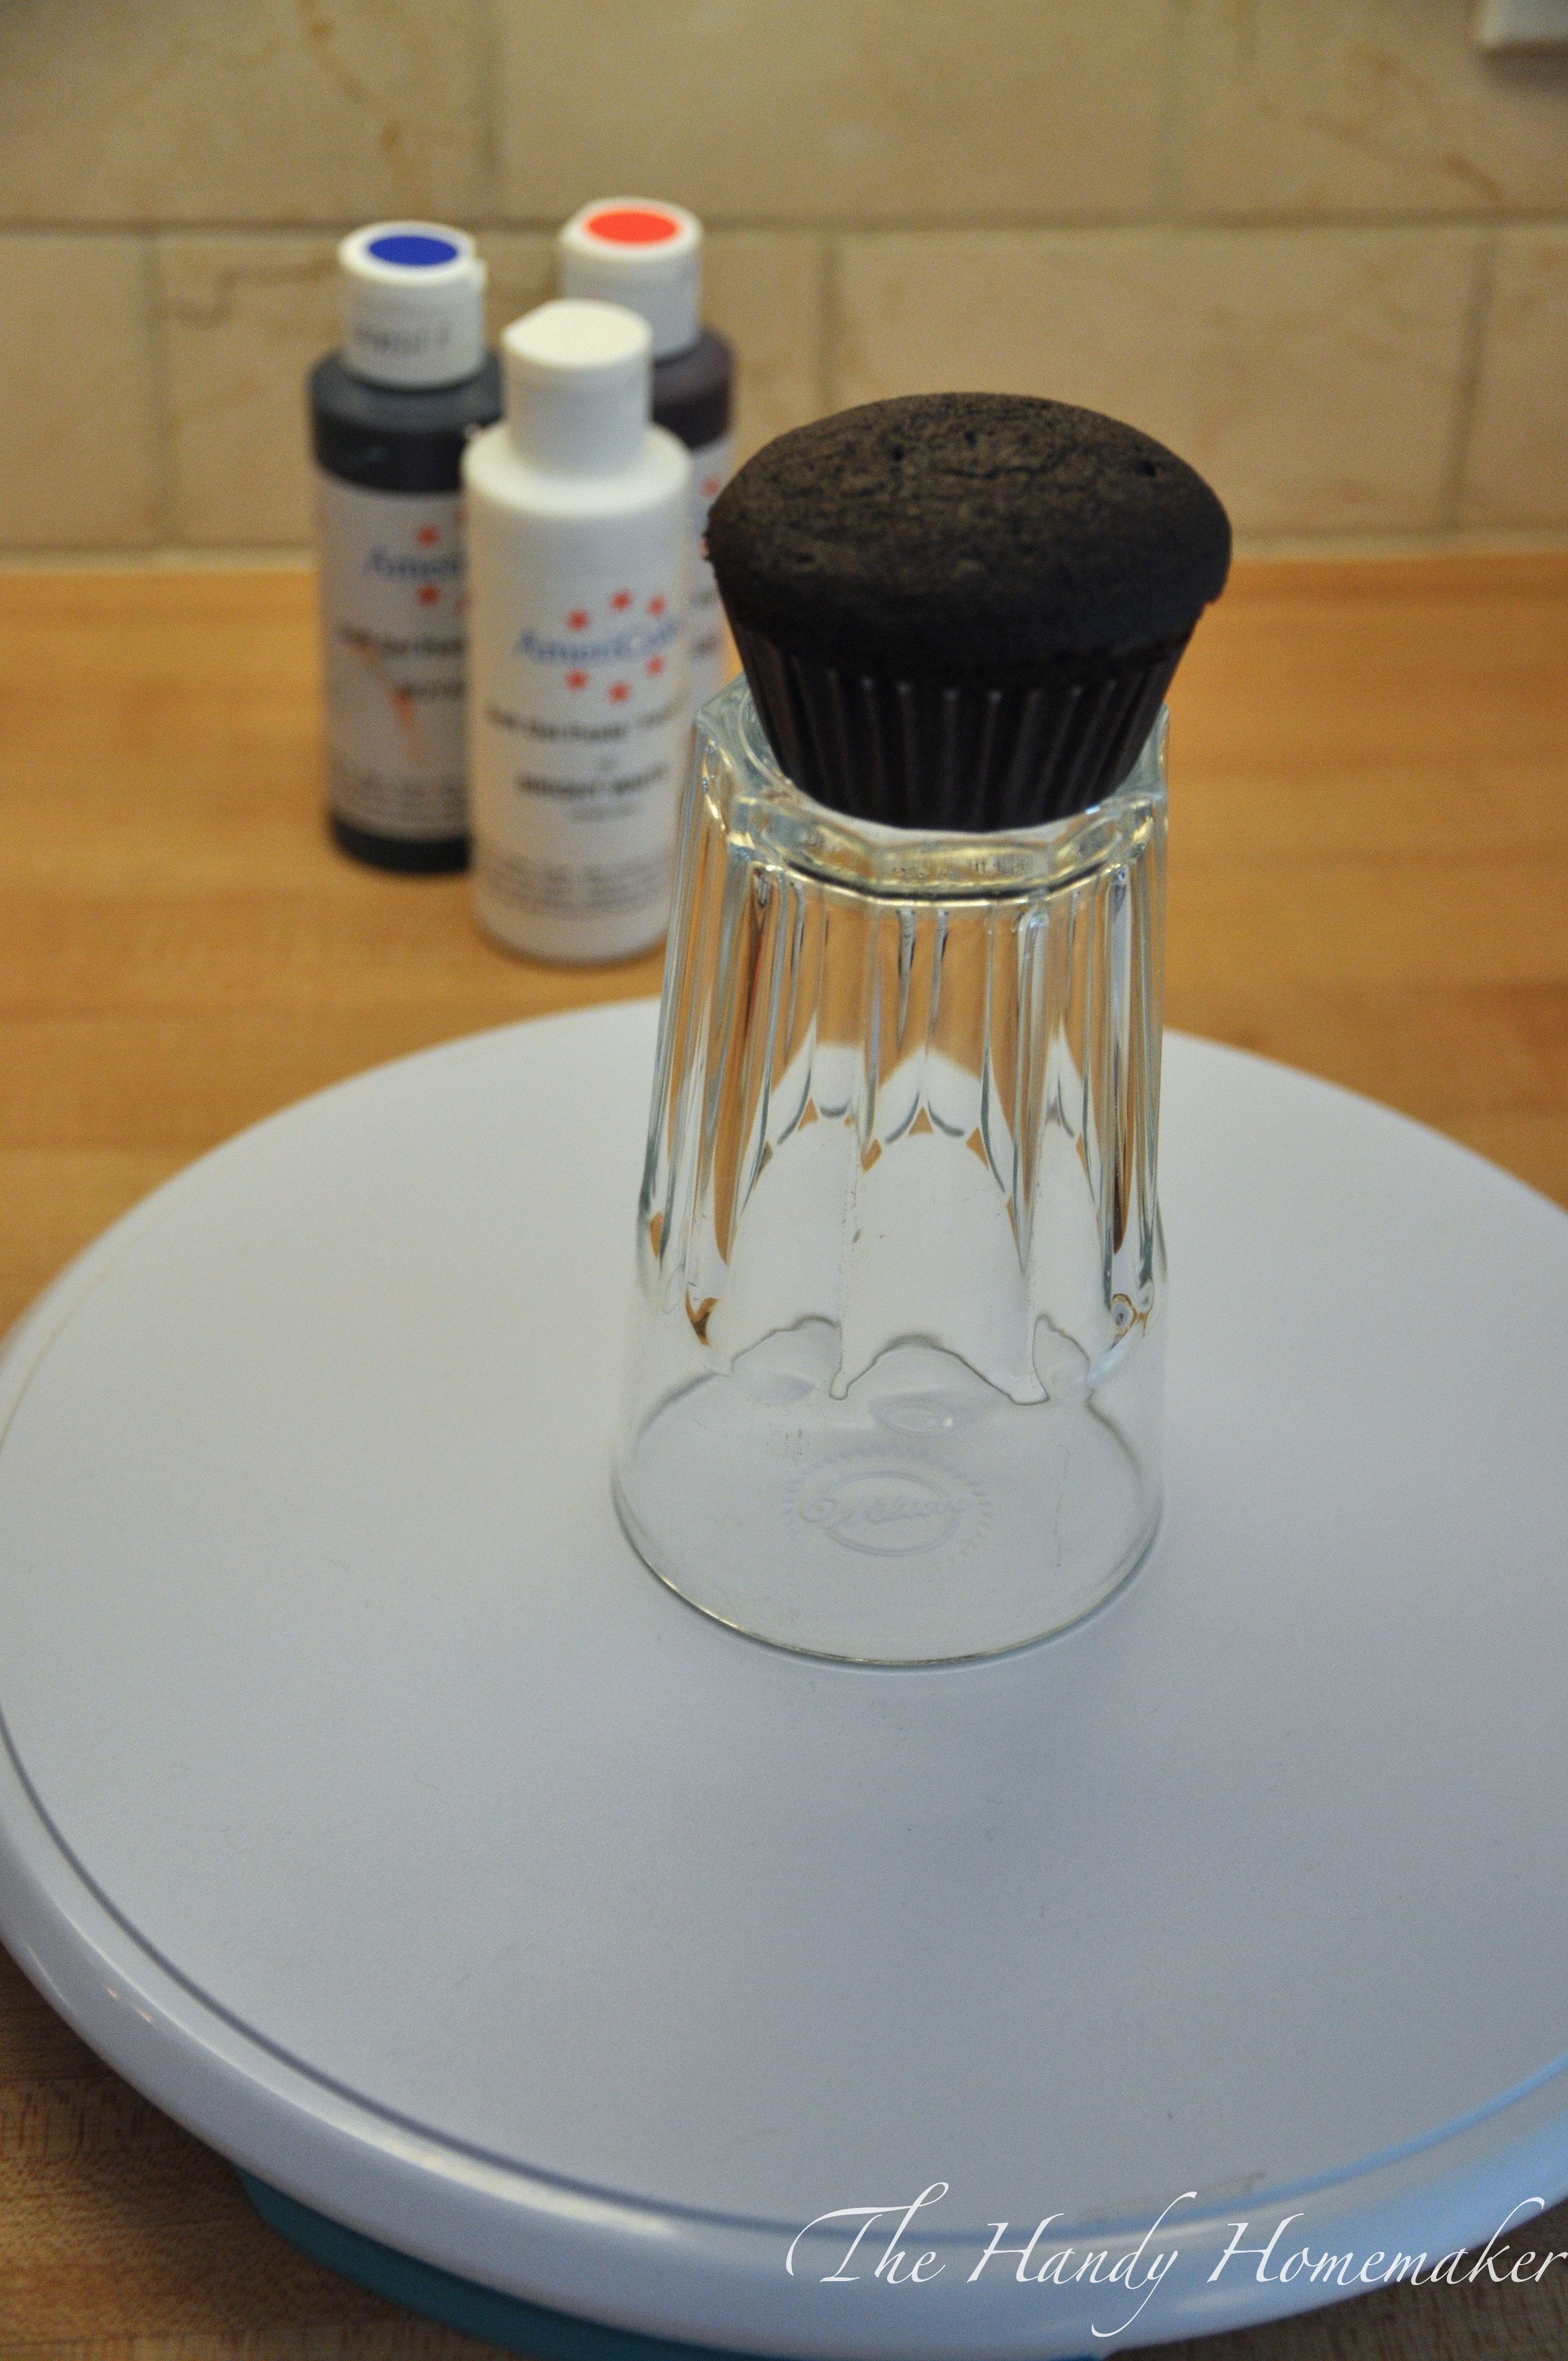
I find placing the cupcake on top of a glass when I am using a cake turntable is easier on my back when making a large amount.
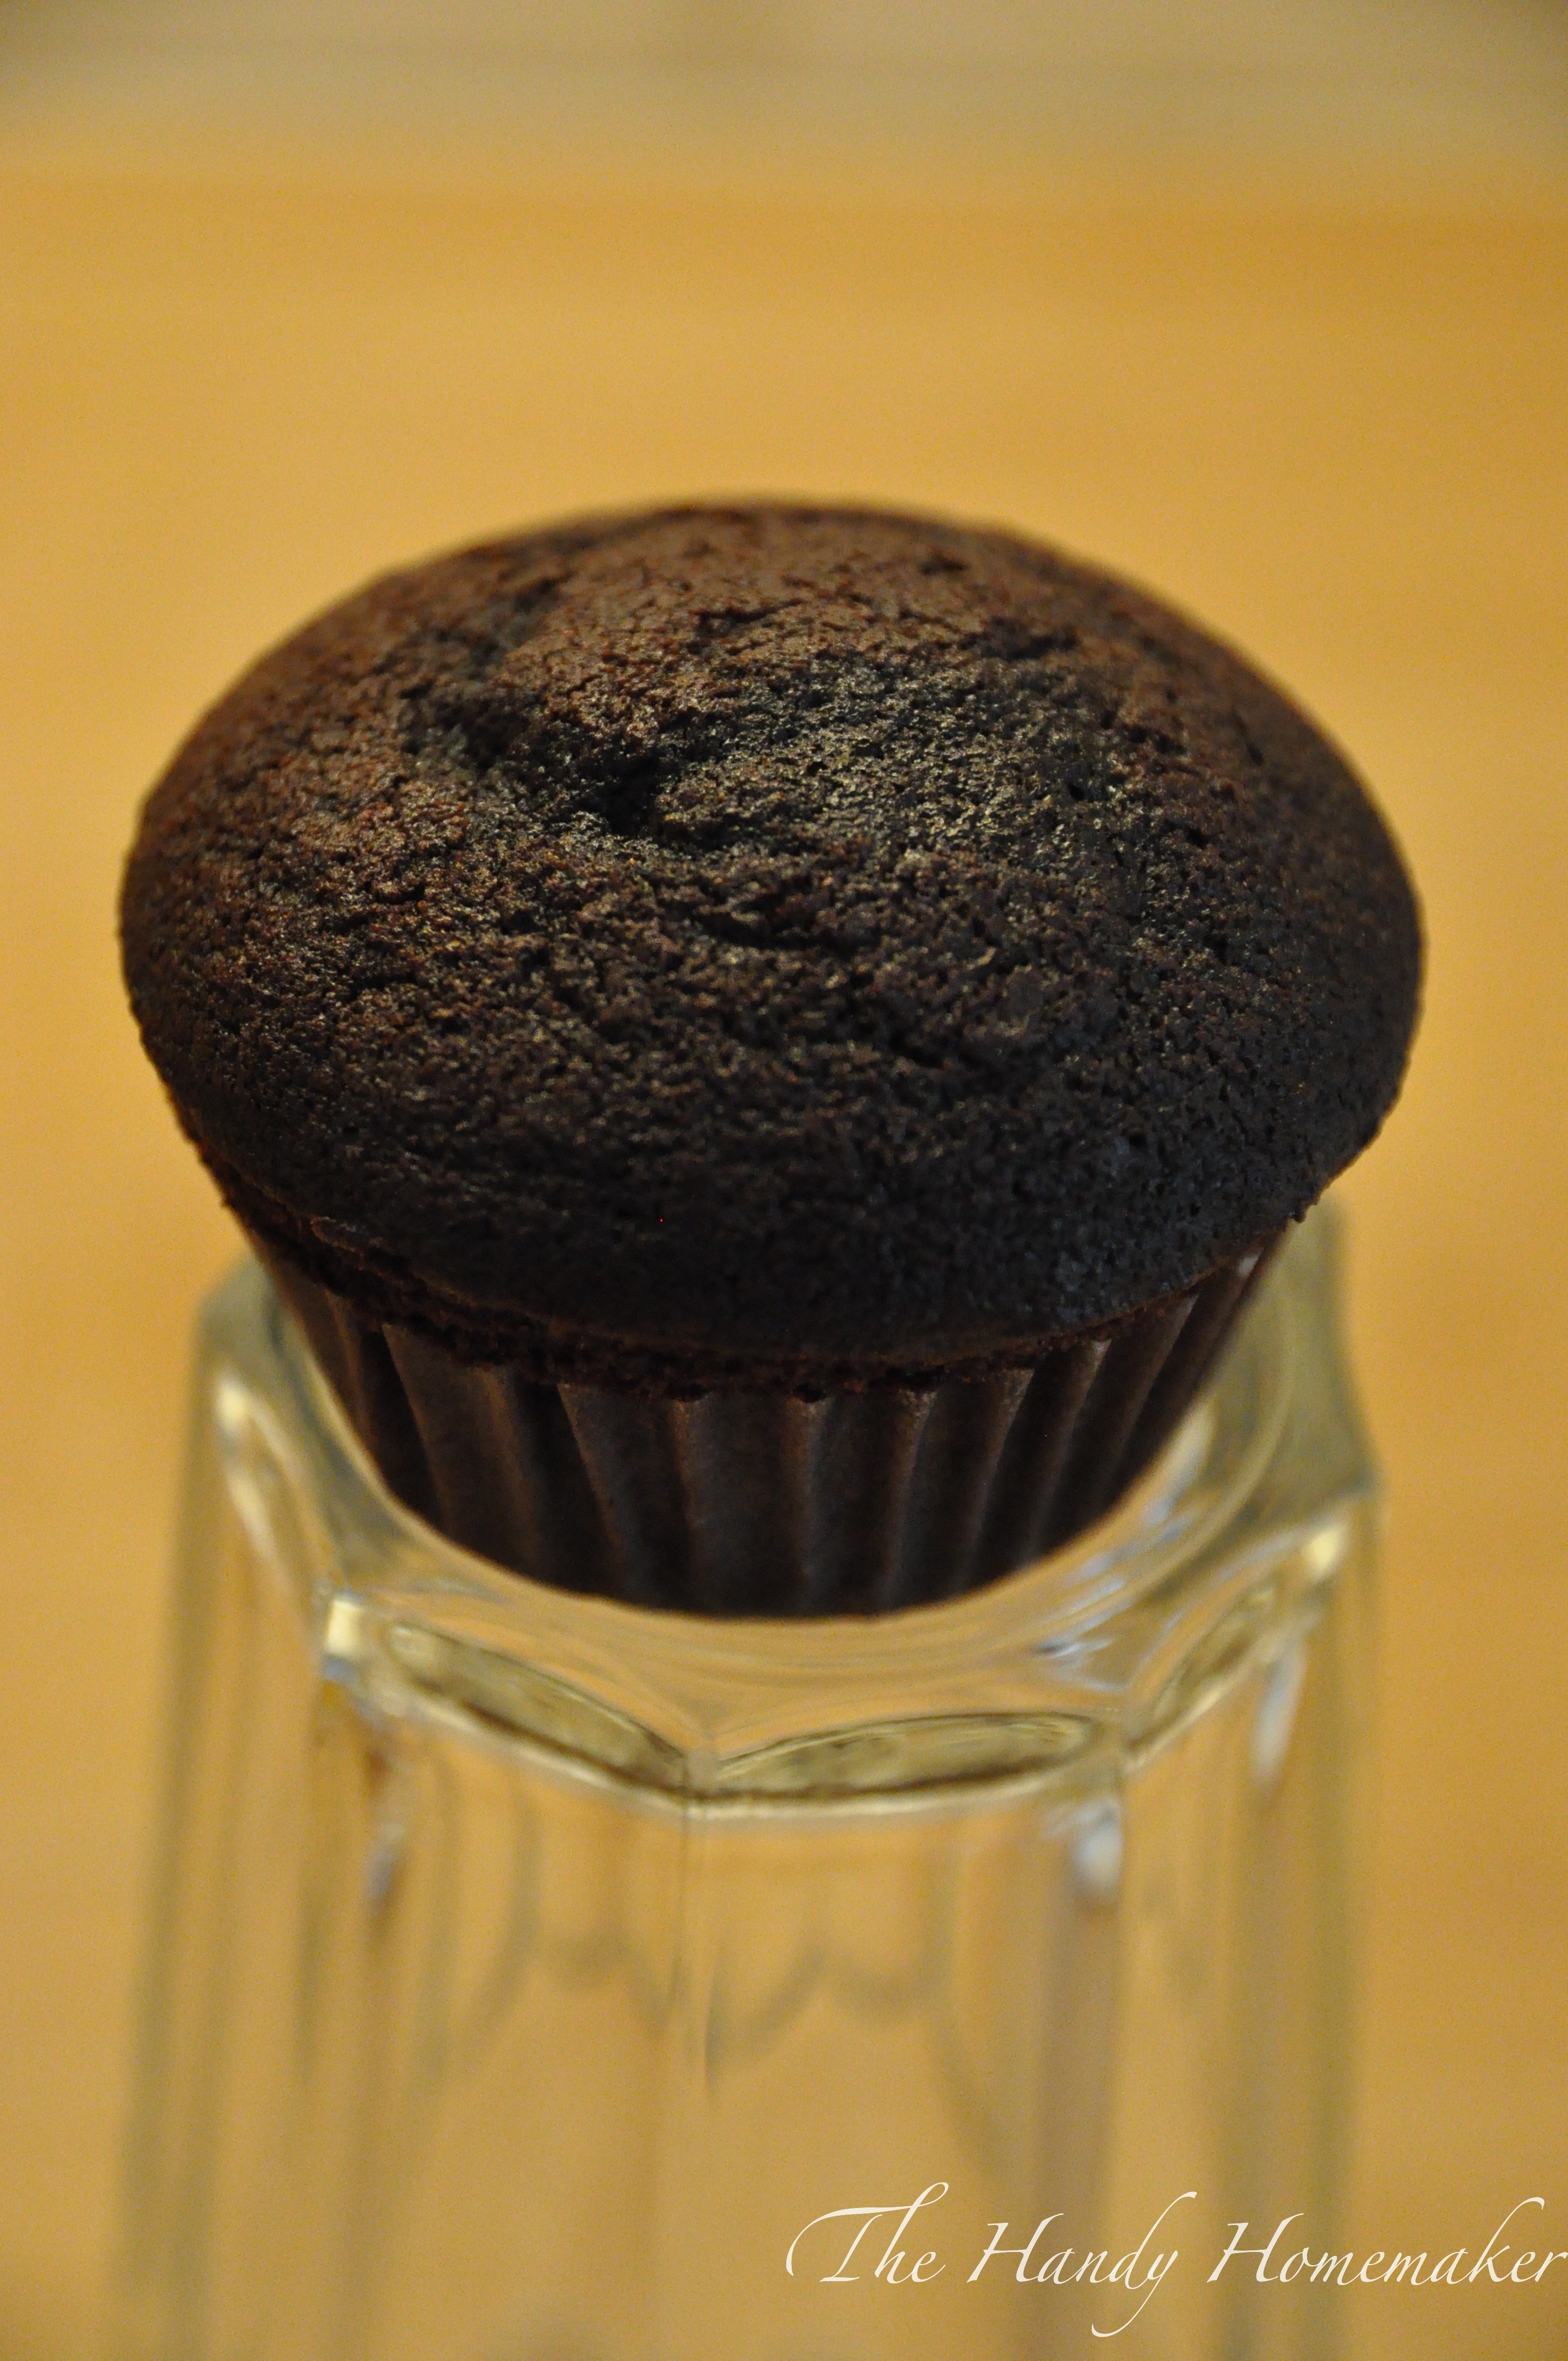 Of course a turntable is not needed, nor is the glass
 Placing the cupcake directly on the turntable for make work for you.
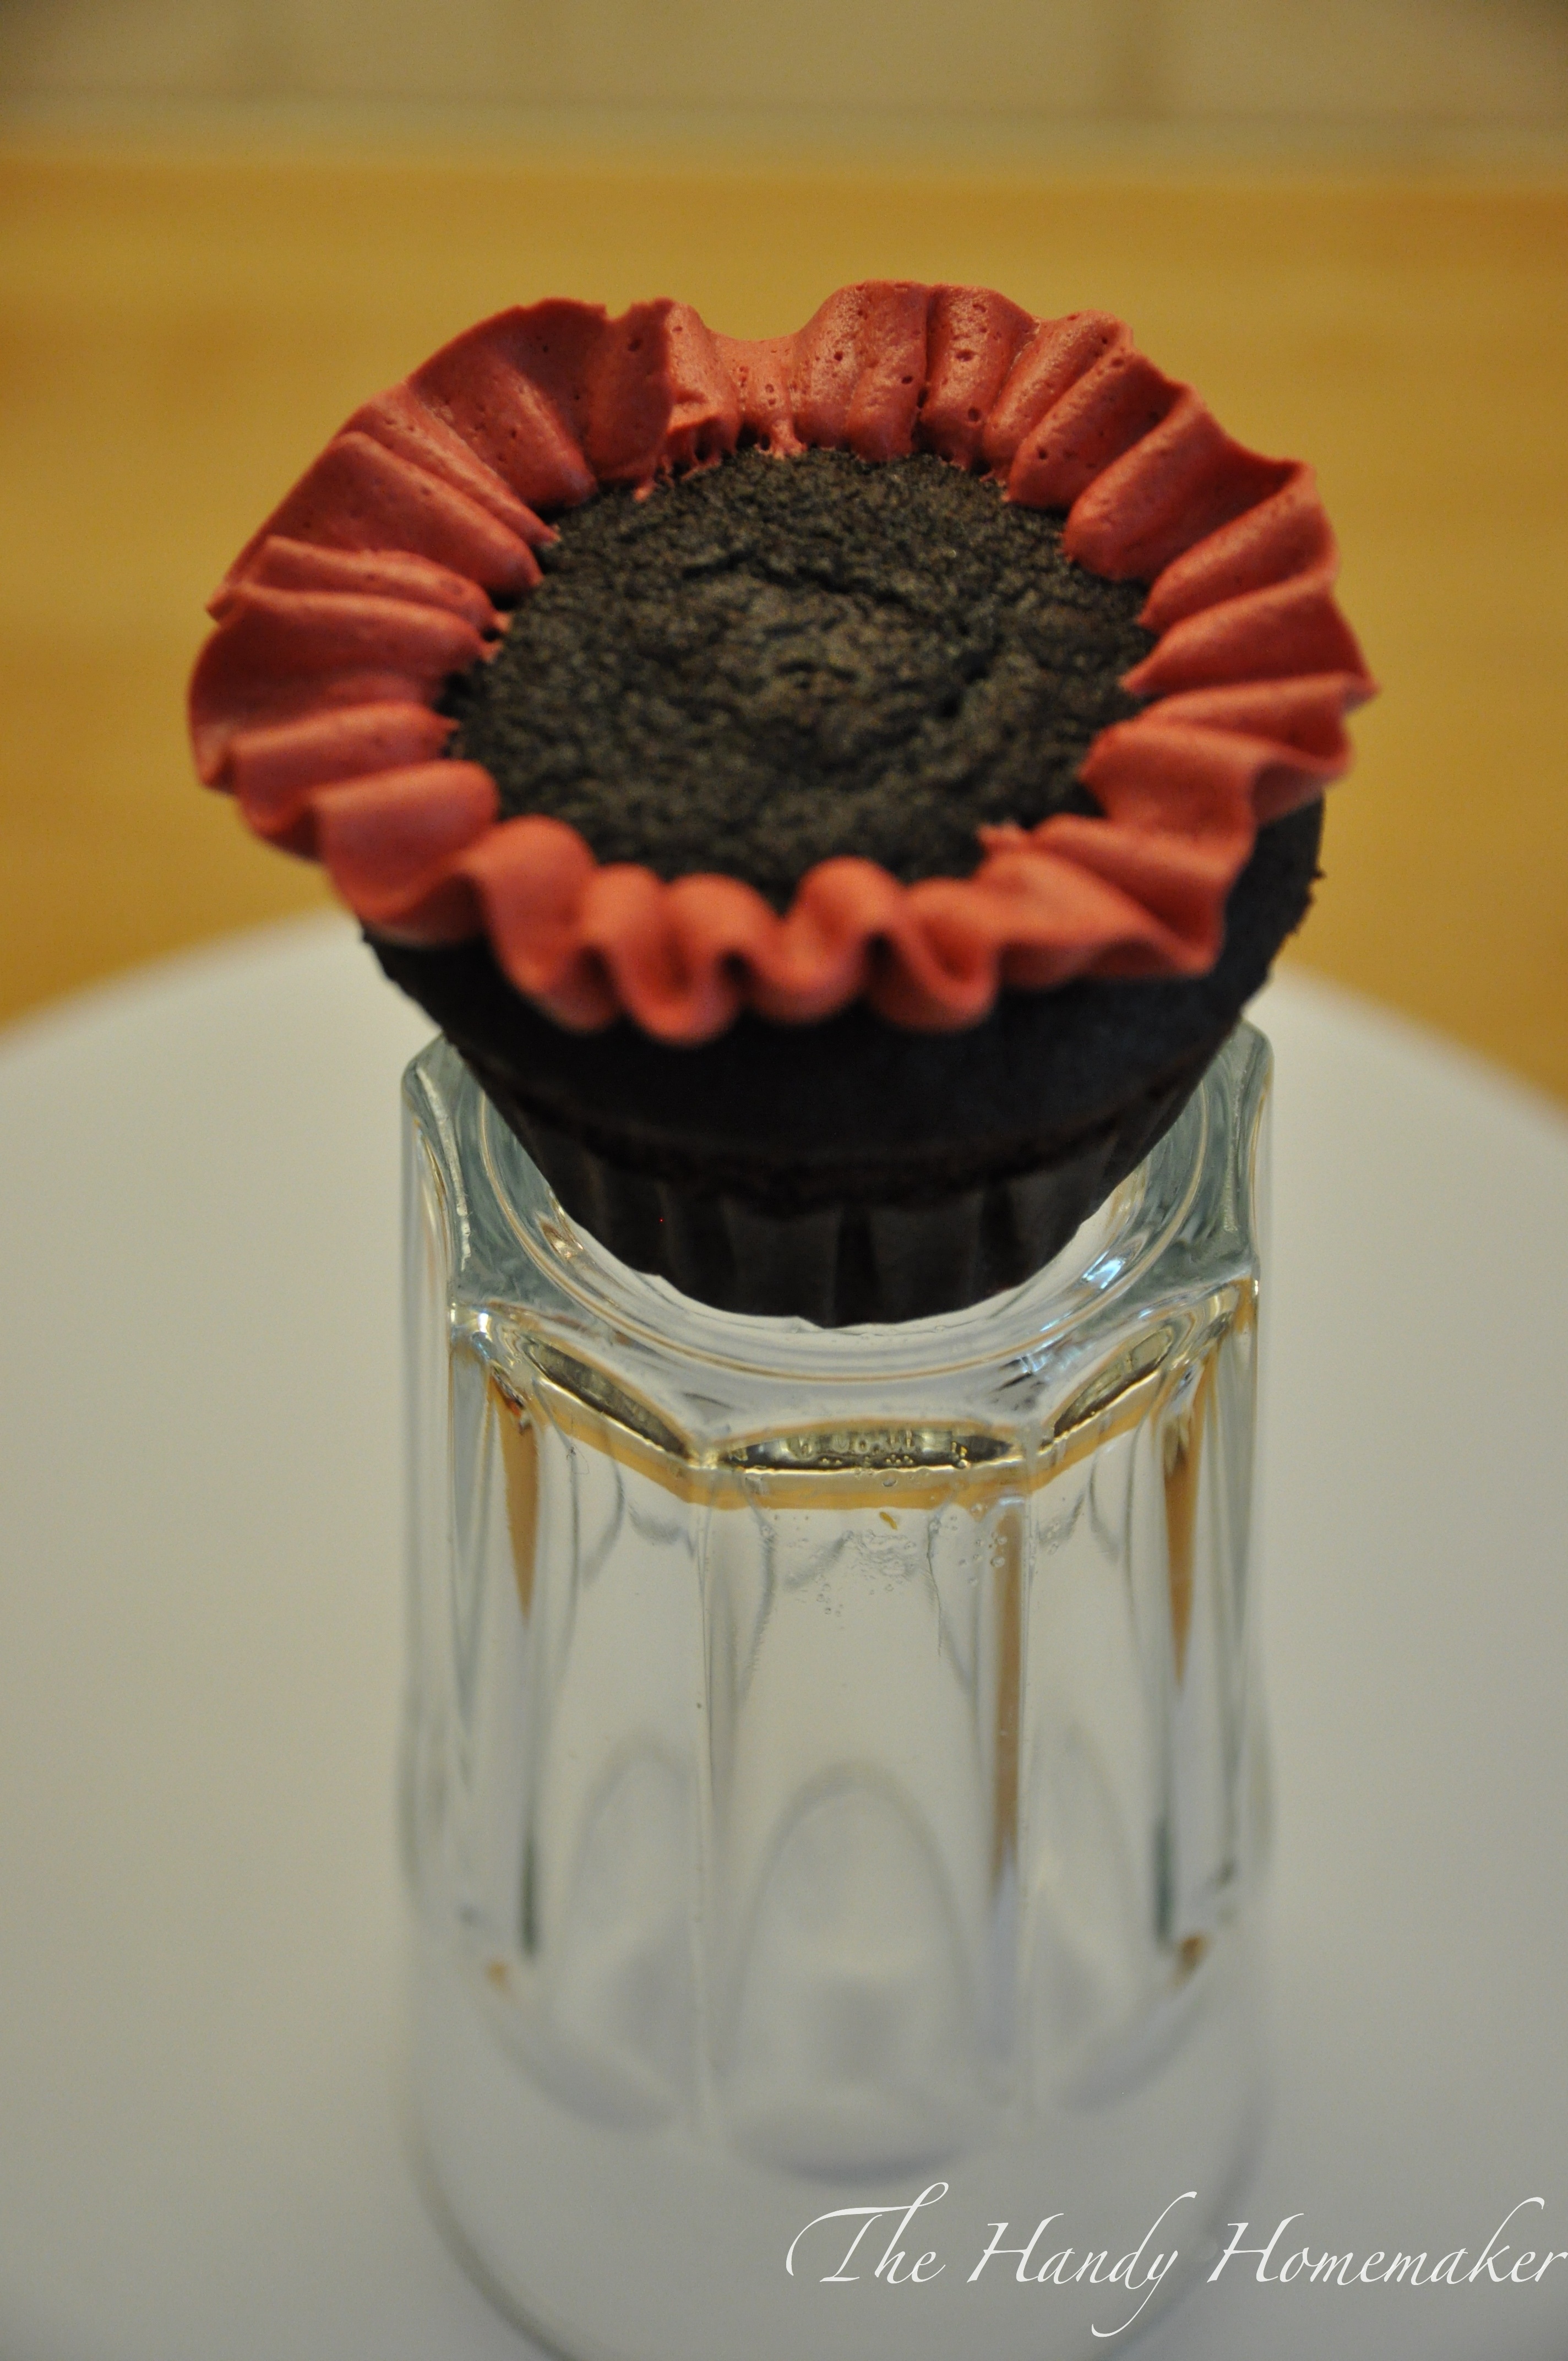 Once the first row is finished start on the second row slightly before, the first rows starting point
 Continue as per the video above.


Leave a comment